Removing a rear cover proximity sensor is a common task in appliance repair, industrial maintenance, and consumer electronics servicing. This sensor, often responsible for detecting the position of a door or cover for safety interlock functions, requires careful handling to avoid damage to the sensor itself or its wiring harness. The following guide provides a systematic, industry-standard approach for technicians.
Safety First and Preliminary Steps
Before any disassembly, ensure the device is completely powered off and unplugged from its electrical source. For machinery, follow lockout-tagout (LOTO) procedures. Disconnect any backup batteries if present. Gather necessary tools: typically, a set of precision screwdrivers (Phillips, Torx, or flat-head as required), needle-nose pliers, a plastic spudger, and an anti-static wrist strap for sensitive electronic boards. Consult the device's service manual for the specific model; it is an invaluable resource for diagrams and torque specifications.
Locating and Accessing the Sensor
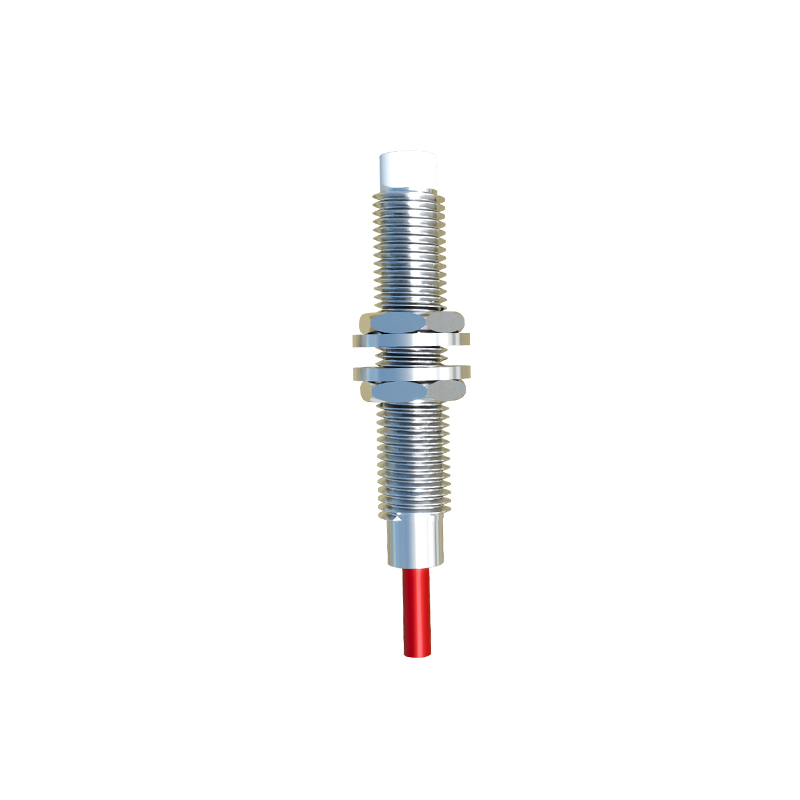
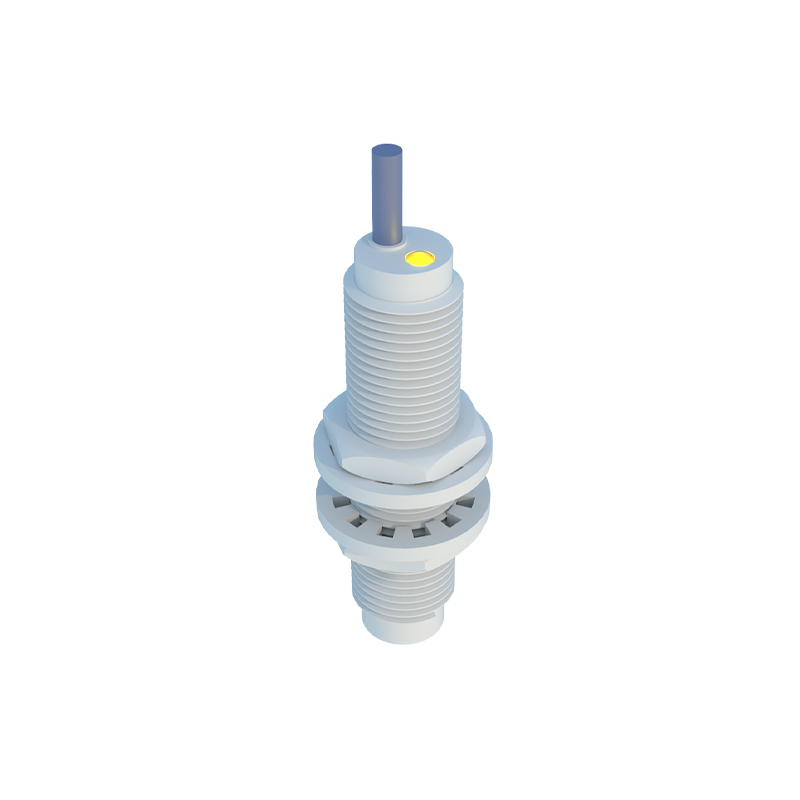
The rear cover proximity sensor is usually mounted on the main chassis or frame, positioned to align with a magnet or metal flag on the moving cover. You may need to remove the rear exterior cover or panel to access it. This often involves removing several screws along the perimeter. Keep screws organized by stage or location using a compartmented tray or magnetic mat. Some panels are secured with plastic clips; use the plastic spudger to gently release them to avoid breaking the tabs. Once internal components are visible, identify the sensor. It is typically a small, rectangular or cylindrical component with two or three wires (common configurations: Vcc, Output, Ground) connected to a plug or terminal block.
Disconnecting Electrical Connections
This is a critical step. Do not pull on the wires. Examine the connector type. Most use a simple plastic plug locked by a small tab. Press this tab down firmly and pull the connector straight off the sensor terminals. For sensors wired directly to a terminal block, use a small screwdriver to loosen the terminal screws before sliding the wire out. For soldered connections (less common in modular designs), you will need a soldering iron to desolder each joint carefully. Note the wire colors or their positions (taking a photo with your phone is highly recommended). This ensures correct reconnection later.
Removing the Sensor Mounting
The sensor is typically held in place by one or two small screws or may be snapped into a plastic bracket. Using the appropriate screwdriver, remove these mounting screws. Keep them safe. If the sensor is in a bracket, you may need to gently pry it out. Sometimes, the sensor is adhered with a weak adhesive or a double-sided foam pad. In such cases, carefully twist or slide a spudger behind it to release it. Avoid using excessive force that could crack the sensor housing or its mounting point on the chassis.
Handling and Inspection
Once free, handle the sensor by its body, not the wires. Visually inspect it for any obvious signs of damage: cracks in the housing, corrosion on the terminals, or frayed wires. Inspect the corresponding magnet or metal actuator on the door/cover for cleanliness and secure mounting. This is also an opportune time to clean the sensing face of the sensor and the actuator with isopropyl alcohol and a lint-free cloth. Dust and grease can impede proper operation.
Reinstallation Considerations
While this guide focuses on removal, the process for installing a new or the same sensor is essentially the reverse. Ensure the sensor is oriented correctly (refer to your earlier photo). Reconnect the electrical connector until it clicks securely. Remount the sensor with its screws, but do not overtighten, as this can strip plastic threads or distort the housing. Before reassembling the entire cover, perform a basic functional test if possible. Temporarily restore power and observe the sensor's state, often indicated by an LED or verified with a multimeter, while manually moving the cover. This can prevent a full reassembly only to find an issue.
Common Pitfalls and Professional Tips
Wire Strain: Ensure wires are not pinched or under tension when remounting panels. Route them along their original paths.
Static Sensitivity: Many proximity sensors contain static-sensitive electronics. Use an anti-static strap and work on an anti-static mat.
Sensor Type: Be aware of the sensor type (e.g., inductive, Hall-effect, reed switch). Magnetic sensors can be permanently damaged by strong external magnetic fields.
Alignment: Upon reinstallation, even slight misalignment can cause failure. Ensure the gap between the sensor and its actuator is within the specifications listed in the manual.
By following these structured steps, technicians can efficiently and safely remove a rear cover proximity sensor, facilitating repair, replacement, or