In modern automotive electrical systems, the tailgate proximity sensor is a critical component of vehicle access, convenience, and safety. Typically integrated into hands-free liftgate or power tailgate modules, this sensor—often an inductive, capacitive, or ultrasonic type—detects the presence of a user's foot or leg to automatically open or close the tailgate. Its failure can lead to customer dissatisfaction, compromised functionality, and potential safety hazards. For electrical engineers and technicians in the automotive field, a systematic approach to diagnosing and resolving these malfunctions is essential.
The primary symptom of a failing proximity sensor is the intermittent or complete non-operation of the hands-free activation feature. The tailgate may fail to open when the kick motion is performed under the rear bumper, or it may activate sporadically without command. In some integrated systems, this can trigger warning messages on the vehicle's instrument cluster or infotainment screen, such as "Liftgate Malfunction" or "Check Hands-Free Liftgate." It is crucial to first rule out other related issues, such as a weak vehicle battery, faulty power liftgate motor, obstructed latch mechanism, or issues with the primary key fob. A scan tool capable of accessing the Rear Electronic Module (REM), Body Control Module (BCM), or dedicated liftgate control unit is the first line of technical investigation. Look for specific diagnostic trouble codes (DTCs) related to the sensor circuit, such as "Circuit Open," "Circuit Short to Ground," "Signal Implausible," or "Component Failure."
The root causes of tailgate proximity sensor failures are multifaceted and can be categorized into environmental, electrical, and physical domains. Environmental exposure is a predominant factor. The sensor is mounted in a vulnerable location beneath the rear bumper, constantly subjected to road debris, water, salt, mud, and extreme temperature fluctuations. Corrosion at the sensor connector pins or on its internal circuitry is a common culprit. Water ingress, often due to a compromised seal or gasket, can lead to short circuits or altered capacitance values in capacitive-type sensors. Electrically, the failure can stem from problems within the wiring harness. Vibration and flexing can cause wire fractures, especially near connectors or where the harness routes through body panels. Chafing against sharp metal edges can lead to insulation wear and short circuits to ground or to adjacent wires. Less commonly, internal sensor component degradation or a failure in the control module providing power or interpreting the signal can be at fault. Physically, impact damage from minor collisions, parking incidents, or improper jacking can crack the sensor housing or misalign its detection field.
The diagnostic procedure should follow a logical sequence. After retrieving DTCs, perform a visual inspection of the sensor, its mounting, and the entire length of the associated wiring harness. Check for obvious damage, corrosion, or moisture. Next, with the aid of the vehicle's service manual wiring diagram, use a digital multimeter to test for proper supply voltage (often 5V or 12V) and a good ground at the sensor connector. With the sensor disconnected, measure its specified resistance or capacitance if values are provided by the manufacturer; a significant deviation indicates a faulty sensor. An oscilloscope is highly valuable for analyzing the sensor's output signal waveform during an activation attempt, comparing it to a known-good pattern. A weak, noisy, or absent signal confirms an issue. For systems with a learn or calibration procedure, a software misalignment can sometimes cause malfunctions even with a physically good sensor, necessitating a recalibration via the OEM diagnostic software.
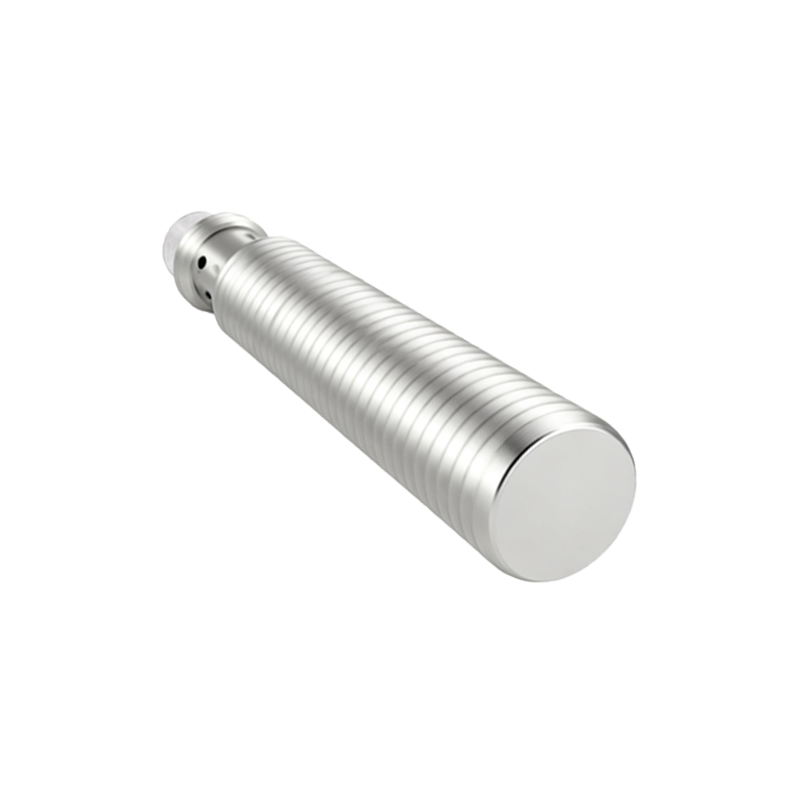
Repair strategies vary based on the diagnosis. For corroded connectors, cleaning with electrical contact cleaner and applying dielectric grease may suffice. A damaged wiring harness section requires splicing with solder and heat-shrink tubing or complete harness replacement, adhering to OEM repair standards. In most cases of a confirmed faulty sensor, replacement is the only reliable option. It is imperative to use OEM or high-quality equivalent parts, as the sensor's sensitivity and detection range are precisely calibrated. After replacement, many systems require a recalibration or initialization routine performed through the diagnostic tool to ensure proper operation. Finally, a comprehensive functional test, simulating various real-world conditions, is mandatory before returning the vehicle to the customer.
Proactive design and maintenance considerations can mitigate these failures. From an engineering perspective, robust sealing (IP6K9K or higher), improved connector designs, and strategic placement away from direct spray paths enhance durability. For technicians, advising customers on keeping the sensor area clean and avoiding high-pressure washes directly at the sensor can prolong its life. As vehicle electrification and convenience features advance, the reliability of components like the tailgate proximity sensor remains a key focus area for automotive electrical professionals, blending traditional diagnostic skills with evolving software-based troubleshooting.