Magnetic proximity sensors are widely used in industrial automation, robotics, and safety systems due to their non-contact detection capabilities and durability. Understanding their internal structure through disassembly can aid in troubleshooting, maintenance, or educational purposes. This guide provides a systematic approach to disassembling a typical cylindrical magnetic proximity sensor, emphasizing safety and precision.
Before beginning, ensure you have the necessary tools: a set of precision screwdrivers (including Torx and flat-head types), needle-nose pliers, a small pry tool, an anti-static mat, and a clean workspace. Always disconnect the sensor from any power source and associated circuitry to prevent electrical shock or damage. Wear safety glasses to protect against small flying debris.
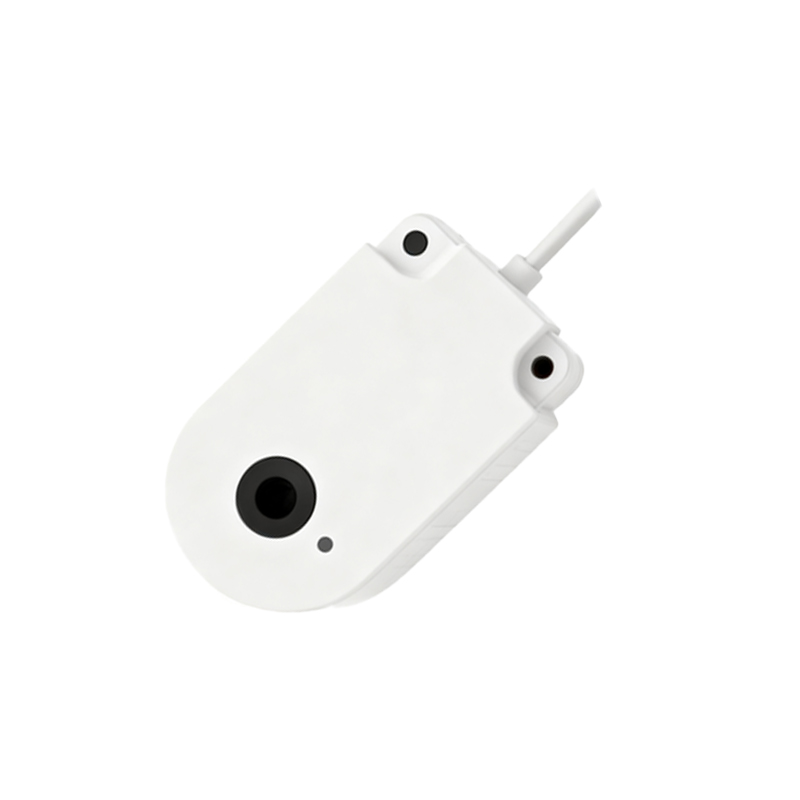
Start by examining the sensor's exterior. Most magnetic proximity sensors consist of a sensing head, a cylindrical metal or polymer housing, and a cable or connector assembly. Identify any visible fasteners, such as screws, clips, or seals. Note that some sensors are potted with epoxy or other compounds for environmental protection, making disassembly difficult and potentially destructive—this process is not recommended for sealed units intended for field use unless for repair.
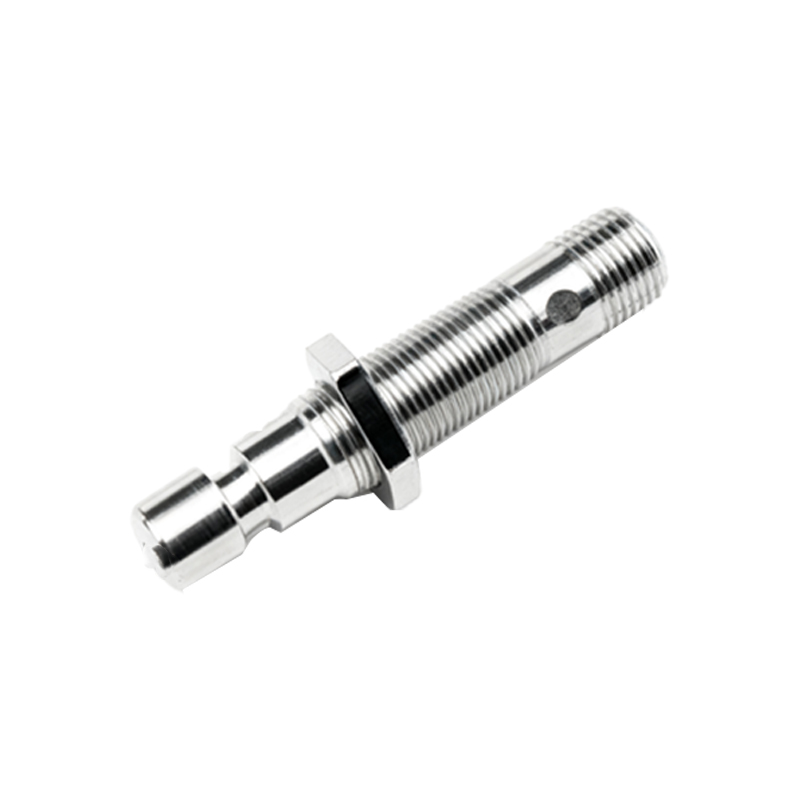
If the sensor has a threaded collar or end cap, use appropriate wrenches to carefully unscrew it. Apply steady pressure to avoid stripping threads. For sensors with crimped or welded housings, disassembly may require cutting, which typically destroys the housing; consider this only if the sensor is non-functional and analysis is required.
Once the housing is opened, you will encounter internal components. Typically, these include a permanent magnet or coil assembly, a reed switch or Hall-effect integrated circuit (IC), signal conditioning circuitry, and output terminals. Handle these parts delicately, as they are sensitive to mechanical stress and electrostatic discharge (ESD). Place components on an anti-static mat if available.
Use a screwdriver to remove any PCB (printed circuit board) mounting screws. Gently lift the PCB, noting the orientation and connections of wires or connectors. Desolder or unplug these connections if necessary, using a soldering iron with care to avoid damaging nearby components. The sensing element—often a reed switch encapsulated in glass or a Hall-effect sensor—is usually mounted on the PCB or within a separate module. Avoid touching the sensing surface directly to prevent contamination.
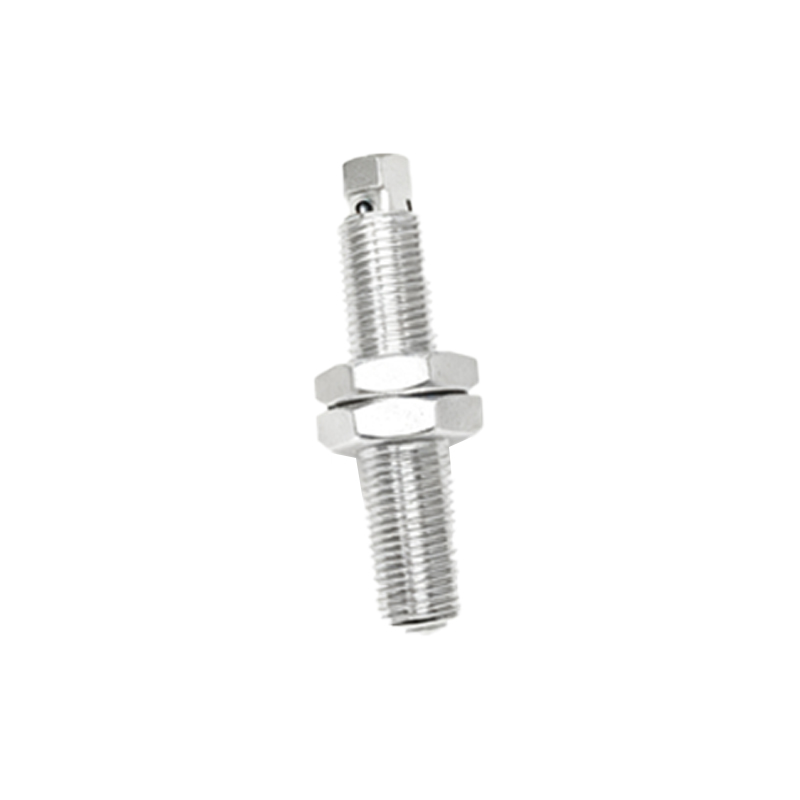
Inspect the magnet assembly if present. It may be fixed within the housing or attached to a movable actuator. Document its position and polarity, as reassembly requires correct alignment for proper operation. Use a marker or camera to record original orientations.
During disassembly, observe for signs of wear, corrosion, or damage, such as cracked solder joints, discolored components, or broken wires. These can indicate failure points. Clean any debris using compressed air or a soft brush, but avoid liquids that could cause short circuits.
Reassembly is essentially the reverse process. Ensure all components are seated correctly, connections are secure, and fasteners are tightened to specified torques if available. Test the sensor before reinstalling it in a system, using a multimeter or oscilloscope to verify output signals when a magnet is brought near.
Remember that disassembly may void warranties and compromise ingress protection (IP) ratings. This guide is intended for professionals with technical expertise. Always refer to manufacturer documentation when available, as designs vary by model and brand.
In summary, disassembling a magnetic proximity sensor requires careful planning, proper tools, and attention to detail. It offers valuable insights into sensor technology but should be undertaken only when necessary for repair or analysis, respecting safety and functional integrity.