Disassembling a proximity sensor cylinder is a common maintenance task in industrial automation and pneumatic systems. This guide provides a detailed, step-by-step procedure to safely and effectively take apart a typical inductive or capacitive proximity sensor mounted on a pneumatic cylinder. Always prioritize safety by following manufacturer guidelines and wearing appropriate personal protective equipment (PPE).
Before starting, ensure the system is completely de-energized. Lock out and tag out (LOTO) the electrical power supply and pneumatic air source to prevent accidental activation. Release any residual air pressure from the cylinder by operating the exhaust valve. Allow the cylinder to cool if it has been running, as components may be hot. Gather necessary tools: typically, hex keys, screwdrivers (flathead and Phillips), wrenches, and possibly a sensor-specific tool.
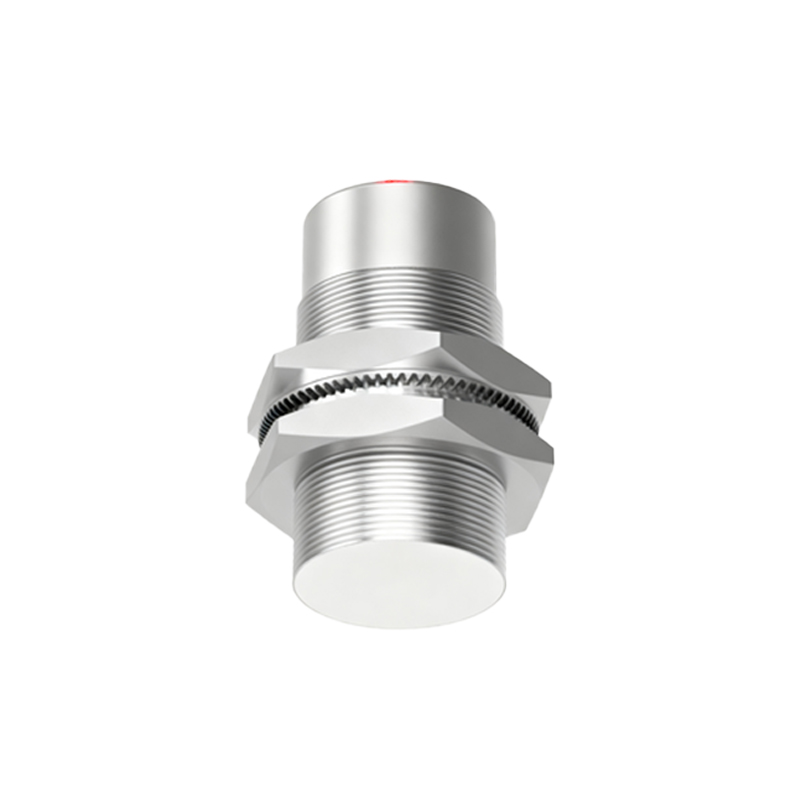
Step 1: Locate and Identify the Sensor
Proximity sensors on cylinders are usually mounted on the cylinder barrel or end caps to detect piston position. Identify the sensor type—common styles include barrel sensors, slot sensors, or rectangular sensors with mounting brackets. Note the wiring configuration: sensors may have quick-disconnect connectors or direct cable entries.
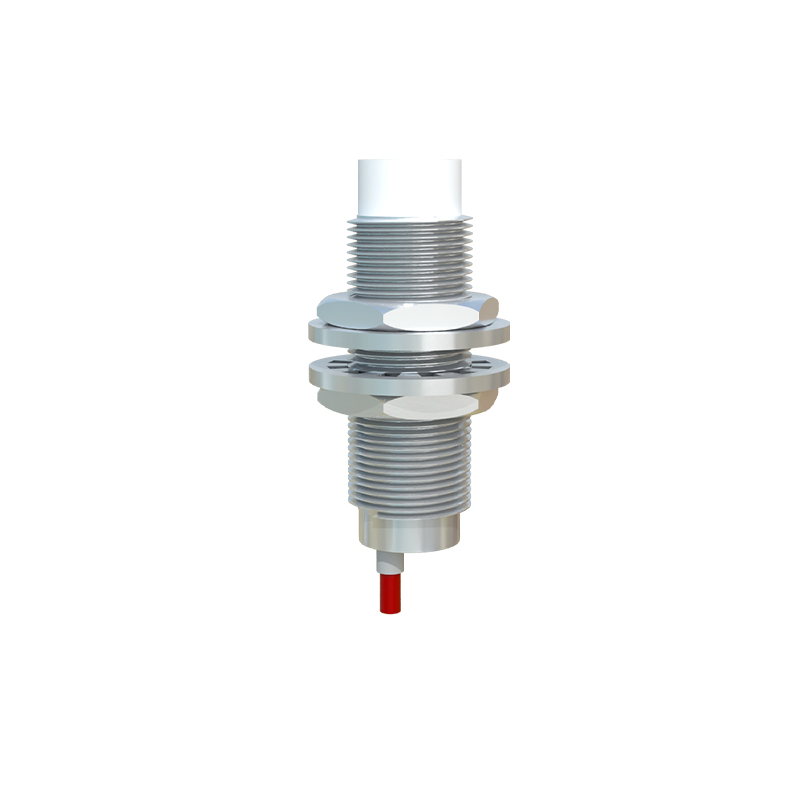
Step 2: Disconnect Electrical Connections
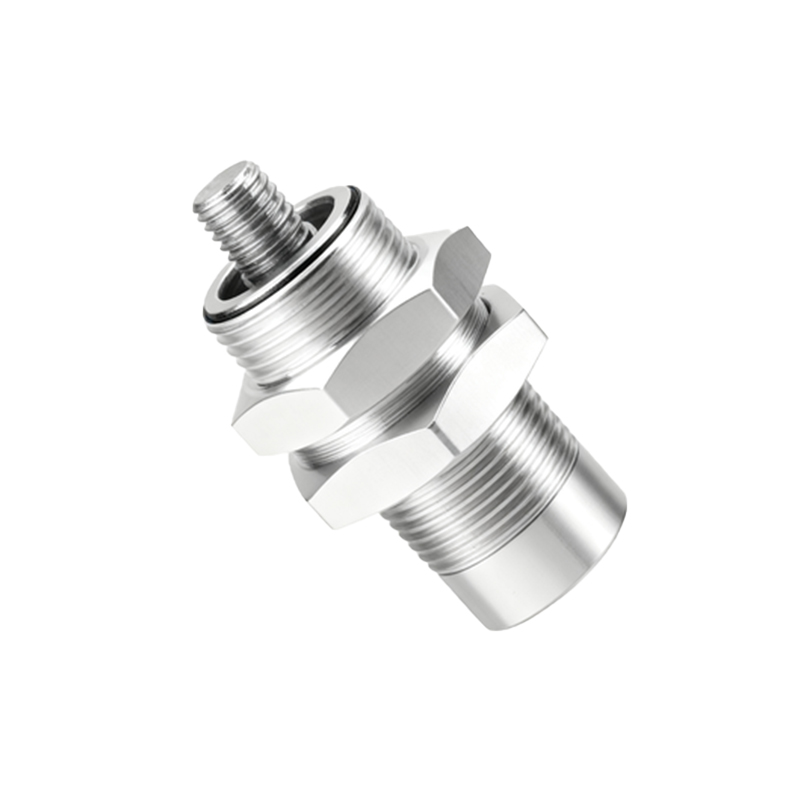
Carefully disconnect the sensor’s electrical connector. If it’s a pre-wired cable, you may need to disconnect it from the control cabinet or junction box. Label each wire or take a photo for reassembly reference. Ensure no tension is placed on the wires during removal.
Step 3: Remove Mounting Hardware
Most sensors are secured with set screws, bolts, or clamping mechanisms. Using the correct tool, loosen and remove the fasteners. For barrel-style sensors inserted into a cylinder groove, there is often a locking screw on the sensor body—loosen it completely. Some sensors slide into a mounting slot; after loosening the lock screw, gently slide the sensor out of its housing. Avoid using excessive force to prevent damage to the sensor or cylinder surface.
Step 4: Extract the Sensor
Once fasteners are removed, carefully pull the sensor away from the cylinder. If resistance is felt, check for additional hidden clips or screws. For cylindrical sensors in a bore, a slight twisting motion may help. Inspect the sensor’s O-rings or seals if present; these may need replacement during reassembly.
Step 5: Disassemble the Cylinder (If Required)
If the task involves further cylinder disassembly—for example, to replace the piston or seals—proceed methodically. First, remove the sensor mounting bracket if it is integral to the cylinder. Then, unbolt the end caps from the cylinder tube. Keep track of all components, including rods, pistons, and internal seals, arranging them in order. Note that disassembling the cylinder body is often unnecessary for sensor replacement alone.
Step 6: Clean and Inspect Components
With the sensor removed, clean the mounting area on the cylinder using a lint-free cloth and appropriate cleaner. Check for wear, corrosion, or damage on both the sensor and cylinder. Test the sensor separately if possible, using a multimeter or manufacturer’s tester to verify functionality before reassembly.
Step 7: Reassembly Notes
Reassembly is essentially the reverse process. Install new seals if needed, align the sensor correctly in its mount, and tighten fasteners to the specified torque. Reconnect electrical wiring, ensuring proper polarity and secure connections. After reassembly, perform a functional test: gradually restore power and air supply, then cycle the cylinder to confirm the sensor triggers accurately.
Common pitfalls include overtightening screws, which can crack sensor housings, misaligning the sensor relative to the piston, and forgetting to reconnect grounding wires. Always consult the specific technical manual for your cylinder and sensor model, as designs vary by manufacturer. Regular maintenance of proximity sensors and cylinders enhances system reliability and prevents unplanned downtime in industrial operations.