In the realm of industrial automation, laser inductive sensors stand as critical components for precision detection, measurement, and positioning tasks. Their high accuracy, rapid response times, and reliability make them indispensable in manufacturing, packaging, robotics, and material handling. However, their superior performance is heavily contingent upon correct installation. A poorly installed sensor, even of the highest quality, will yield suboptimal results, leading to production inefficiencies, increased downtime, and potential safety hazards. This guide provides a comprehensive, step-by-step approach to the professional installation of laser inductive sensors, ensuring optimal functionality and longevity.
The installation process begins long before physical mounting. Thorough pre-installation planning is paramount. First, consult the sensor's datasheet and technical manual. Understand its key specifications: sensing distance (nominal and effective), spot size, response time, output type (PNP/NPN, analog, IO-Link), power supply requirements (typically 10-30V DC), and environmental ratings (IP67, IP69K for washdown). Select the appropriate sensor model for the application—consider factors like target material (metallic, non-metallic, color), required precision, ambient light conditions, and potential exposure to dust, moisture, or chemicals.
Next, perform a detailed site assessment. Identify the exact mounting location. Ensure there is sufficient space for the sensor body, its connecting cable, and any required mounting brackets. The mounting surface must be stable, vibration-free, and rigid to prevent misalignment. Crucially, analyze the environment for potential optical interference. Strong ambient light from arc welding, sunlight, or other laser sources can disrupt the sensor's beam. Plan to use sensors with modulated laser light or install physical barriers (hoods, tubes) if necessary. Also, consider the target's characteristics: its surface finish (matte, glossy), color, and angle of approach.
The core of the installation is precise mechanical mounting. Use the recommended mounting hardware, typically provided by the manufacturer. For bracket mounting, ensure the bracket is securely fastened. The sensor must be aligned perpendicular to the target surface for most reflective and through-beam applications. Even a slight angular deviation can cause significant measurement error or missed detection. Utilize alignment tools if available; many modern sensors have built-in LED indicators that signal optimal alignment. For diffuse reflective sensors, maintain the exact specified sensing distance. Through-beam systems require meticulous alignment of the separate transmitter and receiver units; a laser alignment tool is highly recommended for this task. Always tighten mounting screws to the specified torque to secure the position without damaging the sensor housing.
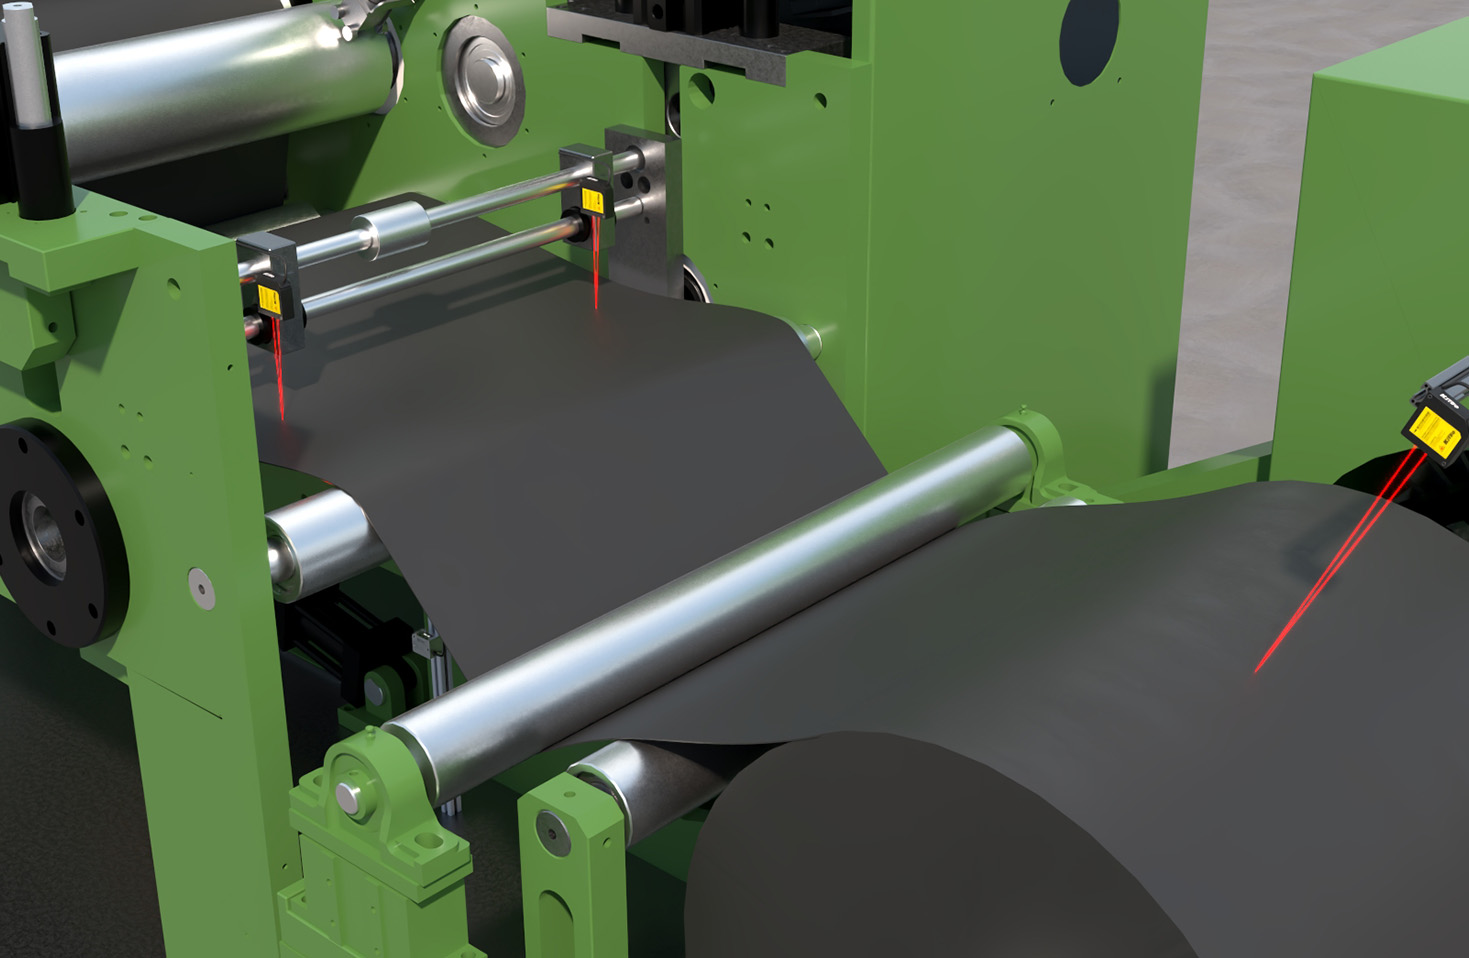
Electrical wiring is the next critical phase. Always disconnect power before making any electrical connections. Follow the wiring diagram in the manual precisely. Typically, a standard 3-wire or 4-wire DC sensor will have connections for brown (V+), blue (V- or 0V), black (output signal), and sometimes white (complementary output or diagnostic). Use shielded cables in electrically noisy environments, grounding the shield at the controller end only to prevent ground loops. Ensure cable glands are properly sealed if the installation is in a damp or dusty area to maintain the IP rating. Route cables away from high-voltage power lines, motor drives, and welding equipment to minimize electromagnetic interference (EMI). Secure cables with clamps to avoid strain on the sensor's connector.
Following mechanical and electrical installation, configuration and testing are essential. Power the system and observe the sensor's status LEDs. Most sensors feature a power LED and a switching output LED. Refer to the manual to interpret these indicators. Many laser sensors offer configurable parameters such as switching hysteresis, light/dark operation, and teach-in functions for setting the sensing window. Use these features to fine-tune the sensor for the specific target and to ignore background objects. Conduct rigorous testing under actual operating conditions. Move the target through the entire expected range of operation. Verify the sensor triggers consistently at the desired point. Check for false triggers caused by reflective backgrounds, passing objects, or environmental factors. For measuring sensors, validate the output against a known standard.
Finally, implement a schedule for routine inspection and maintenance. Periodically check the sensor's lens for contamination from dust, oil, or debris, and clean it with a soft, lint-free cloth and appropriate cleaner. Verify mounting stability and tightness. Inspect cables and connectors for signs of wear or damage. Document the installation details, including model numbers, settings, and test results, for future reference and troubleshooting.
In conclusion, the installation of a laser inductive sensor is a systematic engineering task that demands careful planning, precise execution, and thorough validation. Neglecting any step can compromise the entire automation system's integrity. By adhering to these professional guidelines—meticulous planning, accurate mounting, correct wiring, precise configuration, and proactive maintenance—engineers and technicians can ensure these sophisticated devices deliver their full potential in terms of accuracy, reliability, and service life, thereby safeguarding productivity and operational excellence on the factory floor.