Laser distance sensors have become indispensable tools across numerous industrial applications, from robotics and automation to construction and material handling. Their precision, speed, and non-contact measurement capabilities offer significant advantages. However, their performance is heavily dependent on correct electrical installation and wiring. This guide provides a detailed, step-by-step overview of standard wiring procedures for common laser distance sensor models, focusing on practical considerations for electrical engineers and technicians.
Most industrial laser distance sensors operate on a DC power supply, typically within the range of 10-30 VDC. The first and most critical step is always to consult the specific datasheet or installation manual provided by the manufacturer (e.g., Keyence, SICK, Banner, Omron). Specifications for voltage, current, pin assignments, and communication protocols can vary significantly between models and brands.
A standard 4-wire sensor configuration is common and serves as a good foundational example. These wires are usually color-coded:
* Brown (or Red): This is the positive DC power supply wire (+V). It must be connected to the positive terminal of your power source.
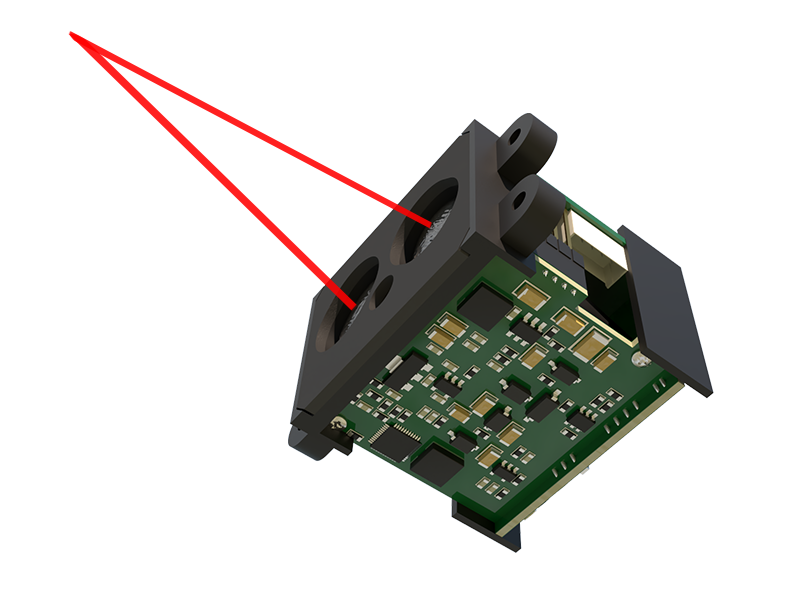
* Blue (or Black): This is the 0V or ground wire (0V / GND). It must be connected to the negative terminal of your power source.
* Black: This wire typically carries the output signal. For a digital PNP (sourcing) output, this wire switches to supply +V to the load when the measurement condition is met (e.g., target within range).
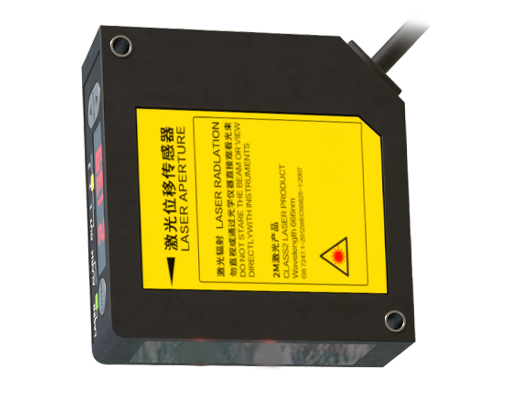
* White: This is often a second output wire or a switching output for a different function (like a window comparator output). In some models, white and black wires may provide complementary NPN/PNP outputs.
Wiring Procedure:
1. Power Down: Ensure all power to the control cabinet and circuit is safely locked out and tagged out (LOTO).
2. Prepare Cables: Use shielded, twisted-pair cables for both power and signal lines to minimize electrical noise interference, which can severely affect measurement stability. Ground the cable shield at one end only (usually the control panel end) to prevent ground loops.
3. Connect Power: Terminate the brown wire to the positive DC supply (e.g., +24VDC) and the blue wire to the DC common (0V). Verify the polarity is correct; reverse polarity can permanently damage the sensor.
4. Connect Outputs: The sensor's output is a switch. For a PNP sensor, the black output wire is connected to one side of your load (e.g., a PLC input module, relay coil, or indicator lamp). The other side of the load is then connected to 0V. When the sensor activates, it will source current from its black wire through the load to 0V, completing the circuit.
5. Wiring Communication Models: Sensors with serial communication (RS-232, RS-422/485) or industrial Ethernet (EtherNet/IP, PROFINET) require careful wiring according to the protocol standard. For RS-485, for instance, you must correctly connect Data+ (D+/A) and Data- (D-/B) wires in a daisy-chain topology with termination resistors enabled at both ends of the network.
Critical Safety and Performance Tips:
* Fuse Protection: Always install an appropriately rated fuse or circuit breaker in the power line to protect the sensor and wiring from overcurrent.
* Separate Conduits: Run sensor power lines and high-voltage AC lines or motor drive cables in separate conduits or trays. Cross them at right angles if they must intersect. This prevents inductive coupling and noise injection.
* Surge Suppression: If the sensor is connected to inductive loads like relays or solenoids, use suppression diodes or RC networks across those loads to clamp voltage spikes that could feedback into the sensor circuit.
* Initial Verification: Before applying power, double-check all terminations for tightness and correctness. After powering up, use a multimeter to verify the supply voltage at the sensor connector and check the output switching behavior against a known target distance.
Troubleshooting Common Wiring Issues:
* No Power/No Indicator Light: Check fuse, verify supply voltage and polarity at the sensor end, and inspect for broken wires.
* Erratic Measurements or Output Flickering: This is often caused by electrical noise. Re-inspect shield grounding, ensure separation from noise sources, and verify the power supply is clean and stable.
* Output Not Switching: Confirm the wiring of the output circuit (PNP vs. NPN logic). Use a multimeter to see if the output transistor is switching. Ensure the load's specifications (voltage, current) are compatible with the sensor's output rating.
Proper wiring is not merely a mechanical task; it is fundamental to system reliability. A meticulously wired laser distance sensor ensures accurate data acquisition, reduces downtime, and extends the operational life of the component. Always prioritize the manufacturer's documentation and adhere to local electrical codes and standards, such as NFPA 79 or IEC 60204-1, for all industrial machinery installations.