In today's automotive landscape, technology is increasingly focused on augmenting driver awareness and vehicle safety. One such valuable upgrade is the installation of proximity sensors, also known as parking sensors or distance sensors. These devices provide auditory and sometimes visual feedback about obstacles near your vehicle, significantly reducing the risk of minor collisions, especially in tight parking spaces or crowded urban environments. While many modern vehicles come equipped with these systems from the factory, adding them to an older car is a practical and rewarding do-it-yourself project that can greatly enhance your driving experience.
The first step in this process is selecting the right sensor kit for your needs. The market offers two primary types: electromagnetic and ultrasonic. Ultrasonic sensors are the most common for aftermarket installation. They work by emitting high-frequency sound waves and measuring the time it takes for the echo to return. Kits typically include four to eight sensors, a control unit (ECU), a display or buzzer module, and all necessary wiring and connectors. When choosing, consider whether you want sensors that integrate with your car's existing display or a standalone indicator. Also, decide on a preferred alert type—a beeping sound that increases in frequency as you get closer to an object is standard.
Before any physical work begins, meticulous planning is crucial. Determine the optimal mounting locations on your car's bumpers. For rear installations, sensors are usually evenly spaced across the bumper. For front installations, placing them in the lower grille or bumper sections is common to avoid interfering with the license plate or major aesthetic lines. Use masking tape to mark the proposed spots. It is vital to consult the sensor kit's manual for specific spacing requirements, typically between 30 to 50 centimeters apart. Ensure the chosen spots are on a flat, vertical surface for accurate wave propagation.
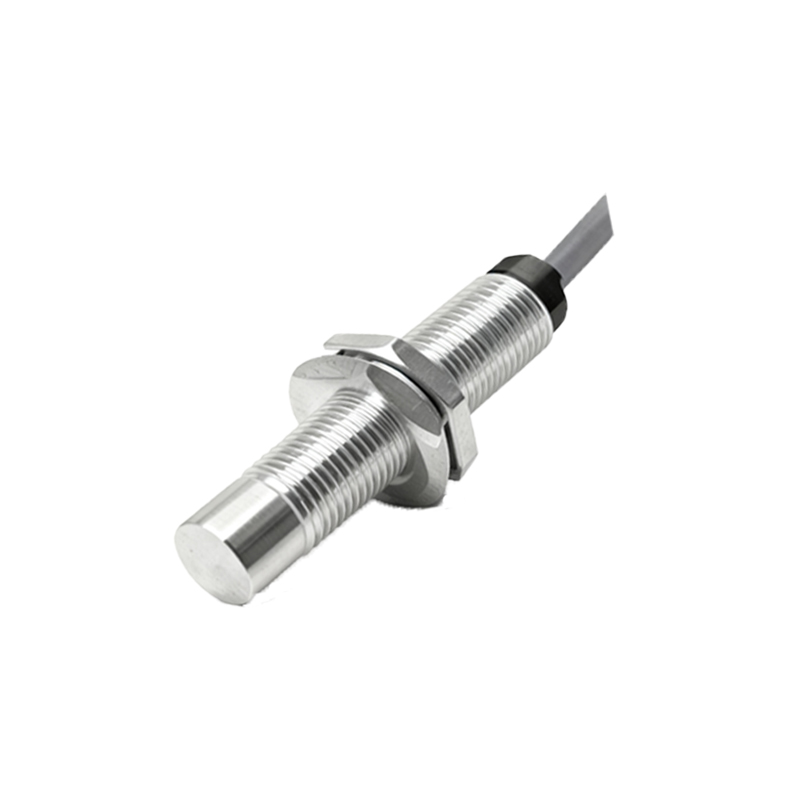
The installation requires a set of basic tools: a drill with a hole saw bit matching the sensor diameter (commonly 18-22mm), screwdrivers, wire strippers, electrical tape, cable ties, a multimeter, and a panel removal tool. Always disconnect the vehicle's negative battery terminal before starting any electrical work to prevent short circuits.
The core of the installation involves carefully drilling the marked holes in the bumper. This step often causes the most anxiety. Use a steady hand and ensure the drill is perpendicular to the surface. After drilling, smooth any rough edges. The sensors then snap or screw into these holes from the outside. From behind the bumper, you will route the wiring harness from each sensor towards the location chosen for the control unit, usually inside the trunk for rear sensors or behind the dashboard for front sensors. Secure all wires neatly along existing wiring looms using cable ties, avoiding areas of heat or moving parts.
Connecting the system to power is a critical phase. The control unit typically needs a constant 12V power source, a ground connection, and a connection to the reverse light circuit (for rear sensors) so the system activates automatically when you shift into reverse. For front sensors, they are often wired to activate at low speeds via a connection to the ignition or a dedicated switch. Use a multimeter to identify the correct wires—the reverse light wire, for instance, will show 12V only when the gear is in reverse. Always use solder and heat-shrink tubing or high-quality crimp connectors for reliable, corrosion-resistant connections. Fuse taps can be a clean way to draw power from the vehicle's fuse box.
Once everything is connected, it's time for testing before final reassembly. Reconnect the car battery. With the help of an assistant, test the sensors by carefully approaching obstacles. The alert tone should start at a safe distance (often around 1.5 meters) and become continuous as you get very close (around 30 centimeters). Verify each sensor individually for proper operation. Adjust the volume of the buzzer if your kit allows it. If the system includes a visual display, ensure it is mounted in a location that is easily visible but not obstructive.
Finally, tidy up all wiring, secure the control unit, and reinstall any interior trim panels you removed. A well-executed installation should be nearly invisible from the outside, with only the small sensor discs noticeable on the bumper. The true value becomes apparent the first time you parallel park or navigate a cramped garage. The progressive beeping provides a clear, intuitive guide, transforming a stressful maneuver into a controlled, confident action.
Beyond parking, these sensors offer added safety by alerting you to low-lying objects, curbs, or children and pets that might be in blind spots immediately around the vehicle. They are a cost-effective investment in preventing costly bodywork repairs and, more importantly, in preventing accidents. With careful planning, patience, and attention to detail, installing proximity sensors can be a highly successful weekend project that modernizes your vehicle and provides peace