In the realm of industrial automation, robotics, and advanced prototyping, precise distance measurement is a fundamental requirement. While ultrasonic sensors offer a cost-effective solution, their accuracy and beam directivity can be limiting for high-precision applications. This is where laser-based time-of-flight (ToF) sensors present a superior alternative. Integrating these sophisticated components with the versatile Arduino platform empowers engineers and developers to create highly accurate measurement systems with relative ease. This guide delves into the technical considerations, wiring, and programming necessary for a successful implementation.
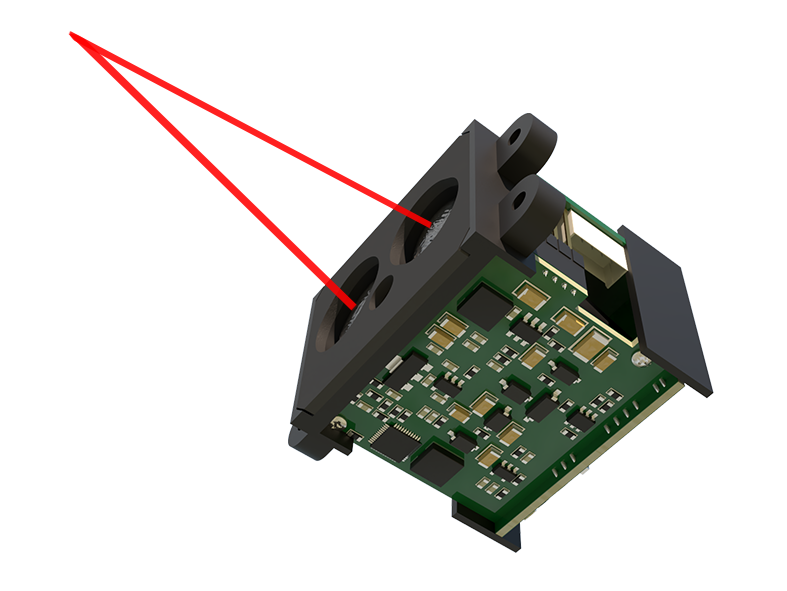
Laser distance sensors, particularly those utilizing the ToF principle, operate by emitting a modulated laser beam towards a target. The sensor then detects the reflected light and calculates the time elapsed between emission and reception. Given the constant speed of light, this time interval is directly proportional to the distance. Modern modules, such as the VL53L0X or VL53L1X from STMicroelectronics, encapsulate the laser emitter, receiver, and calculation logic into a compact, I2C-communicating package. Their key advantages include millimeter-level accuracy, a narrow detection beam unaffected by ambient sound or soft materials, and ranges typically from a few centimeters up to several meters, depending on the model.
The integration process with an Arduino board, such as the Uno or Mega, is notably streamlined due to the I2C interface. The physical connection requires only four wires: VCC (typically 3.3V or 5V, consult datasheet), GND, SDA (Serial Data), and SCL (Serial Clock). It is crucial to ensure the logic voltage levels are compatible; many laser ToF modules are 3.3V devices. When connecting to a 5V Arduino, a logic level converter for the SDA and SCL lines is often necessary to prevent damage. Pull-up resistors (usually 4.7kΩ) on the I2C lines to VCC may be required if not internally present on the module or Arduino board.
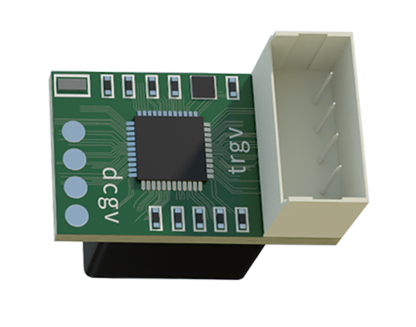
On the software side, the Arduino IDE ecosystem provides robust support through dedicated libraries. For instance, the "VL53L0X" library by Pololu or Adafruit's equivalent abstracts the complex register-level programming into simple function calls. After installing the library via the Library Manager, the basic sketch structure involves initializing the sensor object in thesetup() function, often requiring a call toinit() andsetTimeout(). The main measurement cycle occurs in theloop() function. A typical command likedistance = sensor.readRangeSingleMillimeters() triggers a measurement and returns the value. It is considered good practice to implement error checking by verifying the sensor's status or timeout condition to filter out failed readings.
For engineering applications, several critical factors must be optimized. Ambient light, especially direct sunlight, can saturate the sensor's receiver. While modern sensors have filtering, operating in controlled lighting or using the sensor's built-in settings for varying rates and timing budgets can improve reliability. The reflectivity and angle of the target surface significantly impact performance. Dark, matte, or highly angled surfaces may return weak signals or cause measurement dropouts. Calibration against a known standard is essential for absolute accuracy. This can be done by taking measurements at known distances and applying a linear offset correction in the code. Furthermore, for continuous monitoring, the measurement timing budget (the time allowed for a single reading) can be adjusted—a shorter budget allows for higher frequency updates but may reduce accuracy or range.
Advanced implementations can leverage multiple sensors on a single I2C bus by toggling their shutdown (XSHUT) pins to assign unique addresses programmatically. This is invaluable for multi-axis measurement or area scanning systems. The data can be serial-printed for debugging, logged to an SD card, or transmitted via Bluetooth/Wi-Fi modules for remote monitoring. In robotic applications, the distance value can serve as input for a PID control loop to maintain a specific following distance or for obstacle detection and avoidance algorithms.
In conclusion, the marriage of Arduino microcontrollers and laser ToF distance sensors creates a powerful, accessible toolkit for precision measurement. By understanding the electrical interface, utilizing the available software libraries, and accounting for real-world variables like lighting and target properties, engineers can rapidly prototype and deploy systems for applications ranging from level sensing and industrial positioning to autonomous vehicle navigation and smart inventory management. The combination offers a professional-grade solution that bridges the gap between academic prototyping and industrial implementation.