Proximity sensors are indispensable components in modern industrial automation, providing non-contact detection of metallic and non-metallic objects. Their reliability and accuracy, however, are heavily dependent on correct mounting and installation practices. Improper fixation can lead to false triggers, reduced sensing ranges, premature failure, and ultimately, costly downtime. This guide outlines the critical steps and considerations for securely and effectively mounting various types of proximity sensors, including inductive, capacitive, and ultrasonic models.
The foundation of a successful installation begins long before the physical mounting. First, thoroughly review the sensor's datasheet and installation manual. Key parameters to note include the sensor's sensing distance (Sn), housing material, thread specifications (e.g., M8, M12, M18, M30), temperature ratings, and any specific mounting clearances required. Inductive sensors, for instance, require specific metallic and non-metallic lateral and frontal clearance zones to prevent interference from the mounting nut or surrounding metal structures. Ignoring these zones can drastically reduce the nominal sensing range.
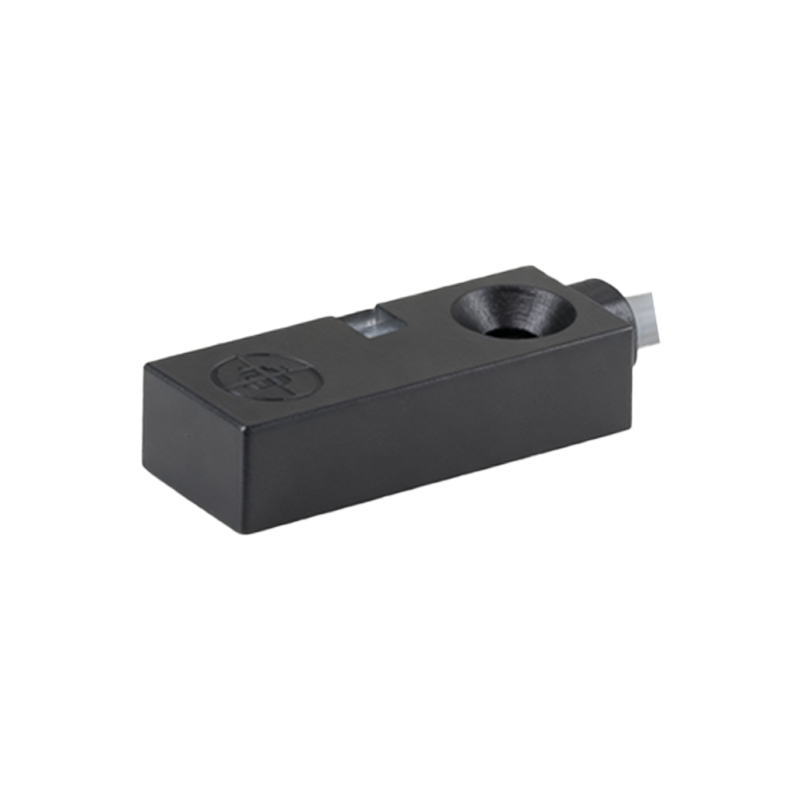
For threaded barrel-style sensors, which are the most common, the mounting process is straightforward but demands precision. Select a mounting bracket or drill a hole in the machine frame that matches the sensor's thread size and pitch precisely. The hole should be clean, deburred, and perpendicular to the expected path of the target object. Use a standard hex nut or the sensor's integrated flange to secure it. It is crucial not to overtighten the lock nut, as this can distort the sensor housing, damage internal components, or crack the sensing face. A recommended practice is to tighten the nut finger-tight and then use a wrench for a final quarter to half turn, following the manufacturer's specified torque value if available. For sensors with plastic housings, extra care must be taken to avoid stripping the threads.
The orientation and alignment of the sensor relative to the target are paramount. The sensing face must be parallel to the target surface for optimal performance. For cylindrical objects, ensure the sensor axis is perpendicular to the direction of object travel. The actual mounting distance should be set within 80-90% of the rated sensing distance (Sn) to account for environmental factors like temperature fluctuations, voltage variations, and target material inconsistencies. Never mount the sensor at its absolute maximum rated distance.

Vibration is a common enemy in industrial settings. To mitigate its effects, always use the supplied lock nut or a suitable thread-locking adhesive. For applications with severe vibration or shock, consider using sensors with robust, all-metal housings and additional mounting hardware like vibration-dampening brackets or cable strain relief glands. The sensor's cable must also be properly secured. Use cable ties or clamps to fasten the cable to a stationary part of the machinery, leaving a service loop near the sensor connector to prevent stress from being transmitted directly to the electrical connections. Never let the cable dangle freely.
Environmental protection is another critical aspect. Ensure the sensor's IP (Ingress Protection) rating is suitable for the operating environment. For washdown areas or outdoor use, sensors with ratings of IP67 or IP69K are necessary. When mounting in such environments, verify that the sealing surfaces are clean and the lock nut is properly seated to maintain the seal. For capacitive sensors, which can be affected by moisture or material buildup on the sensing face, regular cleaning and a small air gap from sticky materials might be required.
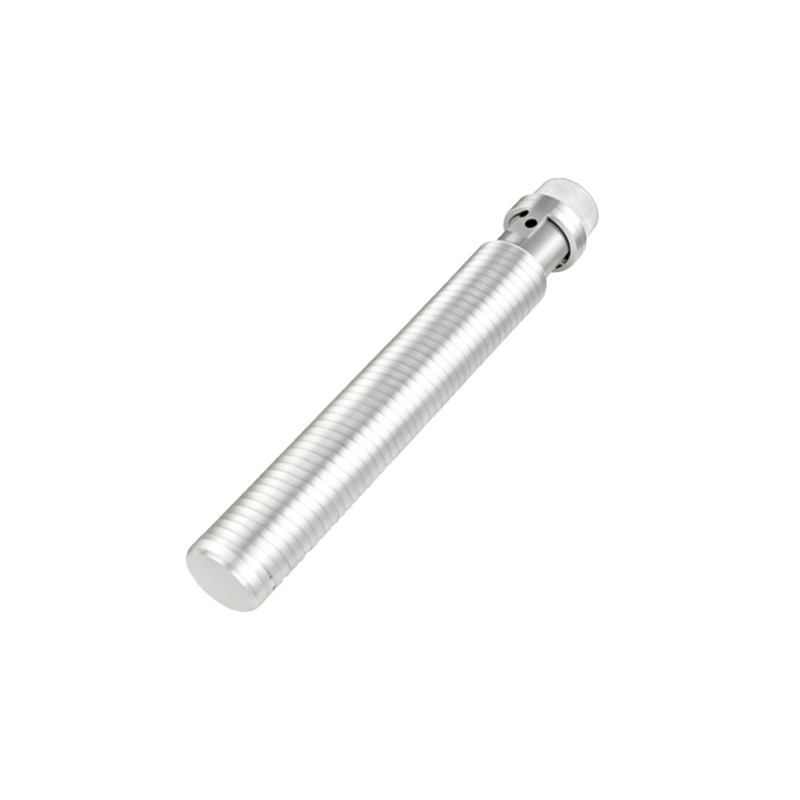
Finally, after physical mounting, always perform a functional test. Power the sensor and use the actual target material to verify the switching point at the operational speed. Observe the indicator LED (if present) and monitor the output signal with a multimeter or PLC input. Adjust the mounting position incrementally if the sensing distance is inconsistent. Document the mounting location, sensor type, and any adjustments made for future maintenance reference.
In summary, meticulous planning, adherence to manufacturer specifications, precise mechanical installation, and thorough testing are the pillars of reliable proximity sensor fixation. By investing time in correct mounting procedures, engineers and technicians can ensure maximum sensor longevity, system accuracy, and uninterrupted production flow.