As an experienced electrical engineer, I often encounter malfunctioning small proximity sensors in industrial automation systems. These compact devices, crucial for object detection and positioning, can fail due to various reasons such as physical damage, wiring issues, or internal component degradation. This article, inspired by detailed repair video tutorials, outlines a systematic approach to diagnosing and fixing common problems with small inductive or capacitive proximity sensors.
First, safety is paramount. Always disconnect power to the sensor and the associated control circuit before any repair attempt. Use a multimeter to verify zero voltage. Gather necessary tools: a precision screwdriver set, a digital multimeter, soldering iron, desoldering pump, and possibly replacement parts like a new sensing coil or oscillator IC, which are often model-specific.
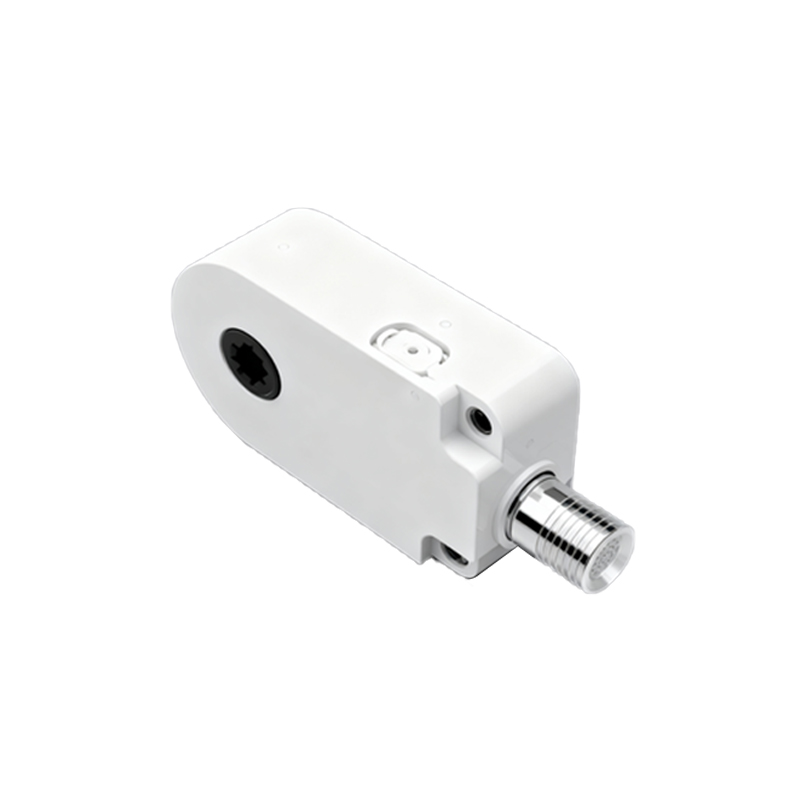
The initial step, as demonstrated in repair videos, is visual inspection. Check the sensor housing for cracks, dents, or signs of impact. Examine the cable entry point for strain or fraying, a common failure point. If the cable is damaged, it can often be repaired by cutting back the sheath, testing individual conductors for continuity, and re-terminating with a new connector or by splicing, ensuring proper insulation and strain relief.
Next, open the sensor housing carefully. Most small proximity sensors have a threaded barrel or a clipped plastic casing. Inside, you'll typically find a coil wound around a ferrite core, an oscillator circuit, a demodulator, and an output switching component (transistor or relay). Use the multimeter in resistance mode to test the coil. A healthy coil shows a specific low resistance (often between 50-500 ohms, but consult the datasheet). An open circuit (infinite resistance) indicates a broken coil wire, requiring rewinding or replacement of the coil assembly. A short circuit (near-zero resistance) suggests internal winding failure.
Proceed to test the electronic components on the PCB. Power the sensor from a bench DC supply according to its rated voltage (e.g., 10-30V DC). Using an oscilloscope, if available, probe the oscillator circuit. A functioning oscillator should show a stable high-frequency waveform. No signal often points to a faulty oscillator IC or supporting capacitor/resistor. With a multimeter, check for voltage levels at key test points indicated in the sensor's schematic. Diodes and transistors can be tested for forward voltage drops and junctions.
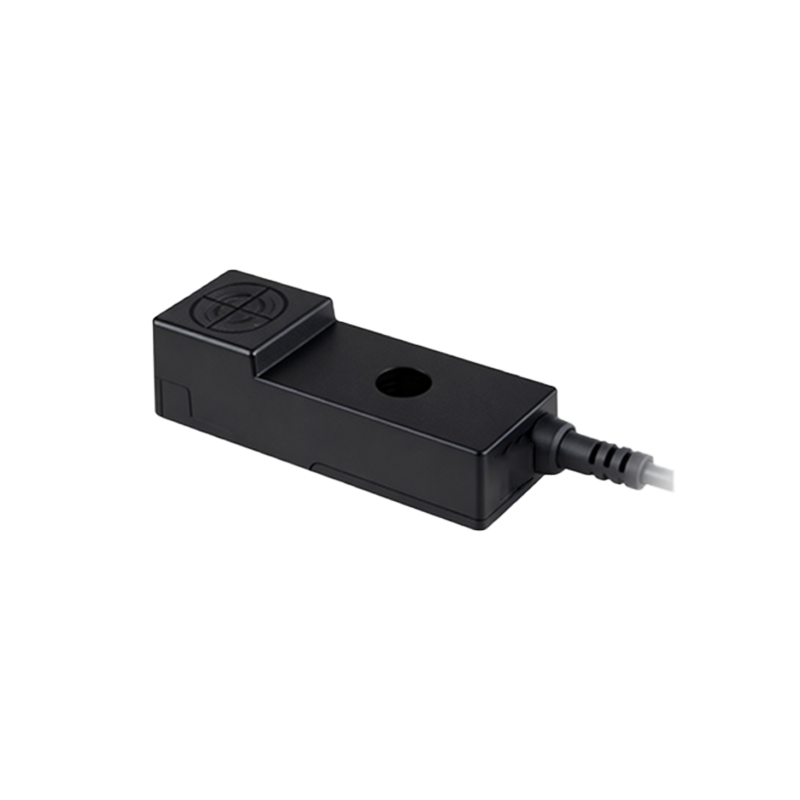
A frequent issue is output failure. For a DC 3-wire sensor (PNP or NPN), measure the voltage between the output wire and the common (negative) when a metal target is brought within sensing range. No change in output state suggests a faulty output transistor. Desolder and replace it with an identical specification part, paying close attention to the pin configuration and heat dissipation.
After replacing any component, reassemble the sensor cautiously. Ensure O-rings or seals are intact for IP-rated models to maintain environmental protection. Before reinstalling, perform a functional test. Connect the sensor to its rated power supply and use a standard metal target to verify the sensing distance and output response. Compare its performance with the original specifications for response time and hysteresis.
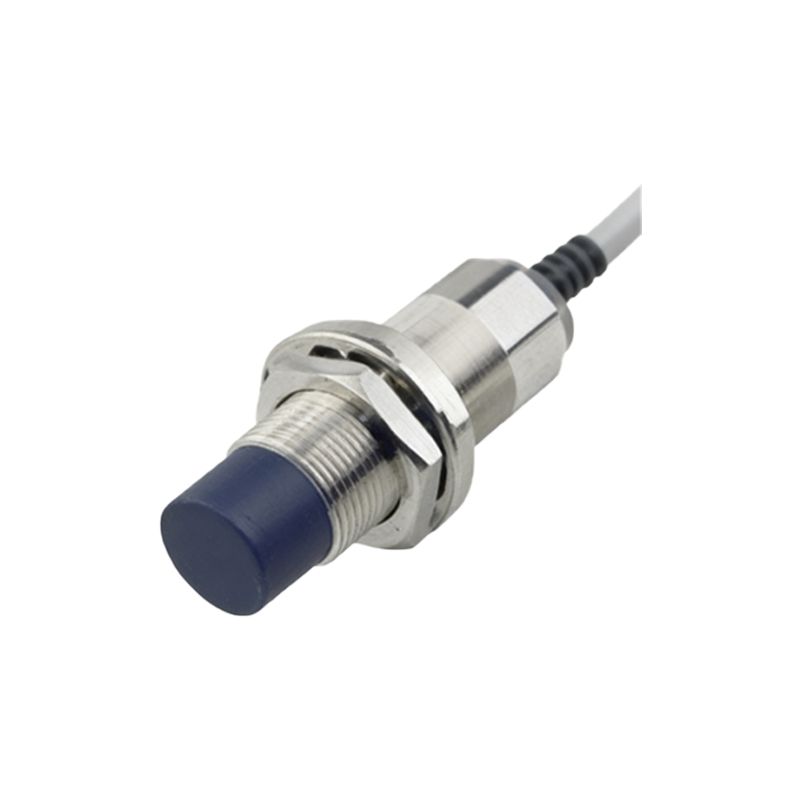
Preventive maintenance tips from these videos include regular cleaning of the sensor face to prevent buildup of metallic dust or oil, which can reduce effective sensing distance. Also, verify stable power supply and avoid mechanical stress on the cable.
In summary, repairing a small proximity sensor is a feasible task with methodical troubleshooting, basic electronic repair skills, and the right guidance. Video resources provide invaluable visual cues for each disassembly and testing step. While some integrated sensors are cost-effective to replace, repairing them can be crucial for minimizing downtime in critical applications or when dealing with obsolete models. Always prioritize safety, refer to manufacturer documentation when possible, and systematically isolate the fault from external wiring to internal components.