The integration of laser sensors into vehicle systems represents a significant advancement in automotive technology, enabling enhanced safety, automation, and efficiency. As an experienced electrical engineer in the automotive sector, I will outline the key steps and considerations for properly installing laser sensors on vehicles, adhering to industry standards and best practices.
First, it is crucial to select the appropriate laser sensor for the intended application. Common types include LiDAR (Light Detection and Ranging) sensors for autonomous driving, proximity sensors for obstacle detection, and distance-measuring sensors for adaptive cruise control. Factors such as range, accuracy, resolution, and environmental durability must be evaluated. For instance, LiDAR sensors typically require a 360-degree field of view and high precision, while proximity sensors may focus on short-range detection. Always consult the manufacturer’s specifications to ensure compatibility with the vehicle’s electrical system and operational conditions.
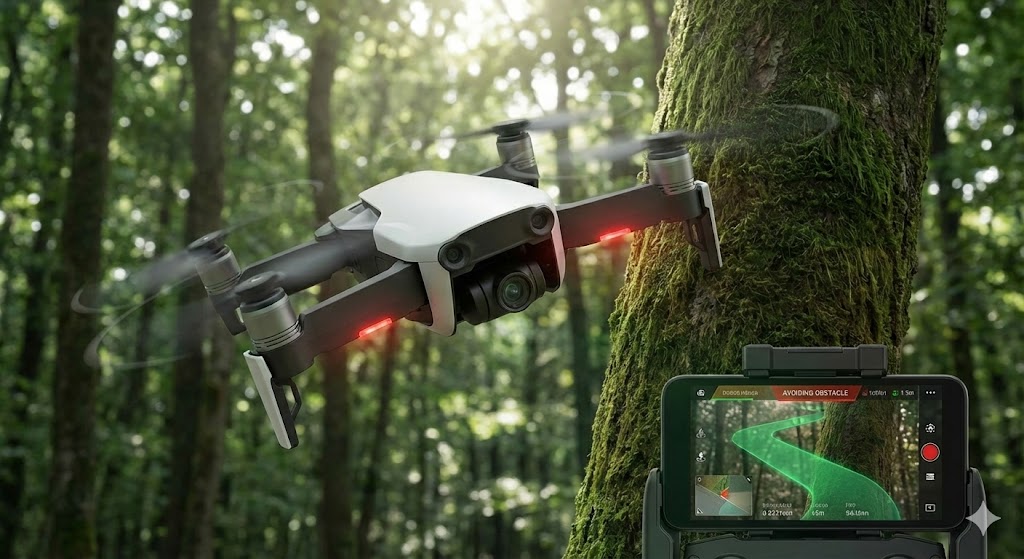
Before installation, conduct a thorough site assessment. Identify the optimal mounting location on the vehicle, considering factors like vibration, temperature extremes, and exposure to debris or moisture. The sensor should be positioned to minimize obstructions and maximize its detection zone. For example, front-mounted sensors for collision avoidance are often placed near the grille or bumper, while side sensors may be integrated into door panels. Use mounting brackets that provide stability and allow for precise alignment. Ensure the mounting surface is clean and flat to prevent misalignment, which can lead to inaccurate readings.
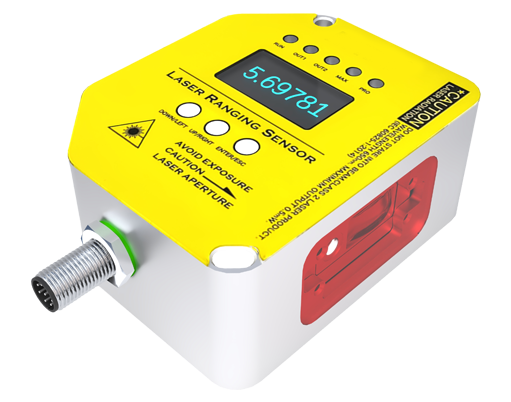
Wiring and electrical integration are critical phases. Laser sensors typically require power connections, data interfaces (e.g., CAN bus, Ethernet), and grounding. Follow the vehicle’s wiring diagram to connect the sensor to the power supply, ensuring voltage levels match the sensor’s requirements (commonly 12V or 24V for automotive applications). Use shielded cables to reduce electromagnetic interference (EMI), which can affect sensor performance. Secure all connections with appropriate connectors and protect wiring from abrasion or moisture using conduits or seals. Integrate the sensor with the vehicle’s central control unit (ECU) by configuring the communication protocol, as specified in the sensor’s manual.
Calibration is essential after physical installation. This process involves adjusting the sensor to ensure accurate data output relative to the vehicle’s orientation and environment. Use calibration tools provided by the manufacturer, such as alignment targets or software interfaces. For LiDAR sensors, this may include setting the horizontal and vertical angles, while distance sensors might require zero-point calibration. Test the sensor in a controlled environment before road testing, verifying its response to known objects or distances. Document calibration settings for future reference or adjustments.
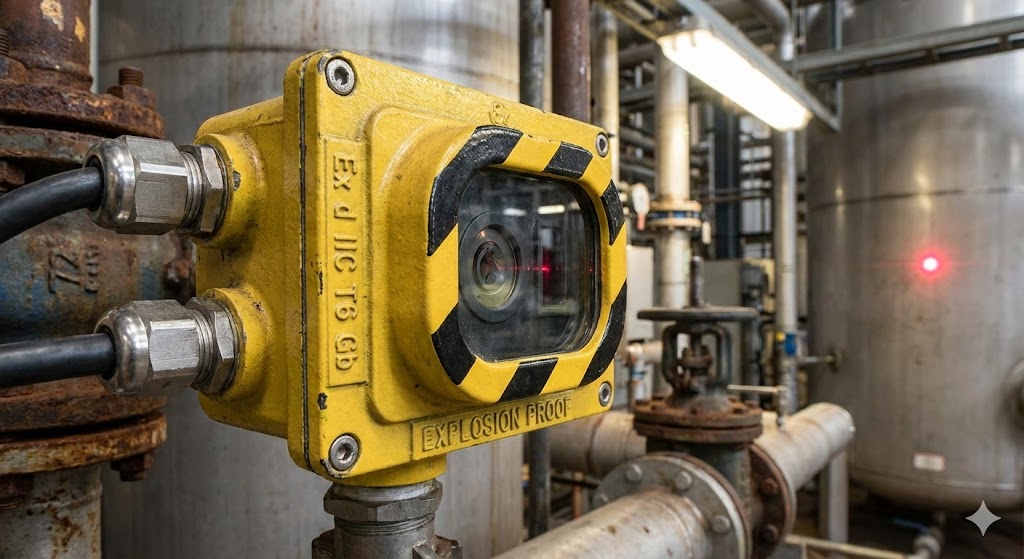
Testing and validation are the final steps to ensure reliability. Perform functional tests under various conditions, such as different lighting, weather, and road surfaces. Check for consistency in detection ranges and response times. Use diagnostic tools to monitor data output and identify any anomalies, like false positives or signal dropouts. Collaborate with software teams to integrate sensor data into the vehicle’s systems, such as triggering alerts or automated controls. Regular maintenance, including cleaning lens surfaces and inspecting connections, will prolong sensor life and performance.
In summary, installing laser sensors on vehicles demands careful planning, precise execution, and rigorous testing. By following these guidelines, engineers can enhance vehicle capabilities, contributing to safer and smarter transportation solutions. As technology evolves, staying updated with industry trends and manufacturer updates will ensure continued success in automotive sensor integration.