Laser sensors are critical components in modern industrial automation, offering high precision for measurement, detection, and positioning tasks. Proper installation is essential to ensure optimal performance, accuracy, and longevity. This guide provides a comprehensive, step-by-step approach to installing laser sensors in industrial environments, adhering to best practices and safety standards.
Before beginning the installation process, thorough preparation is necessary. First, review the sensor’s datasheet and technical manual to understand its specifications, including operating voltage, sensing range, output type (e.g., analog, digital, or IO-Link), and environmental ratings (such as IP protection class). Ensure the selected sensor matches the application requirements—for instance, choosing a diffuse reflective sensor for object detection or a through-beam sensor for long-range applications. Gather all required tools, including mounting brackets, screws, wrenches, a spirit level, and appropriate cabling. Always disconnect power to the system to prevent electrical hazards during installation.
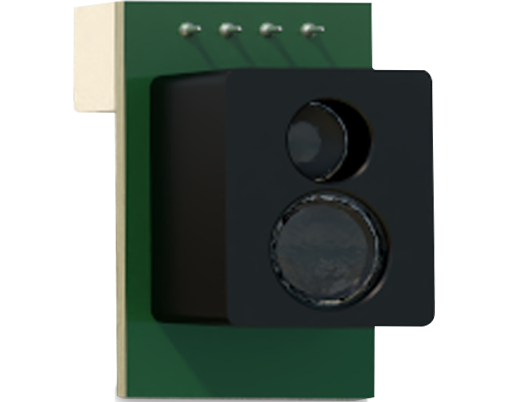
The mounting location is crucial for sensor performance. Select a stable, vibration-free surface that aligns with the target area. Avoid placing the sensor near sources of heat, direct sunlight, or excessive dust, as these can affect readings. For through-beam sensors, ensure the emitter and receiver are precisely aligned; even minor misalignment can cause signal loss. Use a spirit level to confirm both units are parallel. When mounting, secure the sensor firmly using provided brackets or adapters, but avoid over-tightening screws, which may damage the housing or affect calibration.
Wiring must be executed with care to prevent electrical issues. Follow the manufacturer’s wiring diagram, typically found in the manual. Connect power leads to the correct terminals, ensuring proper polarity for DC sensors. For output connections, match the sensor’s output type to the control system—for example, connecting a PNP output to a PLC input module. Use shielded cables in environments with electromagnetic interference (EMI) and route them away from power lines or motors. Secure cable connections with cable glands or strain relief fittings to prevent dislodgment. After wiring, double-check all connections for tightness and correctness before applying power.
Calibration and testing are vital steps post-installation. Power on the system and observe the sensor’s indicator lights, which often show operational status (e.g., green for stable detection). Adjust the sensing range or sensitivity using potentiometers or software interfaces, if available. For distance-measuring sensors, test with reference objects at known distances to verify accuracy. Perform a functional test under actual operating conditions, checking for consistent detection and response time. Document settings and calibration values for future maintenance.
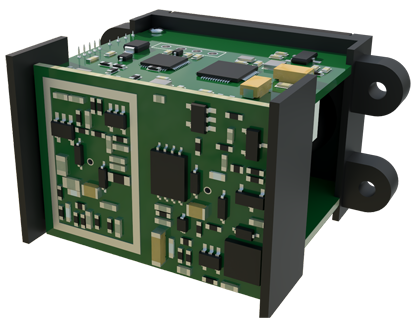
Regular maintenance ensures sustained performance. Periodically inspect the sensor lens for contamination, cleaning it with a soft, lint-free cloth if needed. Check mounting stability and cable integrity, especially in high-vibration areas. Monitor for environmental changes that might impact performance, such as new obstructions or shifts in ambient light. By following these guidelines, engineers can achieve reliable laser sensor installations that enhance automation efficiency and reduce downtime.
In summary, successful laser sensor installation hinges on preparation, precise mounting, correct wiring, thorough calibration, and ongoing maintenance. Adhering to these practices not only maximizes sensor accuracy but also extends its service life in demanding industrial settings.