Proximity sensors are versatile electronic components that detect the presence or absence of nearby objects without physical contact. Their ability to sense objects reliably makes them indispensable in automation, robotics, security systems, and countless consumer electronics. Understanding how to use them correctly is key to unlocking their full potential. This guide walks you through the practical steps, from selection to integration.
The first step is choosing the right sensor for your application. Proximity sensors come in several primary types, each with distinct operating principles and ideal use cases. Inductive sensors detect metallic objects using an electromagnetic field. They are robust, unaffected by dust or dirt, and perfect for industrial machinery. Capacitive sensors can detect both metallic and non-metallic materials (like plastic, wood, or liquids) by sensing changes in capacitance. These are often used in level detection or touch-sensitive interfaces. Ultrasonic sensors use sound waves to measure distance to an object and can work with virtually any material, making them suitable for parking assist systems or bin level monitoring. Finally, photoelectric sensors use a light beam (usually infrared) and are excellent for long-range detection or sensing small objects, common in conveyor belt systems.
Once you've selected the type, consider the specifications. Key parameters include sensing range (the maximum distance for reliable detection), output type (digital like NPN/PNP or analog like 0-10V), supply voltage, and response time. Always choose a sensor with a sensing range slightly longer than your maximum required distance to account for variations.
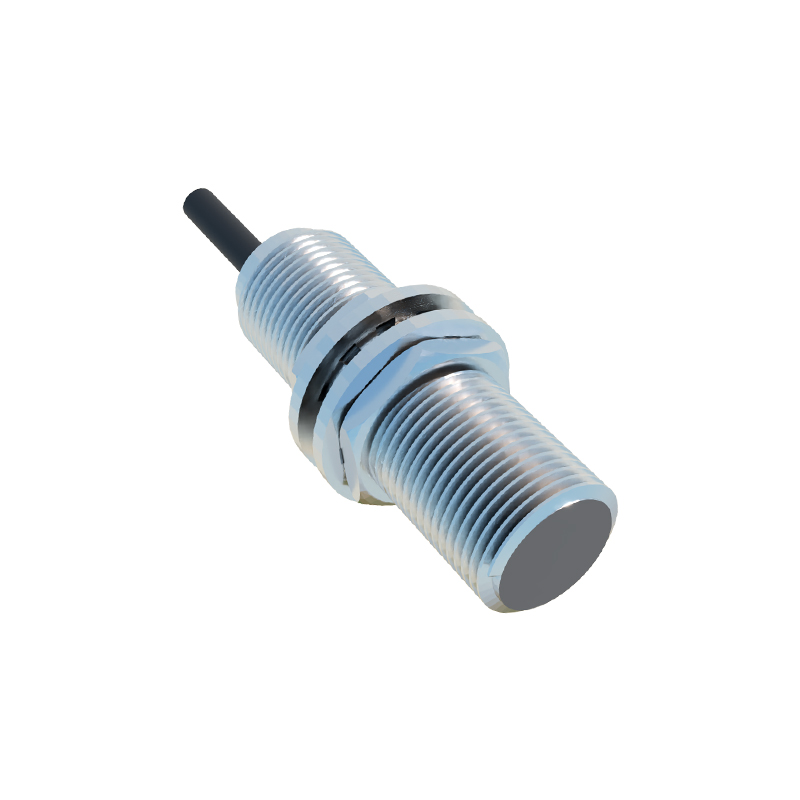
Wiring and power supply are critical for safe operation. Most industrial proximity sensors have three wires: brown for positive voltage (e.g., 12-24V DC), blue for negative or ground, and black for the output signal. Always consult the sensor's datasheet. Connect the power supply within the specified voltage range. An unstable or incorrect power source is a common cause of sensor failure or erratic behavior. For digital sensors, the output wire will switch to either supply voltage (for PNP/sourcing) or ground (for NPN/sinking) when an object is detected. This output can be connected to a PLC input, microcontroller (like an Arduino or Raspberry Pi), relay, or indicator light. Ensure your controller's input is compatible with the sensor's output type. For microcontrollers, you may need a pull-up or pull-down resistor and should connect the signal to a digital input pin.
Mounting the sensor correctly is often overlooked but vital. Ensure the sensor is firmly secured to prevent vibration from altering its position. For inductive and capacitive sensors, be mindful of the sensing face. Keep metal objects or other sensors outside their specified lateral and axial non-sensing zones to avoid false triggers. For photoelectric sensors, ensure the lens is clean and aligned properly with the reflector or receiver. Ultrasonic sensors require a clear "field of view"; avoid mounting them where acoustic noise or soft materials that absorb sound could interfere.
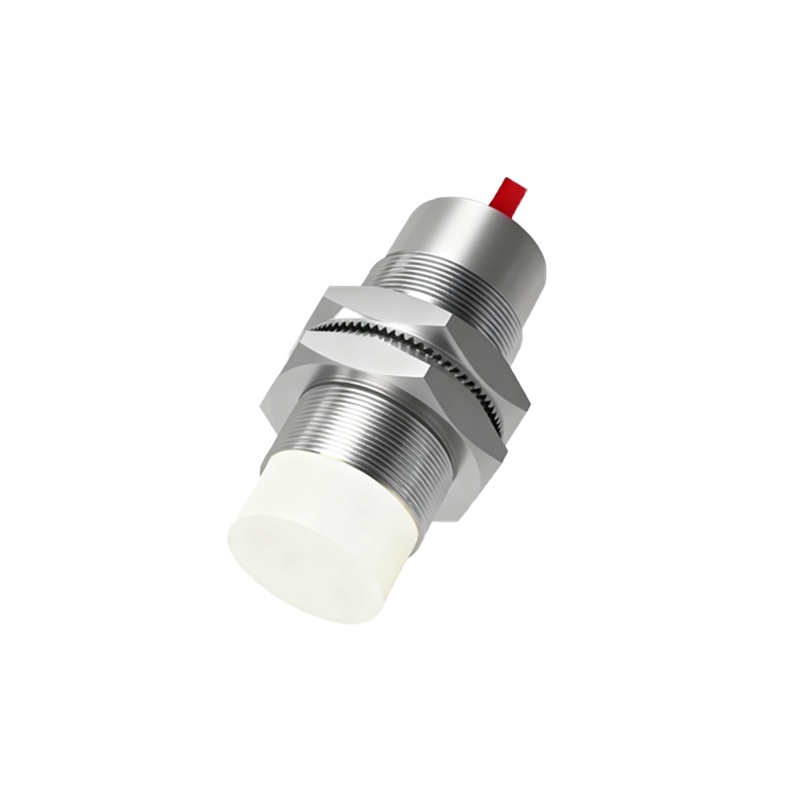
After installation, you must adjust the sensitivity or threshold, if the sensor has a potentiometer for this purpose. Bring the target object to the desired detection point and adjust the screw until the sensor's output LED toggles reliably. Some sensors feature teach-in modes for easy calibration. For analog sensors, you'll need to map the output voltage or current to a distance value in your controller's program.
Integrating the sensor into your control logic is the final step. For a simple application, like turning on a light when an object is near, the digital signal can directly power a relay. In more complex setups with a microcontroller, you'll write code to read the sensor's state. For a digital sensor, this involves reading a GPIO pin as HIGH or LOW. For an analog sensor, you'll use an analog-to-digital converter (ADC) pin to read a variable voltage and convert it to a distance measurement using the formula from the datasheet. Always incorporate debouncing in your code for digital sensors to ignore electrical noise, and use averaging for analog sensors to smooth out readings.
Common pitfalls include ignoring environmental factors. Inductive sensors can be affected by adjacent metals, capacitive sensors by humidity, and photoelectric sensors by ambient light. Always test in the final operating environment. Furthermore, ensure the target object's size, material, and approach angle are within the sensor's specifications. A small screw might not be detected by an inductive sensor calibrated for large metal plates.
With proper selection, careful installation, and correct interfacing, proximity sensors become reliable workhorses. They enable precise, contactless control, enhancing the efficiency, safety, and intelligence of any electronic or automated system. Start with a simple project to gain confidence, and soon you'll find numerous applications for these powerful detection tools.