In the world of industrial automation, robotics, and smart devices, proximity sensors are the silent sentinels. They detect the presence or absence of an object without physical contact, enabling countless applications from assembly line safety to smartphone screen dimming. While the hardware—be it inductive, capacitive, ultrasonic, or infrared—does the physical sensing, it is the code that breathes life into it, translating raw signals into actionable intelligence. This guide delves into the practical aspects of writing effective proximity sensor code, moving beyond theory to implementation.
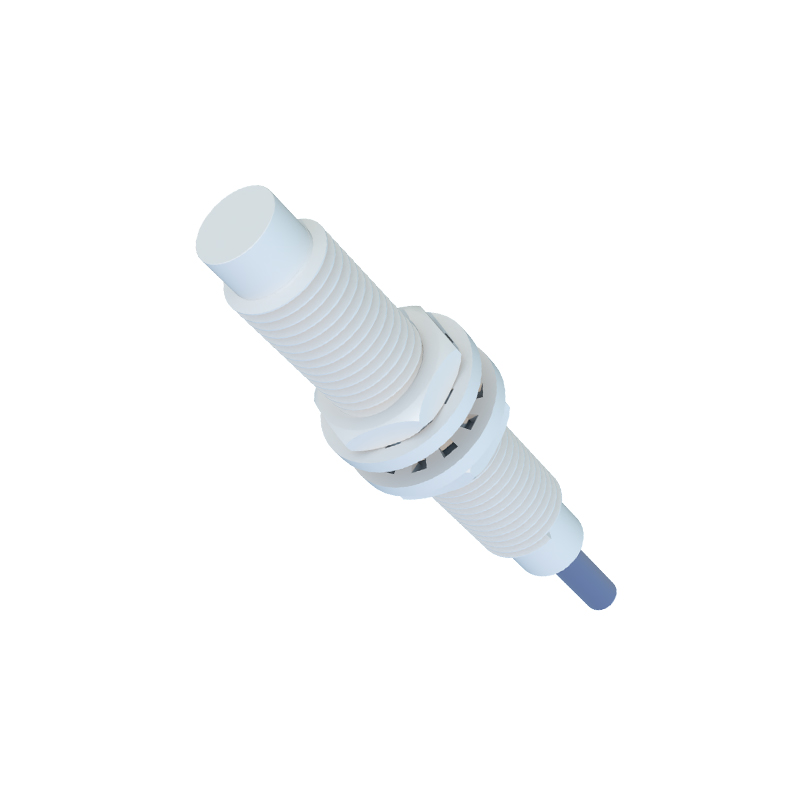
The first and most critical step is understanding your sensor's communication protocol. This dictates the entire structure of your code. For simple digital sensors, the interface is often a straightforward GPIO (General-Purpose Input/Output) pin. Your code's primary job is to read the state of this pin—HIGH or LOW, 1 or 0. For instance, an inductive proximity sensor might pull a pin LOW when metal is detected. A basic Arduino code snippet illustrates this simplicity:
``cpp
const int sensorPin = 2; // Sensor connected to digital pin 2
void setup() {
pinMode(sensorPin, INPUT);
Serial.begin(9600);
}
void loop() {
int sensorState = digitalRead(sensorPin);
if (sensorState == LOW) {
Serial.println("Object Detected!");
// Trigger an action: activate a relay, sound a buzzer, etc.
}
delay(50); // Small delay to debounce and stabilize reading
}
`
However, many modern sensors use analog outputs or sophisticated digital protocols. Analog sensors provide a variable voltage corresponding to distance or sensing strength. Your code must read this analog value using an ADC (Analog-to-Digital Converter) and often map it to a useful range. This allows for threshold-based detection with a hysteresis band to prevent flickering when an object is at the edge of the detection range.
`cpp
const int analogPin = A0;
int detectionThreshold = 500;
void loop() {
int sensorValue = analogRead(analogPin);
if (sensorValue > detectionThreshold) {
// Object is within a specific proximity
}
}
`
For more precise data, sensors like time-of-flight (ToF) or those with I2C/SPI interfaces require specific library support and protocol handling. Using I2C, for example, involves initializing the bus, writing to sensor registers to configure it, and reading back data bytes. Robust code here includes error checking for bus faults or missing devices.
A crucial, often overlooked aspect of proximity sensor code is debouncing and signal conditioning. Sensors can produce electrical noise or brief false triggers. Effective code implements temporal filtering. Instead of acting on a single reading, your program should consider the state over a short period. A common method is to require a new state to be consistent for multiple consecutive readings before it is accepted. This simple digital filter dramatically improves reliability in noisy environments.
`cpp
int stableCount = 0;
const int requiredStableReadings = 5;
void loop() {
int currentRead = digitalRead(sensorPin);
if (currentRead == LOW) {
stableCount++;
} else {
stableCount = 0;
}
if (stableCount >= requiredStableReadings) {
// Confirmed detection
stableCount = requiredStableReadings; // Prevent overflow
}
}
`
Integration with system logic is where the code becomes truly powerful. A proximity sensor rarely works in isolation. Your code must manage the interaction between the sensor input and other outputs or system states. This involves state machines, where the system moves between defined states like "IDLE," "APPROACHING," "DETECTED," and "DEPARTED" based on sensor input and timers. For example, code for an automatic hand dryer would stay in an idle state until a prolonged detection is received, then activate the dryer for a fixed period before returning to idle, ignoring brief passes.
Furthermore, consider calibration and configurability. Good code allows for runtime calibration to adapt to different environments. This might involve a setup routine where the sensor reads the background level for a few seconds to auto-set a threshold, or it could provide serial commands to adjust parameters without re-flashing the firmware.
For resource-constrained embedded systems, efficiency is paramount. Avoid blockingdelay() calls in loops for extended periods, as they halt all processing. Instead, use non-blocking timing withmillis()` or hardware interrupts for immediate response to a sensor's state change, while keeping the main loop free for other tasks.
Finally, implement diagnostic and logging features. During development and maintenance, having your code report raw sensor values, calibration status, and event counts via a serial