Proximity sensors are indispensable components in modern automation, manufacturing, and consumer electronics. They detect the presence or absence of an object without physical contact, relying on electromagnetic fields, light, or sound. Proper adjustment is critical for reliable operation, preventing false triggers, and ensuring system safety. This guide provides a systematic approach to tuning these sensors effectively.
The first step is always to consult the manufacturer's datasheet and manual. This documentation contains vital specifications: sensing distance (nominal and effective), supply voltage, output type (NPN/PNP, NO/NC), and response time. Ignoring these can lead to incorrect setup or sensor damage. Ensure the sensor is correctly installed—securely mounted, aligned properly with the target, and free from obstructions in its sensing field.
Power up the system and bring the target object to the desired sensing position. Most proximity sensors feature a tuning mechanism, often a potentiometer or a set of DIP switches. For sensors with a potentiometer, use a small screwdriver to adjust it. Slowly rotate the screw while monitoring the sensor's output indicator (usually an LED). The goal is to set the sensing point so the LED activates reliably when the target is within the required range and deactivates when it is not. Make incremental adjustments. A common mistake is to set the sensitivity too high, causing the sensor to detect background objects or environmental interference. Conversely, setting it too low may result in missed detections.
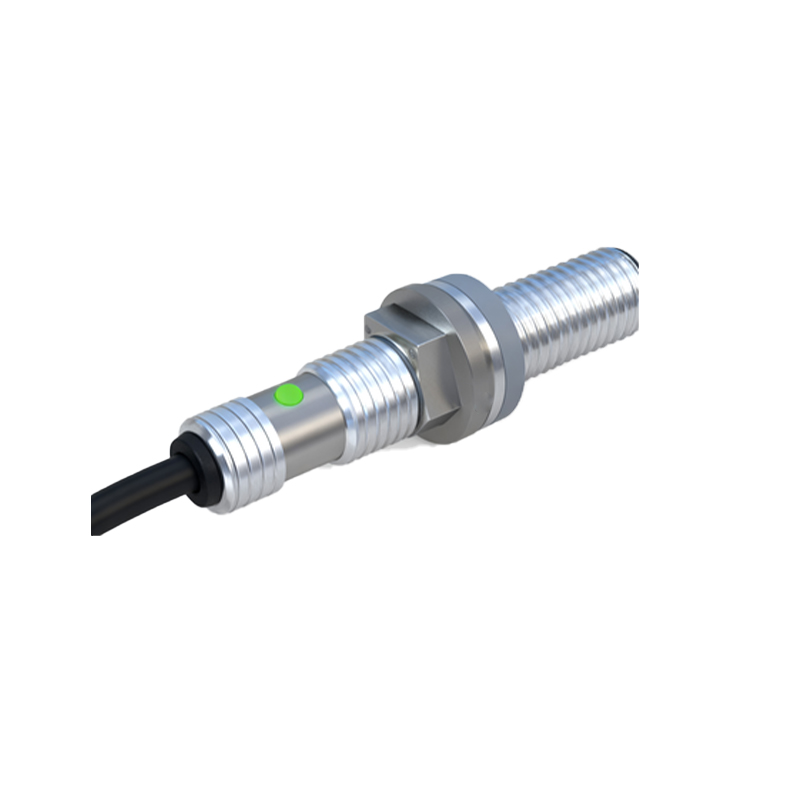
Environmental factors significantly impact performance. For inductive sensors (detecting metals), ensure different metal types are accounted for, as the sensing distance varies with material. Reduce sensitivity if vibration is present. For capacitive sensors (detecting various materials including liquids), adjust sensitivity to ignore container walls and focus on the material level inside. Photoelectric sensors require a clean lens, stable ambient light conditions, and alignment free from dust or steam interference.
Testing under real operating conditions is non-negotiable. Perform multiple cycles with the target object, including edge-case scenarios. Check for consistency and repeatability. Monitor for false positives caused by nearby machinery, electrical noise, or unintended objects passing within the sensor's field. If instability occurs, slightly decrease the sensitivity. For applications involving fast-moving objects, verify the sensor's response time is adequately faster than the object's speed.
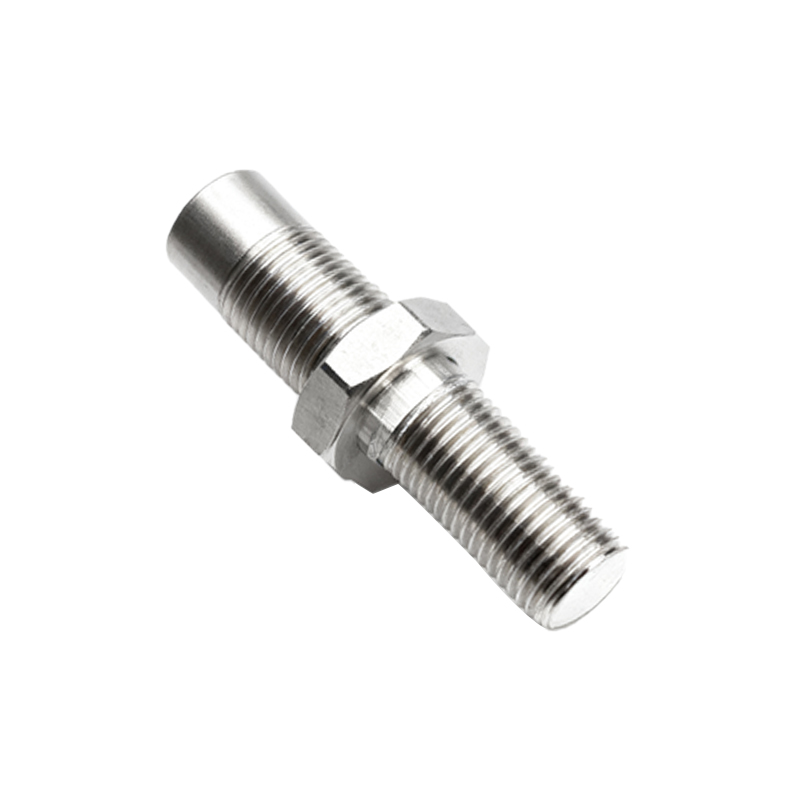
Advanced tuning may involve using teach-in functions on smart sensors or configuring parameters via software interfaces in networked systems. Always lock adjustment screws with thread-locking fluid if provided to prevent vibration from altering settings. Finally, document the final settings for future maintenance or replication.
Regular maintenance ensures long-term accuracy. Periodically clean the sensor face, check for physical damage, and re-verify the sensing distance as part of preventative maintenance schedules. A well-adjusted proximity sensor enhances efficiency, reduces downtime, and is fundamental to a robust automated system.