Proximity sensors are essential components in modern devices, enabling touchless interaction and automated functions. However, there are situations where removing a proximity sensor becomes necessary—whether for repair, replacement, or device modification. This guide provides a detailed, step-by-step approach to safely and effectively remove a proximity sensor, ensuring minimal risk to the device and the component itself.
Before starting the removal process, gather the necessary tools. Typically, you will need a set of precision screwdrivers, a plastic spudger or pry tool, tweezers, an anti-static wrist strap, and a clean workspace. Always power off the device and disconnect any power sources to prevent electrical shock or short circuits. If working on a battery-operated device, remove the battery if possible.
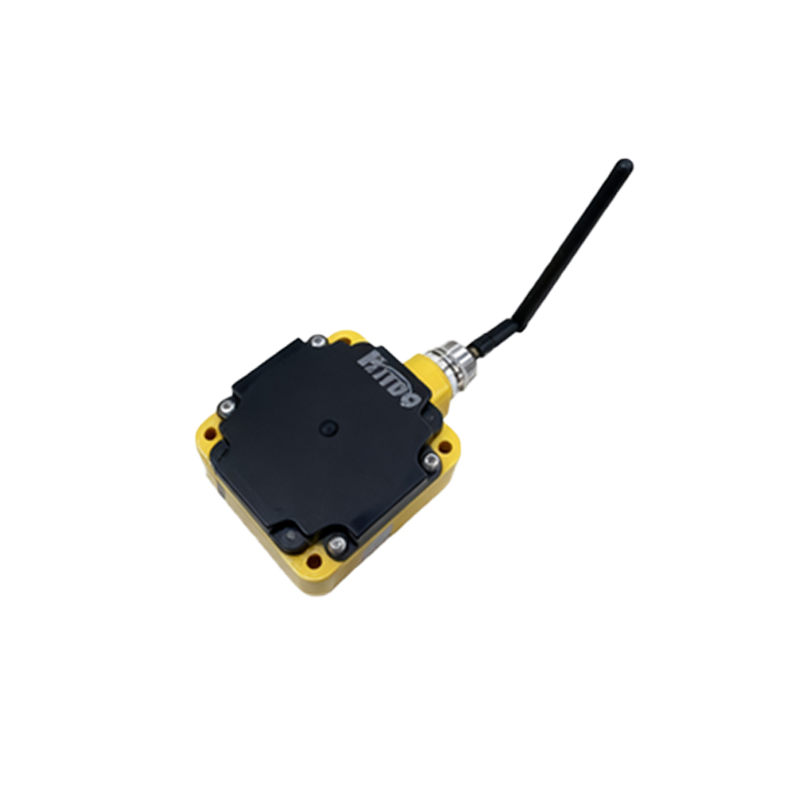
Identify the location of the proximity sensor. In smartphones and tablets, it is often near the front-facing camera or earpiece. In industrial equipment, it might be mounted on a panel or within a housing. Consult the device’s technical manual or online resources for specific diagrams. Once located, remove any external covers or casings that obstruct access. Use the appropriate screwdriver to carefully unscrew fasteners, keeping screws organized in a labeled container.
For devices with adhesive or clipped components, gently insert a plastic spudger between the sensor housing and the device frame. Apply steady, even pressure to release clips or adhesive bonds. Avoid using metal tools, as they can scratch circuits or cause damage. If adhesive is particularly strong, applying mild heat with a hairdryer on a low setting can soften it—ensure the device is cool to the touch before proceeding.
Disconnect the sensor from the mainboard. Most proximity sensors are connected via a small, delicate ribbon cable or a ZIF (Zero Insertion Force) connector. Lift the connector latch slowly using tweezers or a spudger, then slide the cable out. Handle the cable by its edges to avoid bending or tearing. If the sensor is soldered directly to the board, desoldering equipment and advanced skills are required; consider seeking professional assistance in such cases.
Once disconnected, carefully lift the sensor from its seating. Inspect the area for any residual adhesive or debris, and clean it with isopropyl alcohol and a soft brush if needed. Store the removed sensor in an anti-static bag if it will be reused.
After removal, reassemble the device by reversing the disassembly steps. Test the device’s basic functions before fully securing all components. If the sensor was faulty, install a replacement by aligning it precisely and reconnecting the cable, ensuring the connector latch clicks into place.
Safety precautions are crucial throughout the process. Wear an anti-static wrist strap to prevent electrostatic discharge, which can damage sensitive electronics. Work in a well-lit, dust-free environment, and take your time to avoid rushed movements. If unsure about any step, pause and consult expert resources or a technician.
Common challenges during removal include stuck adhesive, fragile cables, or hidden screws. Patience and the right tools can overcome these issues. Remember that improper handling may void warranties or cause permanent damage, so proceed with caution.
In summary, removing a proximity sensor requires careful preparation, appropriate tools, and methodical execution. By following this guide, you can achieve a successful removal while maintaining the integrity of your device. Whether for DIY repairs or professional maintenance, these practices ensure a safe and efficient process.