Proximity sensors are critical components in industrial automation, consumer electronics, and automotive systems, detecting the presence or absence of objects without physical contact. When these sensors malfunction, they can disrupt entire operations. Understanding how to diagnose and repair them efficiently is essential for minimizing downtime. This guide provides a systematic approach to repairing proximity sensors, emphasizing safety, accuracy, and practicality.
Before starting any repair, ensure the system is powered off and disconnected from energy sources to prevent electrical hazards. Gather necessary tools: a multimeter, screwdrivers, soldering iron, replacement parts (if identified), and cleaning supplies like isopropyl alcohol. Always refer to the sensor’s datasheet or manual for specifications, as procedures vary by type (inductive, capacitive, or photoelectric sensors).
The first step is diagnosis. Common symptoms of a faulty proximity sensor include inconsistent detection, no output signal, or false triggers. Begin with a visual inspection for obvious damage: check the sensor housing for cracks, corrosion, or loose connections. Examine wiring and connectors for wear, fraying, or disconnection. If visible issues are absent, proceed to electrical testing. Use a multimeter to measure voltage at the sensor’s power supply terminals, ensuring it matches the rated value (e.g., 12V DC or 24V DC). Next, test the output signal. For a digital sensor, monitor the output terminal while bringing a target object within range; the voltage should switch between high and low states. No change indicates a potential internal fault.
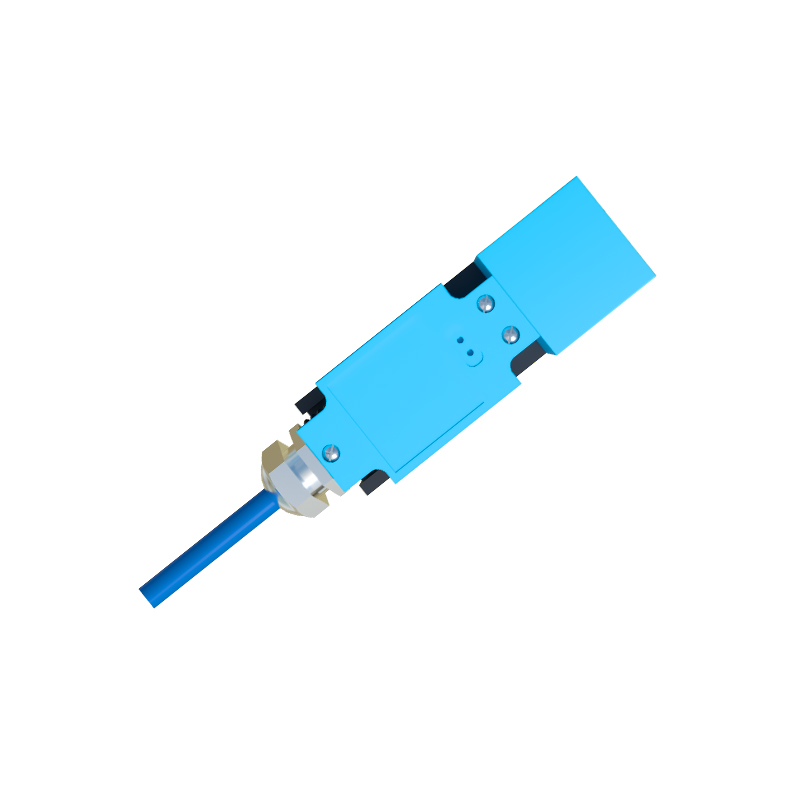
If electrical tests fail, disassemble the sensor carefully. Remove mounting screws and open the housing, noting the arrangement of internal components. Avoid touching sensitive elements like the sensing coil or optical lens directly. Inspect the circuit board for burnt components, cold solder joints, or swollen capacitors. Clean the board with isopropyl alcohol to remove dust or debris that might interfere with operation. For inductive sensors, check the oscillator coil for continuity using a multimeter—a broken coil often requires replacement. In photoelectric sensors, inspect the emitter and receiver lenses for dirt or misalignment; clean them gently with a lint-free cloth.
Repair actions depend on the fault. Replace damaged wiring or connectors by soldering new ones, ensuring secure insulation. For faulty components like transistors or integrated circuits, desolder the defective part and install an identical replacement, matching specifications precisely. If the sensing element is damaged, consider replacing the entire sensor module, as recalibration may be complex. After repairs, reassemble the sensor, ensuring seals are intact for environmental protection.
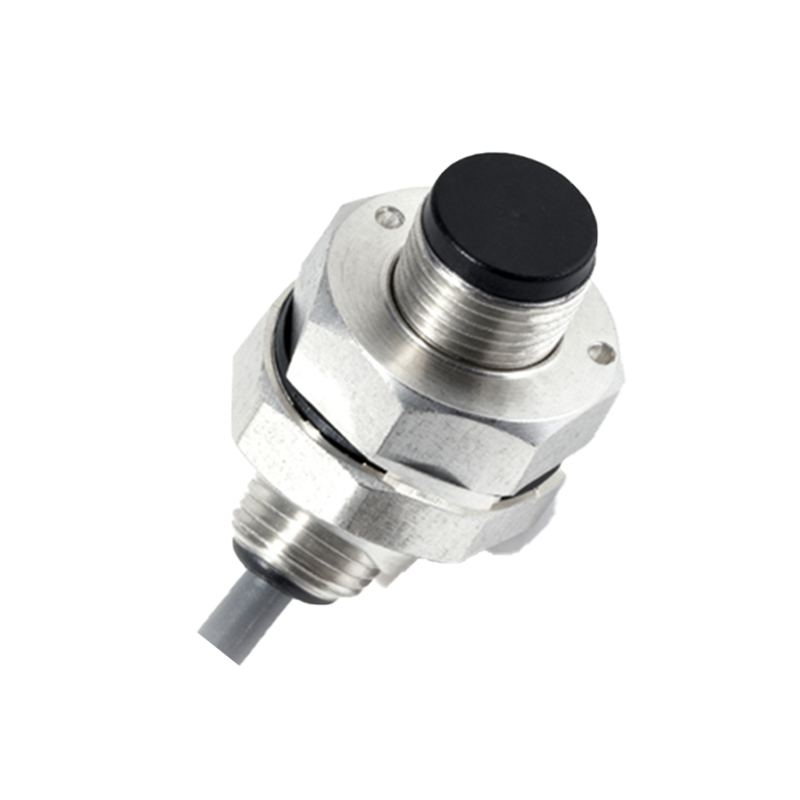
Post-repair testing is crucial. Reconnect the sensor to power and a test circuit. Use a target object to verify consistent detection at the specified range. Measure response time and output stability with a multimeter or oscilloscope. If problems persist, recheck connections or consult advanced diagnostics, such as signal analysis. In some cases, environmental factors like electromagnetic interference or temperature extremes may affect performance; ensure the sensor is installed correctly per guidelines.
Preventive maintenance can reduce repair frequency. Regularly clean sensors, verify mounting stability, and monitor operating conditions. Log performance data to spot trends indicating wear. For complex systems, keep spare sensors on hand to swap out quickly during failures.
Ultimately, repairing proximity sensors blends technical skill with methodical troubleshooting. While many issues can be fixed with basic tools, some severe damages may warrant professional service or replacement. By following these steps, technicians can restore functionality efficiently, keeping systems running smoothly and cost-effectively.