2026-06-04
Tech Hub
By 创始人
Series Connection of Photoelectric Sensors in Industrial Circuits
Understanding the Basics of Photoelectric Sensors
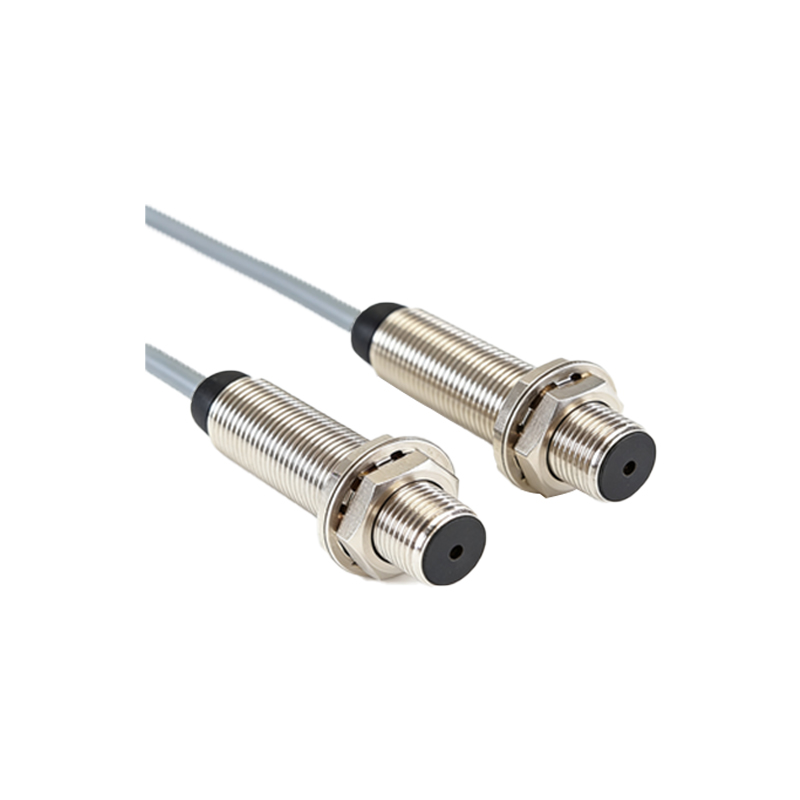
Photoelectric sensors are essential components in modern industrial automation, detecting objects by emitting a light beam and measuring its reflection or interruption. A typical sensor includes an emitter and a receiver, and when connected in series, they form a logic chain where each sensor must be in an active state to complete the circuit. This configuration is critical for safety systems, such as conveyor belt interlocks, where multiple checkpoints must verify an object’s presence before allowing machine operation. Ensure all sensors are of the same type (e.g., through-beam, retro-reflective, or diffuse) and voltage rating to avoid mismatched switching thresholds.
Circuit Design for Series Connection
In a series circuit, the output of the first photoelectric sensor (typically an NPN or PNP transistor) connects to the input of the next sensor. For NPN (sinking) sensors, the output pin connects to the input of the next sensor, while the common negative line is shared. For PNP (sourcing) sensors, the output connects to the input with the positive supply line shared. Use a common power supply (e.g., 24V DC) and ensure each sensor’s load capacity can handle the cumulative voltage drop. For example, if each sensor drops 2V, five sensors in series leave only 14V available for the final load, which may cause relay dropout. Calculate the total voltage drop and select a relay with sufficient coil voltage tolerance.
Wiring Steps and Component Selection
Start by selecting sensors with complementary output types (all NPN or all PNP) to simplify wiring. For a three-sensor series: connect the positive terminal of the power supply to the positive of all sensors. Connect the negative terminal of the power supply to the common negative of the load (e.g., a relay coil). Then, wire the output of Sensor 1 to the input of Sensor 2, and the output of Sensor 2 to the input of Sensor 3. Finally, connect the output of Sensor 3 to the relay coil. Use shielded twisted-pair cables to minimize electromagnetic interference, especially in noisy industrial environments. Install a 500mA fuse on the power line to protect against short circuits.
Testing and Troubleshooting Common Issues
After wiring, power on the system and test each sensor individually by blocking its beam. The relay should only energize when all sensors are unobstructed. If the relay fails to activate, check for voltage drops across each sensor using a multimeter. A drop exceeding the sensor’s datasheet value indicates a faulty unit. Also, verify that the load impedance matches the sensor’s output current rating. For example, a 24V relay with 1.5kΩ coil draws 16mA; ensure each sensor can handle this without exceeding its maximum load current (typically 100mA for standard models). Replace any sensor with damaged optics or intermittent output.
Advanced Considerations for Scalability
For systems requiring more than four sensors in series, use a sensor with an integrated amplifier to boost the signal, or implement a master-slave configuration using a PLC input module. This reduces voltage drop issues and simplifies diagnostics. Additionally, consider using sensors with adjustable sensitivity to fine-tune the detection threshold in dusty or low-light conditions. Always document the wiring diagram and label each sensor for maintenance. Series connections are ideal for fail-safe applications, as any single sensor failure or obstruction will break the circuit and stop the machine, enhancing workplace safety.