Overview of Photoelectric Sensor Pin Configurations
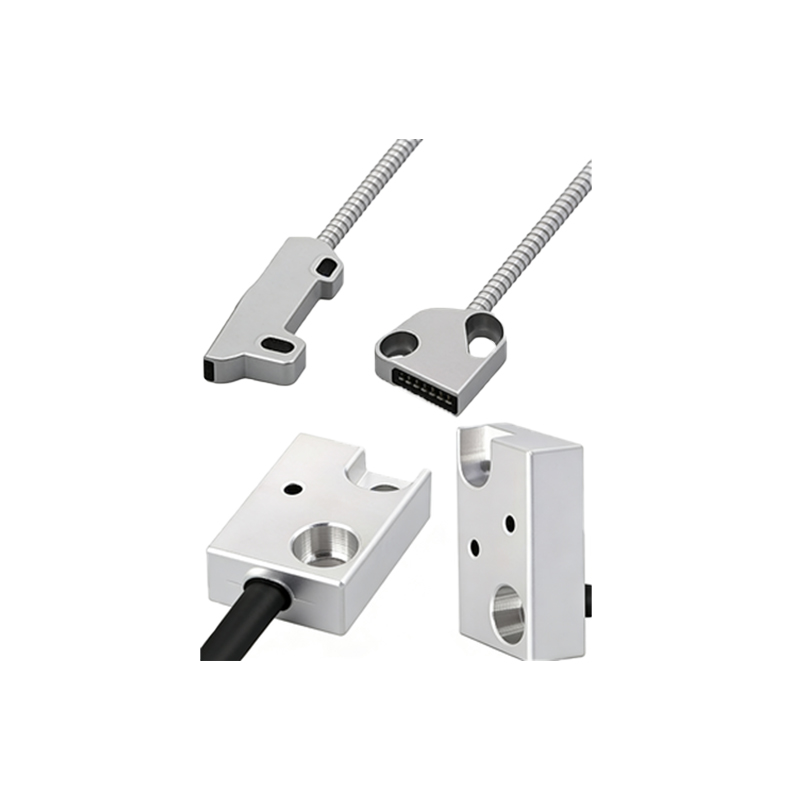
Photoelectric sensors are essential components in industrial automation, used for detecting objects, distances, and material presence. A typical 6-pin photoelectric sensor offers enhanced functionality compared to standard 3- or 4-pin models. The additional pins provide options for advanced features like remote teach, alarm outputs, or dual-channel operation. Understanding each pin's role is critical for proper wiring, integration, and troubleshooting in control systems.
Pin 1: Power Supply (VCC or +V)
The first pin is dedicated to the positive power supply. Most photoelectric sensors operate on 10-30V DC, with some models supporting 24V AC/DC. This pin must be connected to a regulated power source to ensure stable performance. Incorrect voltage can cause intermittent operation or permanent damage. Always verify the sensor's datasheet for voltage range and current consumption.
Pin 2: Ground (GND or 0V)
Pin 2 serves as the common ground return path. It completes the electrical circuit for both the power supply and output signals. Proper grounding is crucial to avoid noise interference, especially in harsh industrial environments. Use a twisted pair or shielded cable for long runs to maintain signal integrity.
Pin 3: Output Signal (NPN or PNP)
This pin carries the sensor's primary output signal. Depending on the sensor type, it can be NPN (sinking) or PNP (sourcing). A 6-pin sensor often supports both configurations via wiring options or a selector switch. When the sensor detects an object, the output switches to a defined logic state. For example, a PNP output will go HIGH (VCC) while an NPN output goes LOW (GND). Always match the output type with your PLC or controller input module.
Pin 4: Alarm Output or Error Signal
The fourth pin is typically used for an alarm or diagnostic signal. In advanced sensors, this pin outputs a warning when the sensing margin falls below a threshold, indicating contamination, misalignment, or imminent failure. This feature enables predictive maintenance. Some sensors allow this pin to be reconfigured as a second independent output via software or DIP switches.
Pin 5: Teach Input or Remote Configuration
Pin 5 enables remote programming of the sensor. By applying a specific voltage pulse or signal, engineers can adjust sensitivity, output logic, or timing parameters without physically accessing the sensor. This is particularly useful for sensors installed in confined or hazardous areas. The teach input can also be used to lock settings to prevent tampering.
Pin 6: Shield or Auxiliary Ground
The sixth pin is often reserved for cable shield connection or an auxiliary ground. In electromagnetic noisy environments, connecting this pin to earth ground reduces electrical noise pick-up. Some manufacturers use this pin for a second output (e.g., complementary output) or a test input. Always consult the specific sensor's wiring diagram to confirm its function.
Wiring Best Practices for 6-Pin Sensors
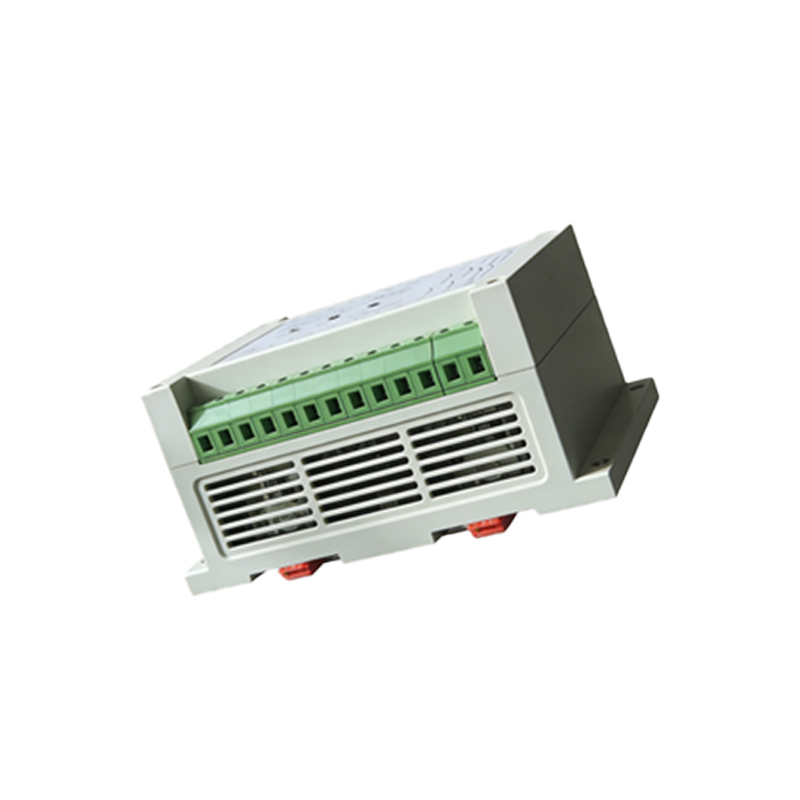
When wiring a 6-pin photoelectric sensor, use a multicolor cable for easy identification. Follow the color code specified by the manufacturer (e.g., brown for VCC, blue for GND, black for output). Avoid running sensor cables parallel to high-voltage lines. Terminate unused pins properly to prevent short circuits. For sensors with teach input, ensure the controller provides a clean signal to avoid accidental reprogramming.
Troubleshooting Common Pin-Related Issues
Common problems include incorrect output type (NPN vs. PNP), loose connections on the alarm pin, or ground loops affecting the shield pin. Use a multimeter to check voltage at pin 1 and continuity at pin 2. If the sensor fails to respond, verify the teach pin is not accidentally grounded. For persistent noise issues, inspect the shield pin connection to earth.
Conclusion: Maximizing Sensor Performance
Mastering the 6-pin configuration unlocks the full potential of modern photoelectric sensors. By understanding each pin's function, engineers can improve system reliability, reduce downtime, and leverage advanced diagnostics. Always refer to the official datasheet for pin-specific ratings and features.