Understanding the Polarity Basics in Photoelectric Sensors
In industrial automation, photoelectric sensors are widely used for object detection, counting, and positioning. A common challenge for technicians and engineers is correctly identifying the positive (V+) and negative (GND) terminals, especially when dealing with different sensor types such as NPN or PNP outputs. Miswiring can lead to sensor damage or erratic operation. This guide provides a clear, practical approach to polarity identification using standard color codes and wiring diagrams.
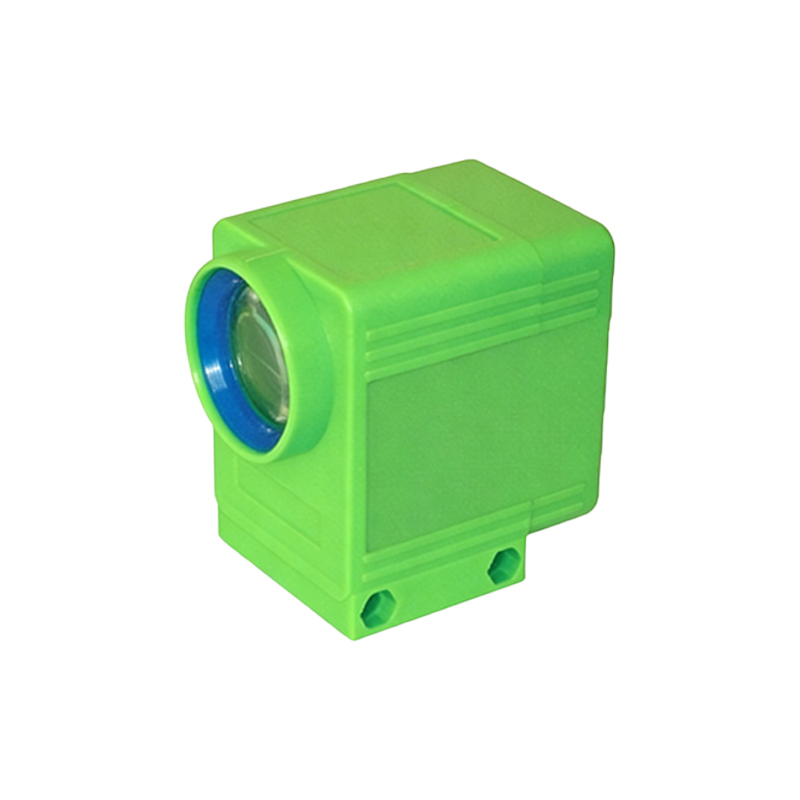
Standard Color Coding for DC Photoelectric Sensors
Most DC-powered photoelectric sensors follow a standardized wire color scheme. The brown wire typically connects to the positive supply voltage (usually 10-30V DC). The blue wire is the ground (0V or negative). For sensors with an output, the black wire is the signal output. Some four-wire sensors include a white or gray wire for auxiliary functions like light-on/dark-on selection. Always consult the datasheet, but this color code covers over 90% of industrial sensors.
NPN vs. PNP: How It Affects Polarity and Wiring
The output type significantly impacts how you connect the sensor to a controller. In an NPN (sinking) configuration, the load is connected between the positive supply and the output. When the sensor activates, the output pulls the load to ground. For a PNP (sourcing) sensor, the load is connected between the output and ground; activation connects the load to the positive supply. The polarity of the power supply (brown to +, blue to -) remains the same for both types. A common mistake is to reverse the power leads when switching between NPN and PNP, so double-check the brown and blue wires first.
Step-by-Step Diagram Analysis: Brown and Blue Wires
Consider a three-wire PNP photoelectric sensor. The wiring diagram shows:
- Terminal 1 (Brown): Connect to +24V DC.
- Terminal 2 (Blue): Connect to 0V (GND).
- Terminal 3 (Black): Connect to the input of a PLC or relay, with the other side of the load connected to 0V.
For an NPN sensor, the diagram is identical for power, but the black wire connects to the PLC input, and the load connects between +24V and the output. Visualizing this, the brown wire is always the positive rail, and the blue is the common ground. Use a multimeter in DC voltage mode to confirm: between brown and blue, you should read the supply voltage (e.g., 24V).
Using a Multimeter to Verify Sensor Polarity
Before powering the sensor, set your multimeter to continuity or diode test mode. Place the red probe on the brown wire and black probe on the blue wire. A slight voltage reading or beep indicates the internal protection diode is forward-biased, confirming correct polarity. If no reading, reverse the probes. If there is no reading in either direction, the sensor may be damaged or require a different supply voltage. This simple test prevents wiring errors and saves time during installation.
Common Wiring Mistakes and How to Avoid Them
One frequent error is swapping the brown and blue wires, which can instantly destroy the sensor's internal electronics. Another mistake is connecting the black output wire directly to ground or positive, causing a short circuit. Always use a current-limiting resistor or a PLC input module. Also, when using AC-powered sensors, polarity is not an issue, but DC sensors demand strict adherence. Label all wires clearly and use a terminal block to avoid confusion.
Conclusion: Reliable Polarity Identification for Industrial Applications
Correctly identifying the positive and negative poles of a photoelectric sensor is straightforward once you understand the brown/blue wire convention and the NPN/PNP output logic. By following the diagrams and using a multimeter for verification, you can ensure safe and efficient sensor integration. This knowledge is essential for reducing downtime and maintaining system reliability in any industrial automation setting.