Introduction to Photoelectric Sensors in Noodle Production
Photoelectric sensors are critical components in modern noodle machines, enabling precise automation and quality control. These sensors use light beams to detect objects, positions, or interruptions, ensuring consistent dough handling, noodle cutting, and packaging. In high-speed production lines, they replace mechanical limit switches for non-contact detection, reducing wear and maintenance. For example, in a typical noodle machine, a through-beam sensor monitors dough sheet thickness, while a retro-reflective sensor verifies noodle strand alignment before cutting. This article explores sensor types, installation, and troubleshooting for electrical engineers in the noodle industry.
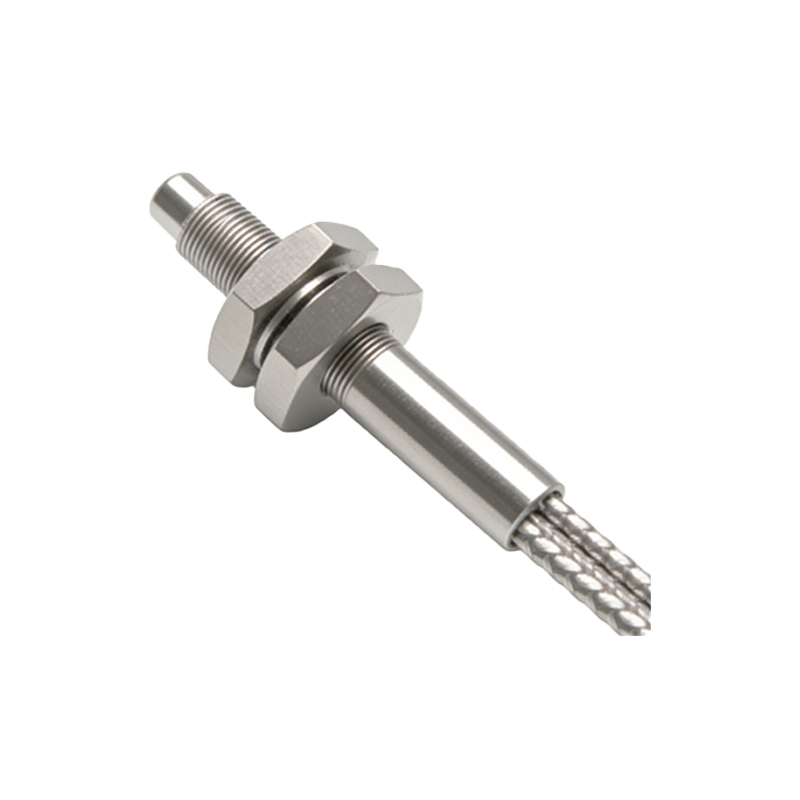
Key Sensor Types and Their Applications
For noodle machines, three photoelectric sensor types are common: through-beam, retro-reflective, and diffuse. Through-beam sensors, with separate emitter and receiver, offer the longest range and highest accuracy, ideal for detecting dough sheet presence in the feeding zone. Retro-reflective sensors use a reflector to detect noodle strands on conveyor belts, even in dusty environments. Diffuse sensors, which rely on reflected light from the target, are suitable for close-range detection of noodle bundles in packaging. Each type requires careful calibration based on dough color (e.g., white or yellow) and ambient light conditions. Engineers should select sensors with IP67 ratings for washdown environments and fast response times (<5 ms) for high-speed cutters.
Installation Best Practices for Reliable Detection
Proper installation minimizes false triggers and downtime. Mount through-beam sensors with emitter and receiver aligned within 2 degrees of the optical axis, using adjustable brackets for fine-tuning. For retro-reflective sensors, position the reflector at least 100 mm from the sensor to avoid stray light interference. Avoid placing sensors near vibration sources, such as motor drives, to prevent alignment drift. Use shielded cables and ferrite cores to reduce electromagnetic interference from inverter drives. Additionally, install dust covers or air purges in flour-heavy areas to maintain sensor lens clarity. Regular calibration checks every 500 hours of operation are recommended.
Troubleshooting Common Sensor Issues
Common problems include false signals, no detection, or slow response. If a through-beam sensor detects objects intermittently, check for lens contamination with dough residue or flour dust. Clean lenses with isopropyl alcohol and a lint-free cloth. For retro-reflective sensors, verify reflector alignment and surface condition; scratches or dirt can reduce reflectivity. Diffuse sensor range may degrade due to dough color variations—adjust sensitivity settings via the potentiometer or teach-in function. Electrical issues, such as voltage drops below 10 VDC or loose connectors, also cause failures. Use a multimeter to test supply voltage and output signals, and replace damaged cables promptly.
Integration with PLC and Automation Systems
Photoelectric sensors output NPN or PNP signals to programmable logic controllers (PLCs) for processing. In noodle machines, connect sensor outputs to PLC digital input modules with 24 VDC sinking or sourcing configurations. For example, a sensor detecting noodle strand breakage triggers a PLC alarm and stops the cutter motor. Use ladder logic to implement time delays for sensor debouncing, especially in high-vibration zones. Advanced applications include using analog photoelectric sensors to measure dough thickness and adjust roller gaps automatically. Ensure sensor response time matches PLC scan cycle (<10 ms) to avoid missed events. Document sensor parameters in the machine's electrical schematic for maintenance reference.