Connecting a laser matrix sensor correctly is crucial for ensuring accurate data acquisition and reliable performance in various applications, from industrial automation to robotics. This guide provides a step-by-step approach to help users establish a secure and efficient connection, covering hardware setup, software configuration, and troubleshooting tips.
First, identify the sensor's interface type. Most laser matrix sensors use standard communication protocols such as Ethernet, USB, or serial interfaces like RS-232/RS-485. Check the sensor's datasheet to confirm the specific interface and required cables. For Ethernet-based sensors, a standard CAT5e or CAT6 cable is typically used, while USB connections may require a USB 2.0 or 3.0 cable, depending on data transfer speed needs. Serial interfaces often need dedicated serial cables with appropriate pin configurations.

Begin the hardware connection by powering off all devices to prevent electrical damage. Connect the sensor to a stable power source, ensuring voltage and current ratings match the sensor specifications—common ratings include 12V DC or 24V DC. Next, link the sensor to your control system (e.g., PLC, computer, or microcontroller) using the appropriate cable. For Ethernet sensors, plug the cable into a router or switch, and assign a static IP address if necessary to avoid network conflicts. USB sensors can be directly connected to a computer port, while serial sensors may require an adapter for modern devices lacking native serial ports.

Once hardware is connected, proceed to software configuration. Install any required drivers or software provided by the sensor manufacturer. Many sensors come with proprietary configuration tools or support standard protocols like Modbus TCP/IP for Ethernet or UART for serial communication. Open the software and select the correct communication port or IP address. Configure parameters such as baud rate (for serial interfaces), data format, and sampling frequency according to your application needs. Test the connection by sending a simple command, like a data request, to verify the sensor responds with accurate readings.
For network-enabled sensors, ensure firewall settings allow communication on the designated ports. Use ping commands or network scanning tools to confirm connectivity. If issues arise, double-check cable integrity, power supply stability, and configuration settings. Common problems include incorrect IP settings, loose connections, or driver conflicts—refer to the sensor's manual for error codes and solutions.
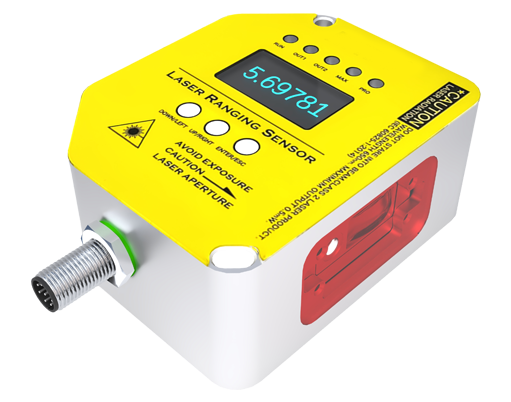
Finally, optimize the setup for long-term reliability. Secure cables to avoid disconnection from vibrations, and use surge protectors in environments with electrical noise. Regularly update firmware to access new features and bug fixes. Document the connection details, including IP addresses and configuration parameters, for future maintenance.
By following these steps, users can achieve a robust connection for their laser matrix sensor, enabling precise measurements and seamless integration into larger systems. Always prioritize safety and consult professional support for complex installations.