Understanding Photoelectric Sensor Replacement
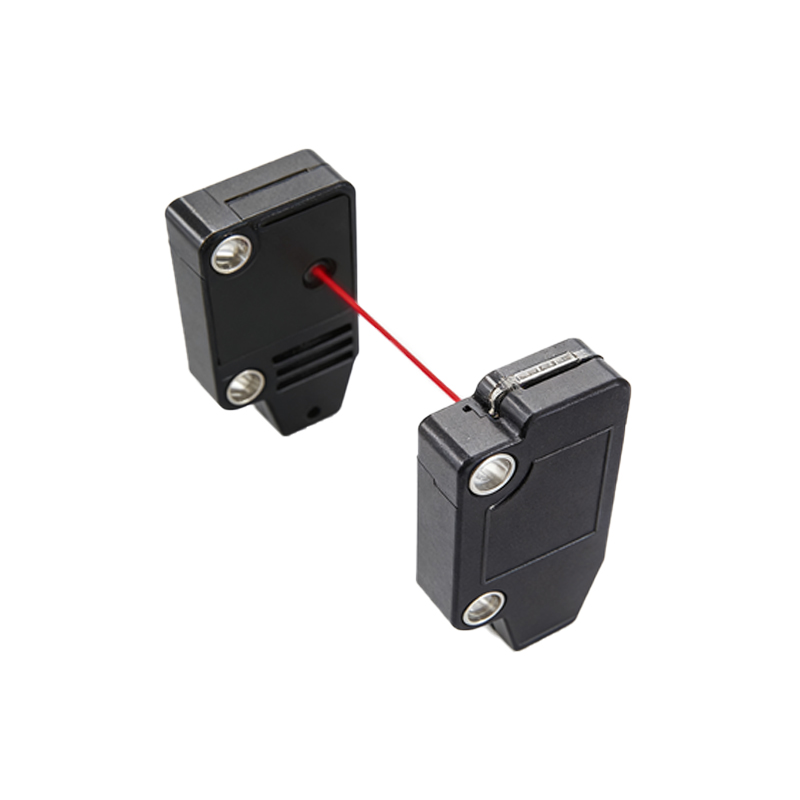
Replacing photoelectric sensors in industrial settings is a critical task that requires careful planning and execution. These sensors, which use light beams to detect objects, are integral to automation processes, including packaging, material handling, and assembly lines. Over time, sensors may degrade due to environmental factors like dust, moisture, or mechanical wear, leading to inaccurate readings or failures. Before replacement, engineers must assess the specific type—such as through-beam, retro-reflective, or diffuse—and its configuration. Documentation of the existing setup, including wiring diagrams and operational parameters, is essential to ensure a smooth transition. Understanding the sensor's role in the system helps prevent downtime and maintains productivity.
Selecting the Right Replacement Sensor
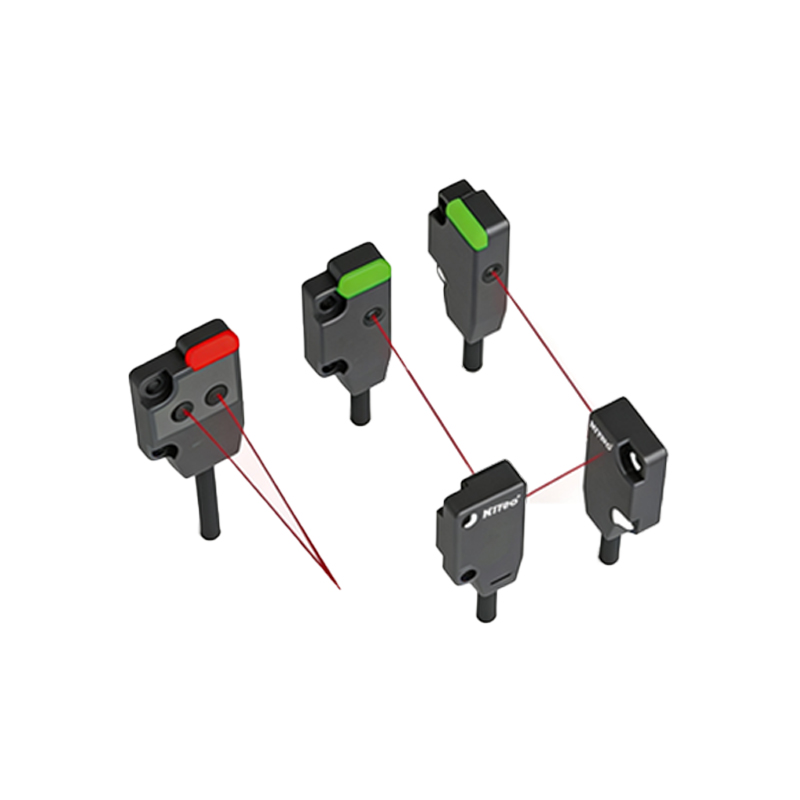
Choosing an appropriate replacement involves evaluating technical specifications and compatibility with the current system. Key factors include sensing range, response time, light source (e.g., LED or laser), and output type (e.g., NPN, PNP, or analog). Engineers should consider advancements in sensor technology, such as enhanced durability or smart features like IO-Link connectivity, which can improve system performance. It's crucial to match the mechanical dimensions and mounting style to avoid installation issues. Consulting manufacturer datasheets and industry standards ensures the new sensor meets operational demands. Testing a sample unit in the actual environment can verify functionality before full-scale replacement.
Preparing for the Replacement Process
Preparation minimizes disruption to industrial operations. Begin by scheduling the replacement during planned maintenance windows to reduce impact on production. Gather necessary tools, such as screwdrivers, multimeters, and safety gear, and ensure power to the system is safely disconnected to prevent electrical hazards. Label all wires and connections according to the existing diagram to facilitate accurate reinstallation. If the sensor is part of a networked system, backup configuration settings and software parameters. Communicate with the operations team to coordinate shutdowns and ensure all personnel are aware of the work being performed. A thorough preparation phase reduces risks and speeds up the replacement.
Step-by-Step Replacement Procedure
Execute the replacement systematically to ensure reliability. First, remove the old sensor by loosening mounting hardware and disconnecting electrical cables, taking care not to damage adjacent components. Clean the mounting area to remove debris that could affect the new sensor's alignment. Install the replacement sensor, securing it firmly and aligning it precisely according to the manufacturer's guidelines—proper alignment is critical for accurate detection. Reconnect wires based on the labeled diagram, verifying polarity and connections. Once installed, restore power and perform initial tests, such as checking indicator lights or using a diagnostic tool. Gradually integrate the sensor into the system, monitoring for any anomalies.
Testing and Calibration After Installation
Post-installation testing validates the sensor's performance and integration. Conduct functional tests by introducing target objects within the sensing range and observing the output signals. Use calibration tools, if available, to fine-tune sensitivity and response thresholds, ensuring the sensor operates within specified tolerances. In automated systems, run a full cycle test to confirm the sensor interacts correctly with other components, like PLCs or actuators. Document all test results and adjustments for future reference. If issues arise, troubleshoot by checking alignment, wiring, or environmental interferences. Regular calibration over time maintains accuracy and extends the sensor's lifespan, supporting long-term system efficiency.
Maintenance Tips for Extended Sensor Life
Proactive maintenance reduces the frequency of replacements and enhances reliability. Implement routine inspections to check for physical damage, lens cleanliness, and secure connections. In harsh environments, use protective housings or seals to shield sensors from contaminants like oil or dust. Monitor performance data through system logs or predictive maintenance tools to detect early signs of wear. Train staff on proper handling and cleaning procedures to avoid accidental damage. By adhering to a maintenance schedule and leveraging modern sensor technologies, industries can optimize automation systems and minimize operational disruptions, ensuring continuous productivity.