Proximity sensors are integral components in modern smartphones, tablets, and various industrial devices. They detect the presence of nearby objects without physical contact, primarily to turn off the screen during calls to prevent accidental touches. When this sensor malfunctions, it can lead to a frustrating user experience, such as a screen that won't turn off during calls or remains black when pulled away from the ear. This guide provides a comprehensive, step-by-step approach to diagnosing and repairing common proximity sensor problems.
The first step in any repair process is accurate diagnosis. Symptoms of a failing proximity sensor are often clear. The most common issue is the screen not turning off when bringing the phone close to your face during a call. Conversely, the screen might remain black after the call ends, requiring a hard reset or waiting for it to recover. Sometimes, the screen becomes unresponsive during a call. Before assuming hardware failure, it is crucial to rule out software glitches.

Begin with basic software troubleshooting. Restart your device. This simple action can clear temporary system errors that might be affecting the sensor's driver. If the problem persists, check for and install any pending operating system updates, as these often contain bug fixes for hardware components. Another effective software step is to boot the device in Safe Mode (the method varies by manufacturer). This disables all third-party apps. If the sensor works correctly in Safe Mode, a recently installed app is likely the culprit. Identify and uninstall any suspicious applications, especially those requesting phone or sensor permissions.
Calibrating the sensor is a valuable next step. Some manufacturers provide built-in calibration tools hidden within service menus. These can often be accessed by dialing specific codes (e.g., #0on some Samsung models). Look for a "Sensor" test option. The calibration process usually involves placing the phone on a flat surface and following on-screen instructions. If no built-in tool exists, third-party calibration apps from trusted developers can sometimes help reset the sensor's baseline readings.
If software solutions fail, the issue is likely hardware-related. The most common physical causes are a dirty or obstructed sensor. The proximity sensor is typically located near the earpiece, behind the screen glass. Over time, dust, pocket lint, or a poorly applied screen protector can cover the sensor's tiny window. Carefully inspect the area. Use a can of compressed air to gently blow away any debris. If a screen protector is present, try removing it temporarily to see if performance improves. Clean the area with a soft, microfiber cloth slightly dampened with isopropyl alcohol, ensuring no liquid seeps into the device.
For more persistent issues, physical damage or a failed component is probable. This could be due to a previous drop, water damage, or simply component aging. In smartphones, the proximity sensor is often part of a front-facing module that includes the front camera and ambient light sensor. Repair involves disassembling the device, which requires technical skill, proper tools (like precision screwdrivers and plastic pry tools), and an understanding of the risks.
The repair process generally follows these steps: First, power off the device completely. Remove the back cover and any internal screws securing the mid-frame or motherboard. Carefully disconnect the battery to prevent short circuits. Locate the sensor flex cable, which is connected to the motherboard via a small ZIF (Zero Insertion Force) connector. Gently lift the connector's latch and remove the old sensor module. Install the new, compatible sensor module by reinserting the flex cable and securing the latch. Reassemble the device in reverse order. After reassembly, power on the device and immediately test the sensor using a diagnostic code or by making a test call.
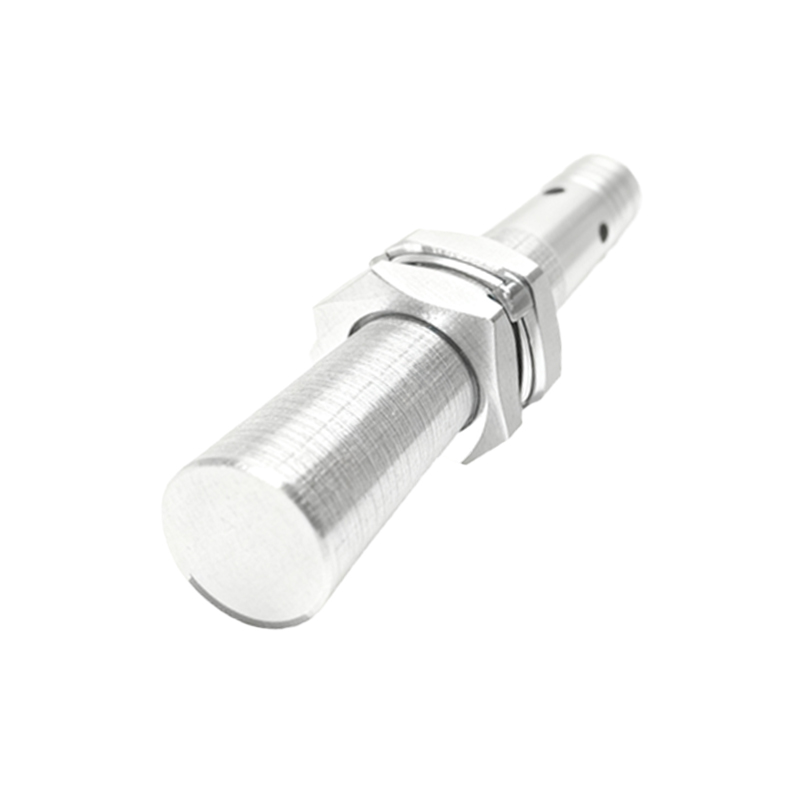
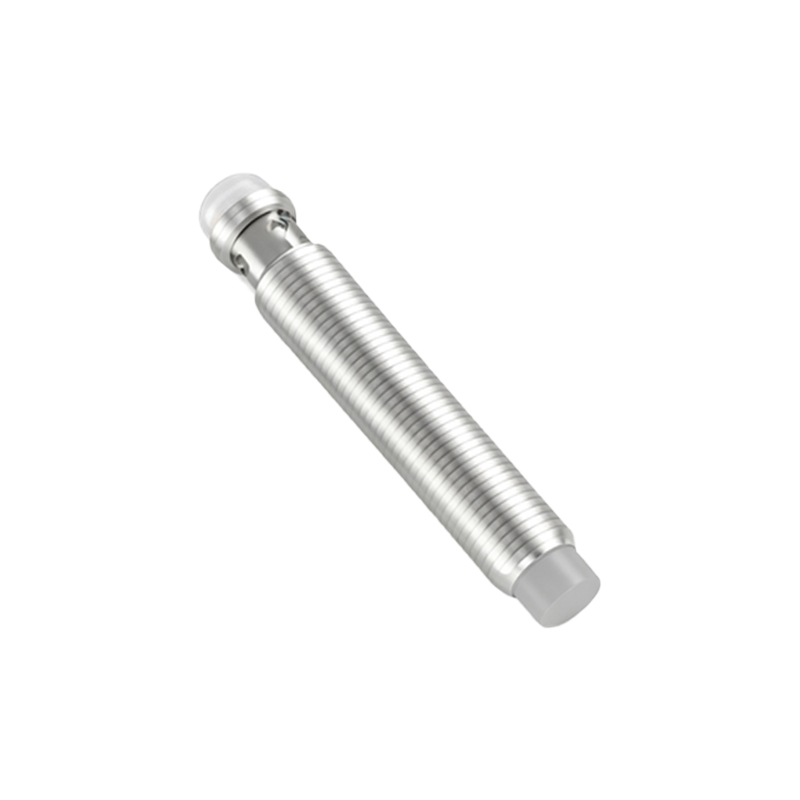
For industrial sensors, the troubleshooting principles are similar but scaled. Check for power supply issues, inspect wiring and connectors for corrosion or damage, clean the sensor lens, and verify the sensing distance and environment (ensuring no reflective surfaces are interfering). Always consult the manufacturer's datasheet for specific testing procedures and tolerance levels.
Preventive maintenance is key to longevity. Use a high-quality case that doesn't obstruct the sensor area. Apply screen protectors precisely, ensuring the cutouts align perfectly. Avoid exposing the device to excessive dust, moisture, or extreme temperatures. Regularly clean the sensor area gently.
While many sensor issues can be resolved with cleaning or software resets, complex internal repairs should be attempted only by individuals with prior experience. If you are unsure, seeking professional repair services is always the safest option to avoid causing further damage to your valuable device. A functioning proximity sensor is a small but critical part of seamless daily interaction with technology.