Understanding Sensitivity in Inductive Photoelectric Sensors
Sensitivity, in the context of inductive photoelectric sensors, refers to the minimum detectable change in the target's presence, distance, or reflectivity that the sensor can reliably register. It is a critical parameter that dictates the sensor's operational range and its immunity to environmental noise or unwanted background objects. For inductive types, this often relates to the detection of metallic objects at varying distances, while the photoelectric component deals with light beam interruption or reflection. Proper sensitivity adjustment ensures the sensor triggers only for the intended target, minimizing false positives and missed detections. This balance is fundamental for applications in automated assembly lines, packaging machinery, and material handling systems where precision is non-negotiable.
Key Factors Influencing Sensor Sensitivity
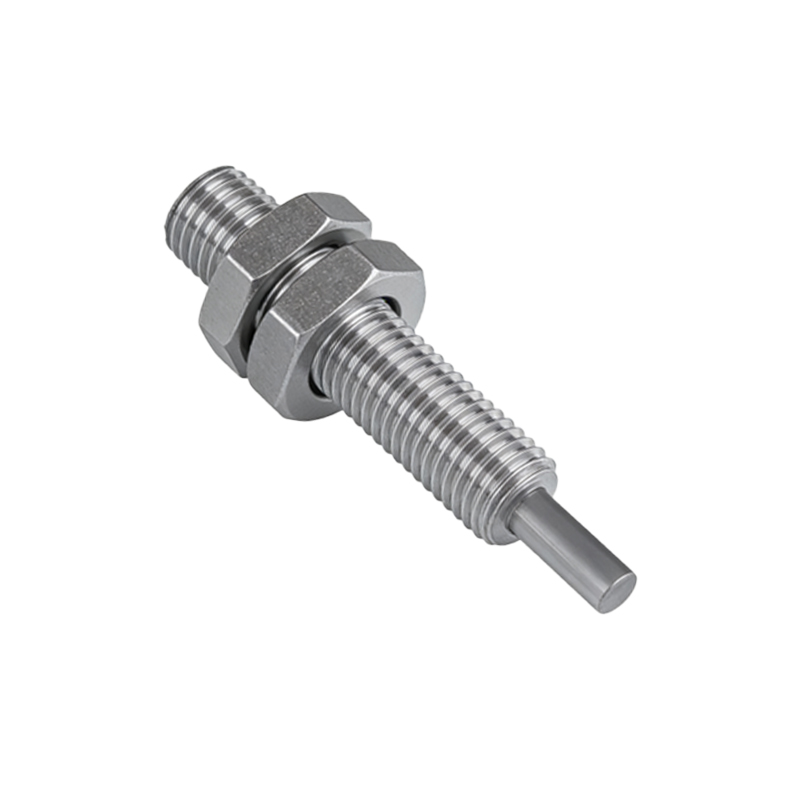
Several intrinsic and extrinsic factors directly impact the sensitivity setting of a sensor. The material and size of the target object are primary; a larger, more conductive metal object will be detected more easily by the inductive element, potentially requiring lower sensitivity. For the photoelectric function, the color, surface finish, and size of the target affect light reflectivity. Environmental conditions such as ambient light (for photoelectric sensors), electrical noise, temperature fluctuations, and the presence of dust or moisture can all degrade signal integrity, necessitating careful sensitivity tuning. Additionally, the installation distance between the sensor and its target is a decisive variable that must be accounted for during setup.
Step-by-Step Guide to Sensitivity Adjustment
Most modern inductive photoelectric sensors feature a potentiometer or a digital interface for sensitivity adjustment. Begin by installing the sensor in its intended operational position. Introduce the standard target object at the desired detection distance. Locate the sensitivity adjustment control on the sensor housing. While monitoring the sensor's output indicator (typically an LED), slowly rotate the potentiometer or navigate the digital menu. Adjust until the output reliably activates in the presence of the target and deactivates in its absence. It is crucial to perform this adjustment under real-world operating conditions, including typical ambient noise and lighting, to ensure robustness.
Calibration Techniques for Precision Applications
For high-precision tasks, a more methodical calibration process is recommended. Start by determining the "operate point" – the sensitivity threshold where the sensor just turns on with the target present. Then, find the "release point" – the threshold where it just turns off when the target is removed. The difference between these points is the hysteresis, which provides stability against signal chatter. Use a calibrated test target and measure the response at multiple distances. Document the settings for different target types. Some advanced sensors offer teach-in functions, where you simply present the target and activate a button to let the sensor automatically calculate and set the optimal sensitivity.
Troubleshooting Common Sensitivity Issues
Inconsistent operation often stems from improper sensitivity settings. If the sensor fails to detect, gradually increase the sensitivity. Conversely, if it triggers falsely or remains constantly on, decrease the sensitivity. Check for environmental interferents: strong ambient light shining directly into a photoelectric receiver, or large metal structures near an inductive sensor can cause instability. Ensure the sensor is securely mounted and free from vibration. Verify the power supply is stable and within specifications, as voltage drops can mimic sensitivity problems. Always consult the sensor's datasheet for specific adjustment ranges and recommended practices for your model.
Best Practices for Maintaining Optimal Settings
Once an optimal sensitivity is set, take steps to preserve it. Use mounting brackets that minimize vibration transfer. Install protective shrouds or filters on photoelectric sensors to block ambient light and accumulate dust. For inductive sensors, maintain a consistent clearance from surrounding metal. Implement regular maintenance schedules to clean sensor lenses and housings. Periodically re-check sensitivity settings as part of preventive maintenance, especially if the production process or target material changes. Labeling sensors with their calibrated setting or target type can streamline future troubleshooting and setup.
Advanced Features: Auto-Sensitivity and Diagnostics
Many contemporary sensors incorporate intelligent features to simplify sensitivity management. Auto-tuning or adaptive sensitivity functions allow the sensor to periodically or continuously monitor background conditions and adjust its threshold automatically to compensate for lens contamination or gradual environmental shifts. Built-in diagnostic capabilities, often indicated by multi-color LEDs or accessible via IO-Link communication, can report signal strength, operating margin, and even predict potential failures. Leveraging these features can significantly reduce setup time, enhance system reliability, and facilitate predictive maintenance strategies in complex industrial networks.