Understanding the Light-On Condition
A photoelectric sensor indicating a constant "light-on" state, where its output remains continuously active regardless of the presence or absence of a target, is a common industrial malfunction. This condition suggests the sensor's receiver is perpetually detecting sufficient light to trigger its switching logic. Unlike a failure to detect, a persistent light-on signal can lead to significant process disruptions, such as conveyor jams or incorrect machine cycles, as the control system interprets a constant "object present" signal. The first step in troubleshooting is to confirm the actual sensor status by observing its indicator LED and verifying the output signal with a multimeter or the PLC input module. It is crucial to differentiate between a true sensor fault and a wiring or load issue that mimics this behavior.
Primary Causes of Persistent Activation
Several factors can cause a photoelectric sensor to remain in a light-on state. The most frequent cause is misalignment. Even slight vibration or mechanical shock can shift the sensor or reflector, causing the emitted beam to strike the receiver directly without an intervening target. Environmental contamination is another major culprit. Accumulation of dust, oil, or condensation on the lens can scatter light, creating a false signal. For diffuse sensors, highly reflective backgrounds or shiny objects in the sensing field can bounce sufficient light back to the receiver. Electrical issues, such as a short circuit in the output wiring or excessive electrical noise on the supply lines, can also force the output transistor to remain on. Finally, internal component failure within the sensor itself, though less common, is a possibility.
Systematic Troubleshooting Procedure
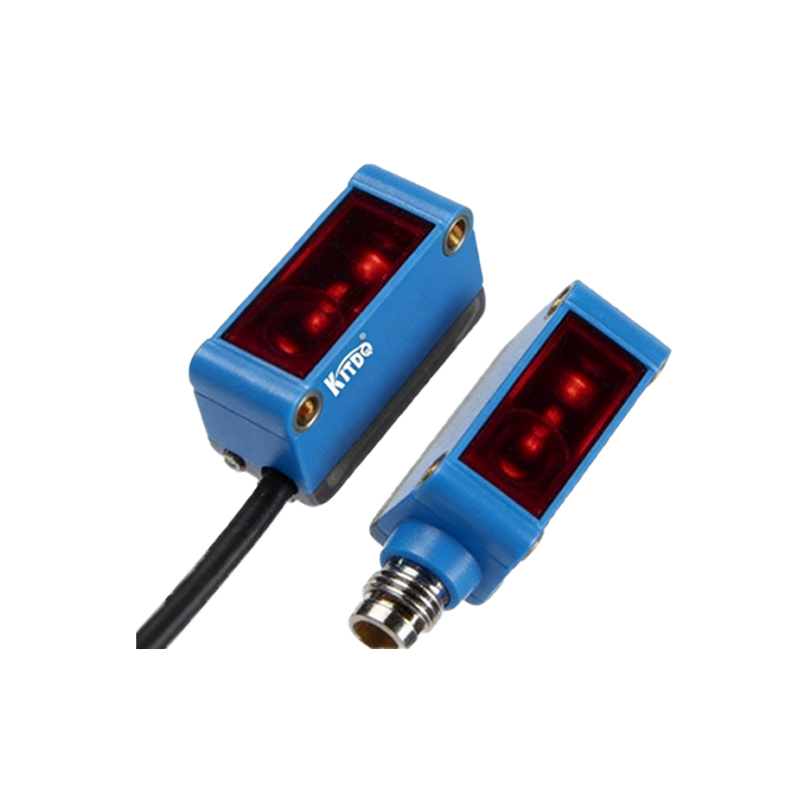
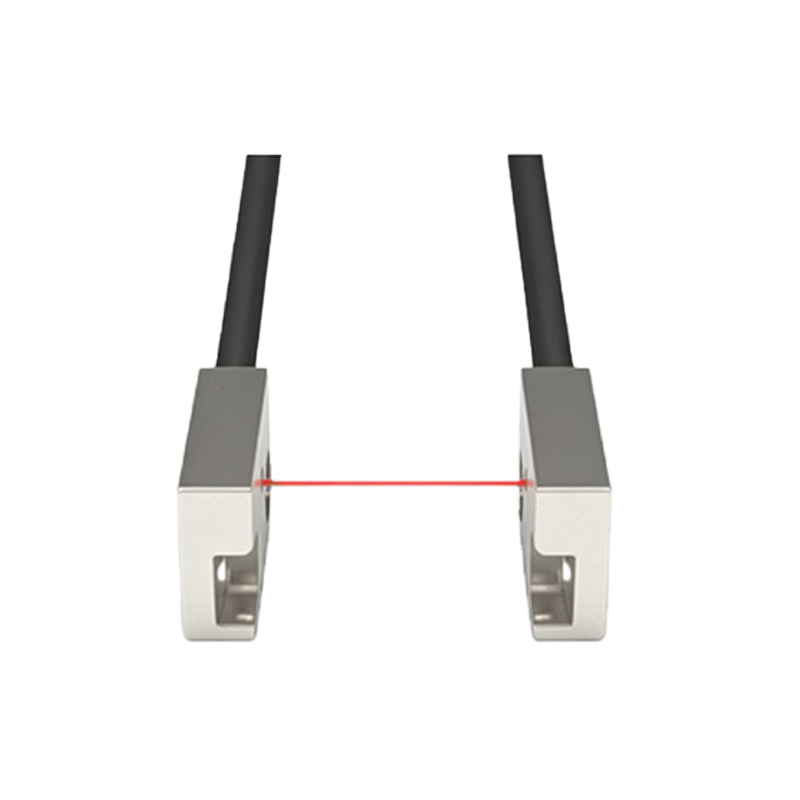
Begin the diagnostic process by performing a power cycle. Turn off the sensor's power supply, wait 10-15 seconds, and restore power. This can reset the sensor's internal circuitry if a transient electrical noise event caused a latch-up. Next, conduct a visual inspection. Check for physical damage, lens cleanliness, and the integrity of the mounting. For through-beam and retro-reflective sensors, verify the precise alignment of the emitter and receiver or reflector. Use the sensor's built-in alignment indicator if available, or a precise target to test the sensing window. For diffuse sensors, remove all potential targets from the area and observe if the output deactivates. Test the sensor in a controlled environment, if possible, to rule out ambient light interference or background reflections.
Environmental and Electrical Checks
Environmental factors require careful examination. Ensure the sensor is rated for the ambient light conditions; powerful external light sources like sunlight or welding arcs can saturate the receiver. Check for airborne contaminants and clean the lens with a soft, lint-free cloth and appropriate cleaner. Electrically, measure the supply voltage at the sensor's terminals to confirm it is within the specified range, both under no-load and when the output is active. Use an oscilloscope to check for noise or voltage spikes on the DC supply lines. Inspect the wiring for insulation damage, especially where cables might be pinched, which could cause a short between the output wire and the positive supply. Temporarily disconnect the load to see if the output state changes, isolating the sensor from a potential fault in the controlled device.
Sensor Configuration and Settings Review
Incorrect configuration is a often-overlooked cause. Access the sensor's settings, either via teach-in buttons or remote programming. Verify the operating mode (light-on/dark-on). A sensor set to "dark-on" will behave oppositely; what appears as a constant "on" might be its normal state when no object is present. Check the response time or timer functions. An extended "on-delay" timer could make the output appear stuck. Review the sensitivity setting. If set too high, a diffuse sensor may detect minute reflections or dust particles. For background suppression sensors, ensure the suppression distance is correctly calibrated for the application. Consult the manufacturer's manual to confirm all DIP switch positions or parameter settings match the intended use case.
Isolating the Fault and Final Steps
To definitively isolate the fault, perform a substitution test. Replace the suspect sensor with a known-good unit of the same model, ensuring identical wiring and configuration. If the problem persists, the issue lies in the external environment, wiring, or load. If the problem is resolved, the original sensor is faulty. Before declaring the sensor defective, ensure it is the correct type for the application; for instance, a polarized retro-reflective sensor might be needed to ignore shiny targets that confuse a standard version. If internal failure is confirmed, document the failure mode, environmental conditions, and runtime for the manufacturer's analysis. Properly disposing of the failed unit and commissioning the replacement with correct alignment and settings concludes the troubleshooting process.