Introduction to Photoelectric Sensors
Photoelectric sensors are essential components in industrial automation, utilizing light beams to detect objects, measure distances, or identify specific conditions. These sensors operate by emitting light from a transmitter and receiving it with a receiver, enabling non-contact detection across various applications such as packaging, material handling, and safety systems. Understanding their functionality is crucial for effective testing, as it ensures reliable performance in demanding environments. Proper testing not only verifies sensor operation but also prevents downtime and maintenance costs, making it a key practice for engineers and technicians.
Pre-Testing Preparation and Safety Measures
Before initiating any testing procedures, thorough preparation is necessary to ensure accuracy and safety. Begin by reviewing the sensor's datasheet to confirm specifications like sensing range, output type, and power requirements. Gather appropriate tools, including a multimeter, oscilloscope, and a test object that matches the sensor's intended application. Ensure the work area is clean and free from ambient light interference, which could affect readings. Always disconnect power to the sensor and associated equipment to prevent electrical hazards, and wear protective gear if working in high-voltage environments. Document initial conditions, such as sensor model and installation setup, for reference during testing.
Step-by-Step Testing Procedure
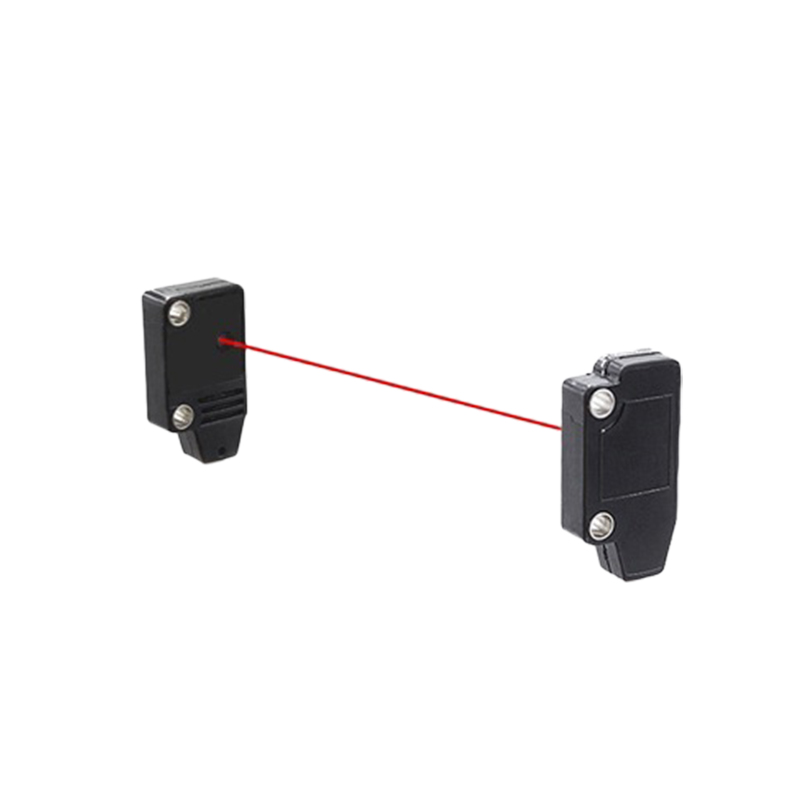
Start by powering on the sensor according to its voltage specifications, typically between 10-30V DC for industrial models. Use a multimeter to check the power supply terminals for stable voltage, ensuring it matches the sensor's rated input. Next, observe the sensor's indicator LEDs: a steady or blinking light often signifies normal operation, while no light may indicate a fault. To test detection functionality, introduce a test object into the sensing field. For through-beam sensors, align the transmitter and receiver properly; for reflective types, ensure the object reflects light adequately. Monitor the output signal using an oscilloscope or multimeter—a change in voltage or current should occur upon detection. Repeat this with objects at different distances to verify the sensing range and response time, noting any inconsistencies.
Common Issues and Troubleshooting Tips
During testing, several issues may arise, such as false triggers, no output signal, or reduced sensing range. False triggers often result from environmental factors like dust or stray light; mitigate this by cleaning the lens or adjusting the sensor's sensitivity settings. If there is no output signal, check wiring connections for loose or corroded terminals and verify the power supply. For reduced range, inspect the lens for obstructions or wear, and ensure the test object has suitable reflectivity or opacity. Additionally, interference from other electrical devices can cause erratic behavior; relocate the sensor or use shielded cables if necessary. Always refer to the manufacturer's troubleshooting guide for model-specific solutions.
Advanced Testing with Diagnostic Tools
For more in-depth analysis, employ diagnostic tools like oscilloscopes to examine signal waveforms and response times. Connect the oscilloscope probes to the sensor's output terminals to visualize the pulse patterns when an object is detected. This helps identify issues like signal delay or noise, which might not be apparent with basic multimeter tests. Some advanced sensors feature built-in diagnostics or communication protocols (e.g., IO-Link) that allow remote monitoring and parameter adjustment via software. Utilize these capabilities to log data over time, assessing sensor performance under varying conditions and optimizing settings for specific applications.
Maintenance and Calibration Recommendations
Regular maintenance and calibration are vital for long-term sensor reliability. Schedule periodic inspections to clean lenses and housings, preventing buildup that could impair function. Calibrate the sensor using standard test objects to ensure accuracy, especially after installation or environmental changes. Keep records of all tests and adjustments, aiding in predictive maintenance and reducing failure risks. Replace sensors showing consistent degradation or those exceeding their operational lifespan, as specified in the datasheet. By integrating testing into routine maintenance, you can enhance system efficiency and minimize unexpected downtime in industrial operations.