Understanding ST Mode in Photoelectric Sensors
Photoelectric sensors are fundamental components in industrial automation, providing reliable object detection. Among their various operating modes, ST (Stability) Mode is a common feature designed to enhance operational reliability. This mode is primarily a filtering function that helps the sensor ignore rapid, transient changes in the received light signal. It achieves this by introducing a slight delay in the output response. The purpose is to prevent false triggering caused by environmental factors like dust, vibration, or minor fluctuations in the target object's surface reflectivity. Essentially, ST Mode acts as a digital debounce circuit, ensuring that only a stable, consistent detection signal results in an output state change. While invaluable in noisy electrical or unstable mechanical environments, there are scenarios where this delay is undesirable. Applications requiring high-speed detection, precise edge positioning, or response to very small objects often necessitate the cancellation of ST Mode to achieve the fastest possible response time from the sensor.
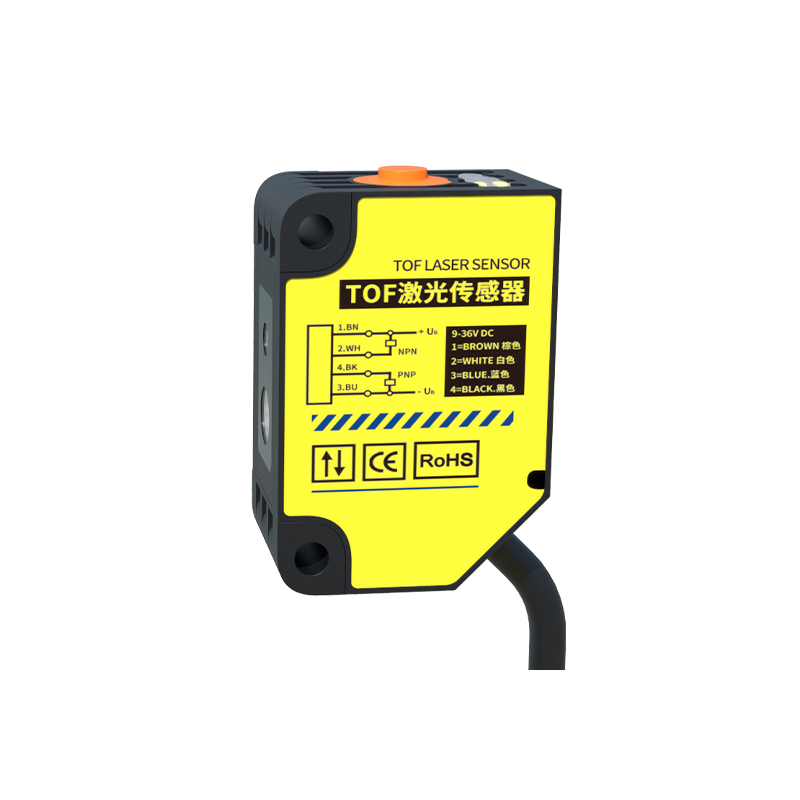
Reasons for Cancelling ST Mode
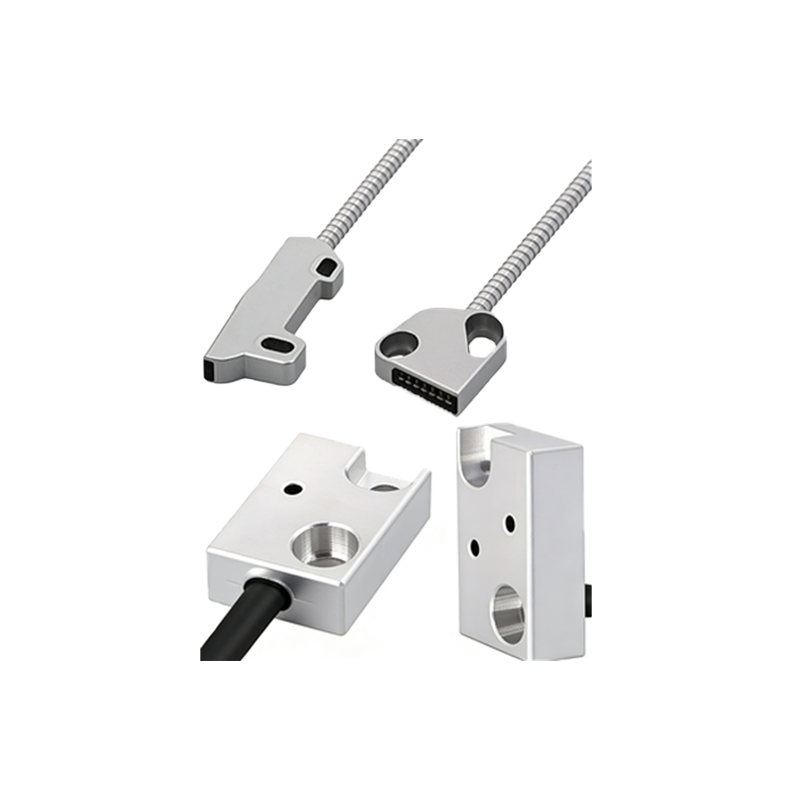
Disabling ST Mode becomes a critical adjustment in specific engineering applications. The primary reason is the need for maximum response speed. In high-speed packaging, sorting, or assembly lines, every millisecond counts. The inherent delay of ST Mode, though often only a few milliseconds, can limit cycle times and reduce overall system efficiency. Secondly, cancelling ST Mode is essential for detecting small or fast-moving objects. The stabilization period might cause the sensor to completely miss a brief detection event. Furthermore, in controlled environments where external interference (like dust or vibration) is minimal, the protective function of ST Mode is redundant. Its activation only serves to degrade performance unnecessarily. Engineers must perform a thorough risk assessment of the application environment before proceeding to disable this feature, ensuring that the potential for false signals is acceptably low.
General Procedure for Disabling ST Mode
The exact method to cancel ST Mode varies significantly between manufacturers and sensor models (e.g., Keyence, Omron, Sick, Banner). However, a general procedural framework applies to most programmable photoelectric sensors. First, ensure the sensor is powered and in a safe state, not actively controlling machinery. Locate the programming interface. This could be a physical button on the sensor housing, a built-in teach-in button, a potentiometer, or a connection point for a handheld programmer or software suite. Access the sensor's configuration menu. This is typically done by pressing and holding a setup button for a few seconds until an indicator LED changes its blinking pattern. Navigate through the menu options using short button presses. Look for parameters labeled "ST," "Stability," "Filter," "Response Time," or "Output Delay." Consult the sensor's specific datasheet or user manual for the precise terminology.
Step-by-Step Configuration via Push Buttons
For many compact sensors, configuration is done via one or two push buttons and an LED indicator. After entering the setup mode (often by holding the button for 3-5 seconds), the LED will indicate the current parameter. Tap the button to cycle through parameters until you reach the ST or response time setting. The LED might blink in a specific sequence or change color. To disable ST Mode, you usually need to select the fastest possible response time setting. This might be represented by a specific number of blinks (e.g., 1 blink for high-speed, 3 blinks for standard with ST). Select the high-speed option. Confirm the setting, which often requires holding the button again for several seconds until the LED confirms with a solid or rapid blink. The sensor will then typically exit setup mode and restart with the new parameters. Always verify the change by testing the sensor's response time with a target object.
Configuration Using Dedicated Software or Programmers
Higher-end or network-capable photoelectric sensors often require configuration via proprietary software on a PC or a dedicated handheld programmer. Connect the sensor to the programming device via the specified cable or network. Launch the configuration software and establish communication. The software will present a graphical interface displaying all sensor parameters. Navigate to the "Response Characteristics," "Advanced Settings," or "Filter Settings" section. Locate the stability control or output delay setting. To cancel ST Mode, you will typically set the "Response Time" to its minimum value (e.g., 0.5 ms) or directly select an option like "High-Speed" or "ST Off." Some software may have a dedicated checkbox for "Enable Stability Detection" which you would uncheck. After making the change, write the configuration to the sensor's memory. The software will provide a confirmation message. Perform an online test within the software to observe the real-time sensor status and verify the reduced response delay.
Verification and Testing After Cancellation
After disabling ST Mode, rigorous testing is mandatory. Do not immediately integrate the sensor into a live production process. First, conduct bench tests. Use a standardized target object and observe the sensor's output on an oscilloscope or a fast-response PLC input. Measure the actual response time from the moment the target interrupts the beam to the moment the output transistor switches. Compare this to the previous response time with ST Mode active. Next, test for false triggering. Simulate potential environmental noise, such as gently tapping the sensor mount, passing non-target objects nearby, or varying ambient light conditions. Monitor the output for any erratic behavior. Finally, implement a controlled run-in period in the actual machine at a reduced speed. Gradually increase the operational speed while monitoring for missed detections or false positives. This phased approach ensures system stability and safety.
Important Safety and Performance Considerations
Cancelling ST Mode is not a universal recommendation. It is a trade-off between speed and stability. Engineers must acknowledge the increased susceptibility to electrical noise and environmental interference. Ensure the sensor is properly shielded, and cables are routed away from power lines and motor drives. Consider using sensors with built-in advanced diagnostics that can alert to lens contamination, even in high-speed mode. In safety-critical applications, disabling any stability filter may be prohibited by design standards. Always document the change in the machine's technical documentation and update any risk assessments. If performance issues arise after cancellation, such as erratic operation, reevaluate the environment. The solution may involve selecting a different sensor type (e.g., a background suppression model for inconsistent surfaces) rather than simply adjusting the filter settings of an unsuitable unit.