Proximity sensors are essential components in modern electronics, detecting the presence of nearby objects without physical contact. They are widely used in applications ranging from smartphones and robotics to industrial automation and security systems. Building your own proximity sensor circuit is a rewarding project that enhances your understanding of electronics. This guide provides a detailed, step-by-step approach to constructing a basic infrared (IR) proximity sensor circuit, a common and versatile type.
The core principle of an IR proximity sensor involves emitting an infrared light beam and detecting its reflection. When an object comes close, the IR light reflects back to a receiver, triggering a signal change. For this project, you will need the following components: an IR LED (emitter), a photodiode or phototransistor (receiver), a suitable resistor (typically 220Ω for the LED and 10kΩ for the receiver), an operational amplifier (like the LM358), a breadboard, jumper wires, and a power source (e.g., a 5V DC supply).
Begin by placing the IR LED on the breadboard. Connect its anode (longer lead) to the positive rail through a 220Ω current-limiting resistor. Connect its cathode to the ground rail. This setup ensures the LED emits a consistent IR beam. Next, position the phototransistor. Its collector is usually connected to the positive rail via a 10kΩ pull-up resistor, while the emitter connects directly to ground. The voltage at the collector node will vary based on the amount of reflected IR light received.
The signal from the phototransistor is often weak and requires amplification. This is where the operational amplifier (op-amp) comes in. Configure the LM358 as a comparator. Connect the non-inverting input (+) to the phototransistor's collector node. Set up a voltage divider using two resistors (e.g., two 10kΩ resistors) between the power supply and ground to create a reference voltage, which you connect to the inverting input (-). The output of the op-amp will swing high or low based on whether the input voltage from the sensor exceeds the reference threshold.
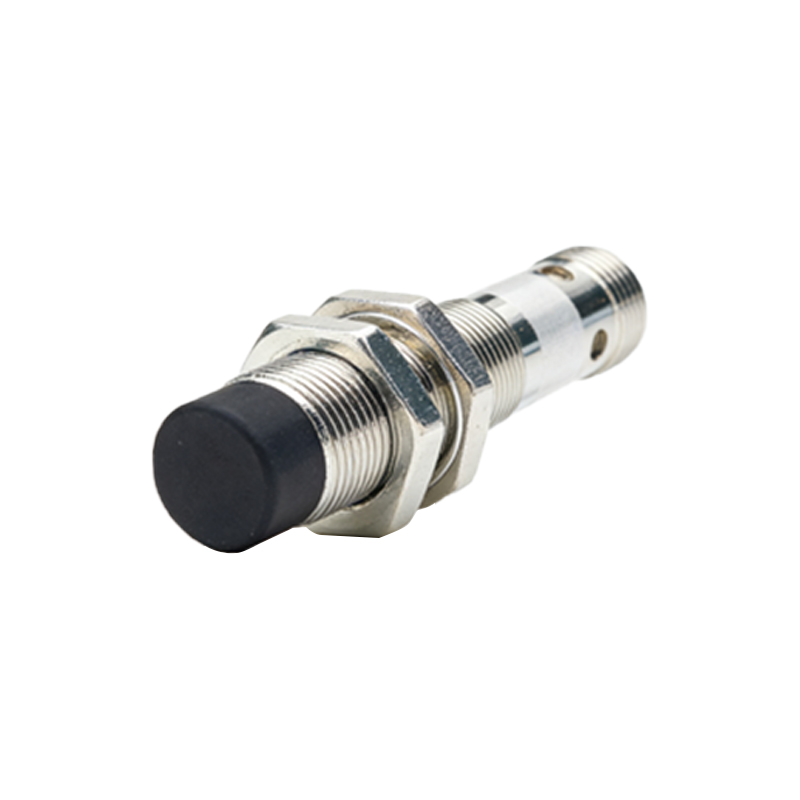
Once the circuit is assembled on the breadboard, apply power. In the absence of a nearby object, the phototransistor receives minimal reflected light, resulting in a high voltage at its collector. This voltage is above the reference, so the op-amp output remains low. When an object approaches, the reflected IR light increases, causing the phototransistor to conduct more. This lowers the voltage at the collector. When this voltage drops below the reference, the op-amp output switches to high, indicating detection.
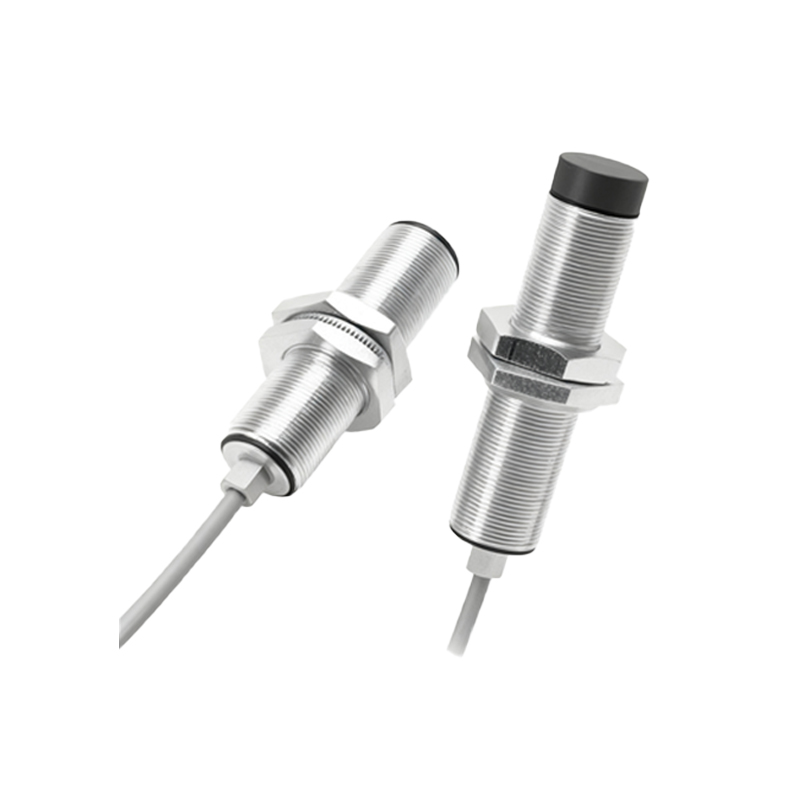
Testing and calibration are crucial. Use a multimeter to monitor the output voltage. Adjust the reference voltage by changing the resistor values in the voltage divider or fine-tune the distance sensitivity by altering the resistor in series with the IR LED or the pull-up resistor at the phototransistor. Ensure the IR LED and phototransistor are aligned side-by-side and pointed in the same direction, often shielded from ambient light with a small tube or housing to prevent false triggers.
This basic circuit can be enhanced for more robust performance. Adding a capacitor in parallel with the phototransistor's pull-up resistor can filter out noise. For digital interfacing with microcontrollers like Arduino, connect the op-amp output directly to a digital input pin. You can then program the microcontroller to trigger LEDs, buzzers, or relays based on the sensor's state. Understanding this foundational circuit opens doors to more advanced designs, including modulated IR sensors that are immune to ambient light interference or capacitive proximity sensors for detecting non-metallic objects.
Building a proximity sensor circuit not only provides practical skills but also deepens knowledge of analog signal processing and feedback systems. Always double-check connections before powering the circuit and handle components with care to avoid static damage. With patience and practice, you can adapt this design for countless real-world applications, from automatic hand sanitizer dispensers to object-counting systems.