Understanding Proximity Sensor Basics
Proximity sensors are widely used in industrial automation to detect the presence or absence of objects without physical contact. They operate based on electromagnetic fields, infrared light, or ultrasonic waves, depending on the type. Typically, these sensors switch states when an object enters their detection range. A common issue encountered in the field is when a proximity sensor remains constantly illuminated or activated, even without a target present. This persistent ON state can disrupt machinery, cause safety hazards, and lead to production downtime. Understanding the underlying causes is crucial for effective troubleshooting.
Common Causes of Continuous Activation
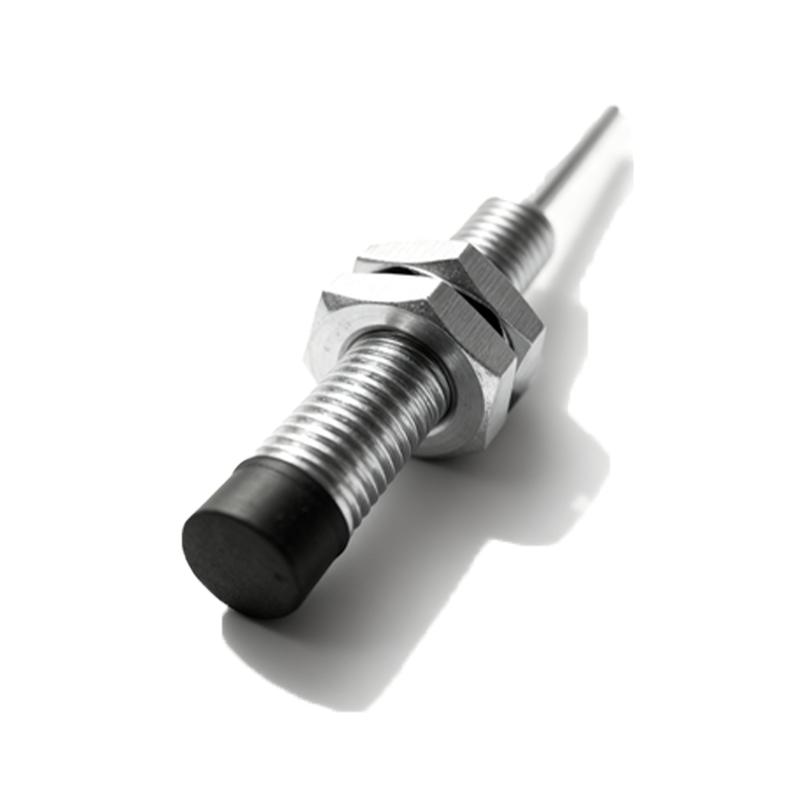
Several factors can cause a proximity sensor to stay on. Electrical interference from nearby high-voltage cables or motors may induce false signals, tricking the sensor into detecting an object. Environmental conditions, such as excessive dust, moisture, or metallic debris accumulation on the sensor face, can also reflect signals incorrectly. Additionally, internal component failure, like a damaged oscillator or output transistor, might prevent the sensor from switching off. Incorrect installation, such as improper alignment or insufficient clearance from metal surfaces, often leads to continuous activation. Power supply issues, including voltage spikes or unstable current, further contribute to this problem.
Step-by-Step Diagnostic Procedures
Begin diagnostics by verifying the sensor's specifications and ensuring it matches the application requirements. Check the power supply with a multimeter to confirm it delivers stable voltage within the sensor's rated range. Inspect the sensor for physical damage, corrosion, or contamination, cleaning the sensing face if necessary. Use an oscilloscope to monitor the output signal for abnormalities, such as noise or fluctuations. Test the sensor in a controlled environment away from potential interferers to isolate external factors. If possible, substitute with a known-working sensor to determine if the issue is device-specific. Review wiring connections for loose terminals, short circuits, or grounding problems that might affect performance.
Practical Solutions and Repair Techniques
Once the cause is identified, apply targeted solutions. For electrical interference, relocate the sensor or install shielded cables and ferrite cores to reduce noise. Ensure proper grounding of both the sensor and machinery. In dusty or wet environments, select sensors with appropriate IP ratings and install protective housings. Replace faulty internal components if the sensor is repairable, though often it's more cost-effective to install a new unit. Adjust mounting positions to maintain recommended distances from metal backgrounds or adjacent sensors. Implement surge protectors or voltage regulators to stabilize power supply. Regular maintenance schedules can prevent recurrence by keeping sensors clean and calibrated.
Preventive Measures for Long-Term Reliability
To avoid persistent ON states, adopt preventive strategies during system design and operation. Choose sensors with robust designs suited for specific environmental challenges, such as high-temperature or corrosive conditions. Follow manufacturer guidelines for installation, including correct wiring and adequate spacing. Incorporate diagnostic features like LED indicators or IO-Link communication for real-time monitoring. Train personnel on proper handling and troubleshooting procedures to enable quick responses. Periodically inspect sensor performance as part of routine maintenance, documenting any incidents to identify patterns. By proactively addressing potential issues, you can enhance system uptime and sensor lifespan.