Introduction to Photoelectric Sensor Functionality in Tea Brewers
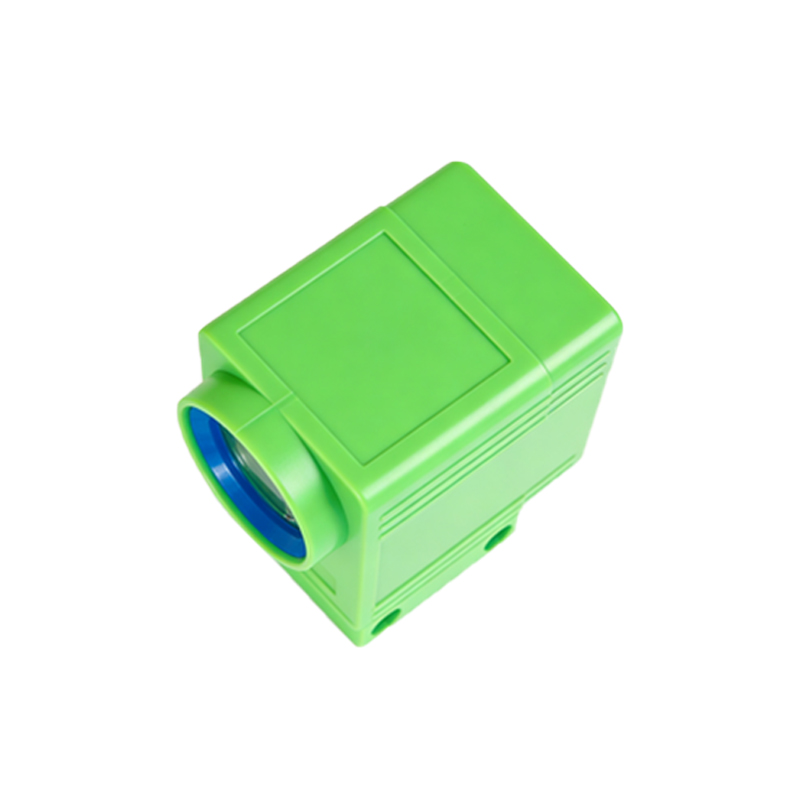
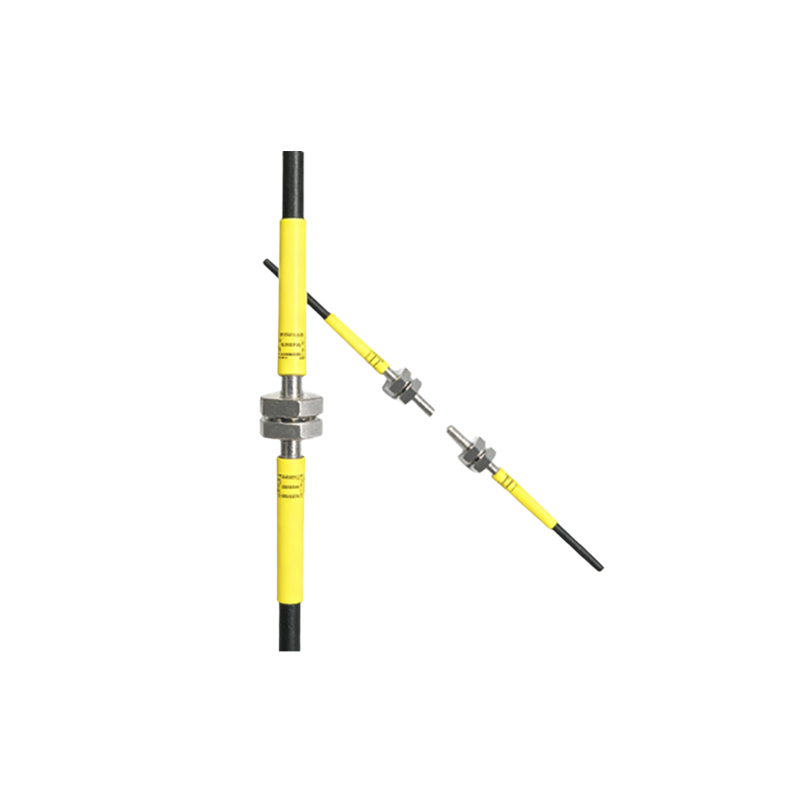
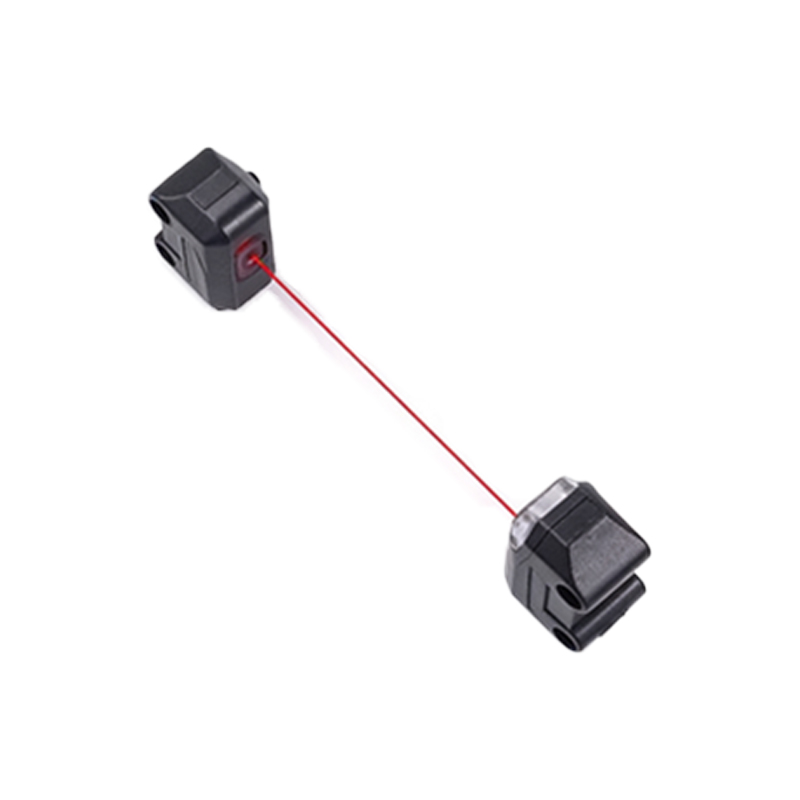
Photoelectric sensors are critical components in modern automatic tea brewing machines. They function as non-contact detection devices, typically utilizing an infrared LED light source and a phototransistor receiver. In a tea brewer, these sensors are often positioned to monitor water levels in reservoirs, detect the presence of a carafe or cup, or confirm the correct placement of a tea pod or filter basket. The operational principle involves the sensor emitting a light beam; when this beam is interrupted or reflected by an object (like rising water or a carafe), the receiver detects the change in light intensity. This triggers a signal to the machine's main control board, which then proceeds with or halts the next programmed step in the brewing cycle. A faulty sensor can lead to operational failures such as overfilling, dry heating, or the machine not initiating a brew cycle, making timely replacement essential for safety and functionality.
Tools and Safety Precautions Required
Before commencing any repair, ensure you have the correct tools and adhere to strict safety protocols. The necessary tools typically include a set of precision screwdrivers (Phillips and flat-head), needle-nose pliers, a multimeter for continuity and voltage testing, a soldering iron and solder (if connections are soldered), and the replacement photoelectric sensor specified for your machine model. Safety is paramount. Always disconnect the tea brewing machine from the electrical outlet before starting any disassembly. Allow the machine to cool completely if it has been in recent use to avoid burns from hot components. Work in a well-lit, static-free environment. It is highly recommended to consult the machine's official service manual for model-specific diagrams and warnings. Wear appropriate personal protective equipment, such as safety glasses and anti-static wrist straps, when handling circuit boards.
Step 1: Accessing the Sensor Compartment
The first physical step is to gain access to the faulty sensor. This process varies significantly between machine models but generally involves removing the outer housing. For most countertop tea brewers, start by locating and removing the screws on the base plate. Some models may have screws hidden under rubber feet or decorative labels. Carefully lift the housing. You may need to disconnect a few wire harnesses connecting the control panel to the main board to fully separate the halves. Take clear photographs or create a sketch of wire routing before disconnecting anything to aid in reassembly. Once the internal chassis is exposed, visually locate the photoelectric sensor. It is often a small, rectangular black plastic module with a clear or translucent lens, mounted near the water reservoir, carafe station, or brew head. Identify its wire connection, which will lead back to the control board.
Step 2: Removing the Faulty Sensor
With the sensor located, the removal process begins. First, use the multimeter to confirm the sensor is indeed faulty. Set the multimeter to test for continuity or diode function. Disconnect the sensor's wiring connector from the main board or intermediate harness. Probe the sensor's terminals according to its datasheet (if available) to check for proper response when interrupting its light path with a non-reflective object. If it fails the test, proceed with removal. The sensor is usually held in place by one of three methods: a simple press-fit into a bracket, small mounting screws, or a plastic clip. For screwed types, use the appropriate screwdriver to remove them. For clip-in types, gently depress the locking tabs with a small flat-head screwdriver. Carefully note the sensor's orientation—the side with the emitter (often marked with an arrow or "LED") and the receiver must be reinstalled in the same alignment. Once free, disconnect the wires if they are soldered, noting the polarity.
Step 3: Installing the Replacement Sensor
Installation is essentially the reverse of removal, but with critical attention to detail. Begin by preparing the replacement sensor. If the old sensor had soldered wires, strip and tin the wires of the new sensor to match. If it used a connector, simply ensure the new sensor's connector is identical. Position the new sensor into its mounting location, ensuring it is oriented exactly as the old one was. The alignment of the emitter and receiver is crucial for proper operation. If it is a through-beam sensor (where emitter and receiver are separate units facing each other), ensure they are perfectly opposed. For a reflective sensor, ensure the lens is clean and faces the correct detection area. Secure the sensor using its screws, clips, or press-fit mechanism. Do not overtighten screws on plastic brackets. Next, reconnect the wiring. If soldering, make clean, solid joints and use heat-shrink tubing to insulate each connection. If using a connector, ensure it clicks firmly into place.
Step 4: Testing and Reassembly
Do not reassemble the entire machine before conducting a functional test. With the sensor installed and wired, but the housing still open, temporarily reconnect the machine to power. Initiate a test cycle or simulate the condition the sensor monitors. For a water level sensor, pour water into the reservoir and observe if the machine correctly detects "full" and "empty" states. For a carafe sensor, place and remove the carafe. Use the multimeter to monitor the output signal at the control board connector if possible. The machine should respond appropriately—for example, stopping the water pump when the carafe is removed. If the machine behaves erratically or the sensor does not trigger, immediately disconnect power and re-check all connections, polarity, and sensor alignment. Once you have confirmed successful operation, disconnect power again. Carefully route all wires away from heating elements and moving parts, using zip ties if necessary. Reattach the internal wire harnesses to the control panel, referencing your earlier photos. Finally, reassemble the outer housing, ensuring all screws are tightened securely and no wires are pinched.
Conclusion and Maintenance Tips
Successfully replacing a photoelectric sensor restores the precise automated control that is vital for a tea brewing machine's operation. To prolong the life of the new sensor and prevent future failures, incorporate regular maintenance. Periodically clean the sensor's lens with a soft, dry cloth to prevent false triggers from dust, tea residue, or mineral deposits from steam. Avoid using harsh chemicals. Ensure the machine's steam vents are not directly pointing at any sensor. During routine inspections, check for any signs of wire fatigue or corrosion near the sensor. Understanding this repair not only fixes the immediate issue but also deepens your practical knowledge of the electro-mechanical systems within modern beverage appliances, enabling quicker diagnostics for related problems in the future. Always source replacement parts from reputable suppliers to guarantee compatibility and performance.