Understanding the 6P Proximity Sensor
A 6P proximity sensor, often referred to in industrial automation, is a critical component designed for non-contact detection of metallic objects. The "6P" designation typically indicates a specific configuration, such as a 6-pin connection or a particular housing style, commonly used in manufacturing lines, robotic systems, and safety applications. These sensors operate on the principle of electromagnetic induction or capacitive sensing, generating an output signal when a target enters their detection range. Their reliability is paramount for maintaining continuous production flow, but like all electronic devices, they are susceptible to various faults. Understanding the basic operation and common failure modes is the first step toward effective troubleshooting.
Common Symptoms of Sensor Failure
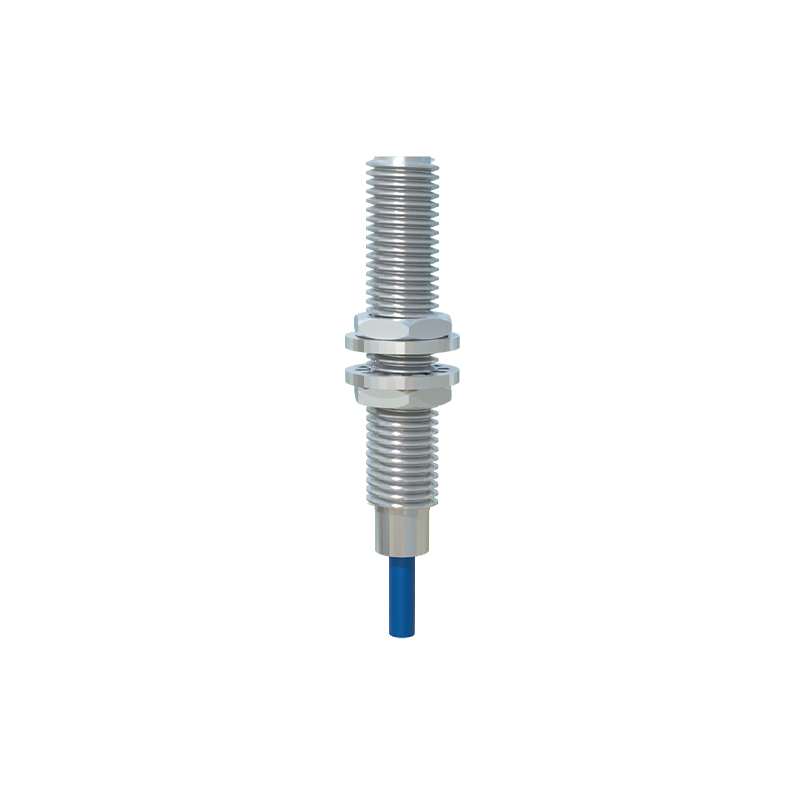
Identifying a faulty 6P proximity sensor early can prevent costly downtime. Typical symptoms include intermittent operation, where the sensor fails to detect objects consistently. The sensor may output a constant ON or OFF signal regardless of target presence. Another clear indicator is a complete lack of output; the connected PLC or controller receives no signal. Sometimes, the sensor's LED indicator, if present, may behave erratically—blinking, staying off, or remaining solid when it shouldn't. Physical signs should not be ignored: visible damage to the housing, cracked sensing face, or loose wiring at the 6-pin connector can all point to underlying issues. Unusual heating of the sensor body during operation is also a serious warning sign.
Step-by-Step Diagnostic Procedure
A systematic approach is essential for accurate diagnosis. First, ensure all power to the system is locked out and tagged out (LOTO) for safety. Visually inspect the sensor, its mounting, and the cable for any obvious physical damage or contamination. Check the wiring connections at the sensor's 6-pin plug and the control cabinet terminal blocks for tightness and corrosion. Using a multimeter, verify the supply voltage at the sensor terminals matches the specifications (commonly 10-30V DC). Next, monitor the output signal. With a target presented to the sensing face, the output voltage should switch states. For a PNP (sourcing) sensor, the output should go high (near supply voltage); for an NPN (sinking) type, it should go low (near 0V). If the electrical checks are normal, the issue might be mechanical, such as incorrect mounting distance or an unsuitable target material.
Repair and Replacement Guidelines
If diagnostics confirm a faulty sensor, repair options are often limited due to the sealed, non-serviceable nature of most industrial proximity sensors. However, some issues can be resolved. If the problem is a damaged cable or connector, these can typically be replaced if the sensor model allows for it. Carefully disconnect the old connector, match the wire colors or pin assignments exactly as per the datasheet, and secure the new connector. For internal electronic failures, replacement is usually the only viable solution. When selecting a replacement 6P sensor, ensure it matches the original specifications: sensing distance, output type (PNP/NPN, NO/NC), supply voltage, housing material (e.g., stainless steel), and thread size. Always calibrate the new sensor by testing its detection range with the actual target material.
Preventive Maintenance Best Practices
Proactive maintenance significantly extends the service life of 6P proximity sensors. Establish a regular inspection schedule to clean the sensing face from dust, oil, or metal shavings using a soft, non-abrasive cloth. Ensure the sensor is securely mounted and not subjected to excessive vibration. Periodically check the tightness of electrical connections. It is advisable to keep a log of operating hours and environmental conditions, such as temperature extremes or exposure to chemicals, which can accelerate wear. Implementing a spare parts inventory for critical sensors minimizes repair time. Finally, ensure personnel are trained in basic sensor operation and initial troubleshooting steps to enable quick response to early failure signs.