Mounting a laser distance sensor correctly is crucial for ensuring accurate, reliable, and consistent measurements in any application, from industrial automation and robotics to construction and DIY projects. A poorly installed sensor can lead to measurement errors, reduced performance, or even hardware damage. This guide provides a comprehensive, step-by-step approach to proper sensor fixation, covering selection, preparation, mounting techniques, and verification.
The first step is selecting the appropriate mounting hardware and location. Always consult the sensor's datasheet or manual for specific mounting recommendations, including bracket types, screw sizes, and environmental limitations. Common mounting accessories include standard M4, M5, or M8 threaded brackets, adjustable arms, magnetic bases, or custom-designed plates. The chosen location must be stable, vibration-free, and offer a clear, unobstructed line of sight to the target. Avoid mounting near sources of extreme heat, electrical noise, or areas prone to physical impact. The mounting surface should be rigid; if attaching to a machine or wall, ensure the surface is flat and clean. For metallic surfaces, consider using insulating washers to prevent grounding issues.
Preparation is key. Begin by cleaning both the sensor's mounting threads and the chosen bracket or surface. Remove any oil, dust, or debris. If using threaded holes, verify they are not stripped. Apply a small amount of medium-strength thread-locking compound (like Loctite 243) to the sensor's threads if the application involves significant vibration. This prevents the sensor from loosening over time but allows for future removal with standard tools. Do not over-tighten the sensor into its bracket, as this can distort the housing and affect optical alignment. A firm, snug fit is sufficient.
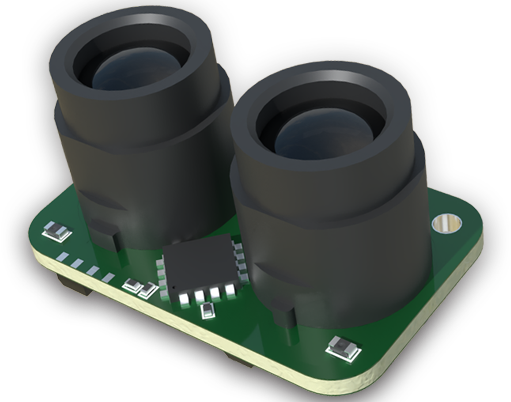
The actual mounting method depends on the bracket type. For a standard threaded bracket, screw the sensor in by hand until finger-tight, then use the correct size wrench (often an open-end wrench on the sensor's hex flats) to give a final quarter to half turn. The goal is secure contact without crushing the housing. For sensors with built-in flanges or through-holes, use the provided screws and washers. Tighten opposing screws in a crisscross pattern to ensure even pressure and avoid tilting the sensor. When using an adjustable arm or gooseneck mount, first tighten the arm base securely. Attach the sensor to the arm's head, then manually position it to aim precisely at the target. Finally, tighten all locking knobs on the arm firmly to eliminate any play or drift.
Alignment is critical. Once physically secured, you must align the sensor's laser beam perpendicular to the target surface. A non-perpendicular angle introduces a cosine error, making measurements longer than the true distance. Use a small bubble level on the sensor's housing (if available) or on the bracket. For high-precision applications, employ alignment tools. A simple method is to take a measurement to a fixed point, then gently rotate the sensor slightly left and right. The minimum distance reading indicates the best perpendicular alignment. Some sensors have built-in alignment aids like visible red lasers or digital inclinometers. Take your time with this step.
After mounting and alignment, perform a functional test. Power the sensor and observe the received signal strength or quality indicator (often available via software or an LED). Take multiple measurements of a known distance using a calibrated tape measure. Compare the sensor's readings to the reference. If measurements are stable and accurate within the sensor's specification, the mounting is successful. If readings drift or are inaccurate, re-check alignment, ensure the target surface is reflective enough (use a reflector if needed), and verify that no part of the bracket is obscuring the laser beam or receiver window.
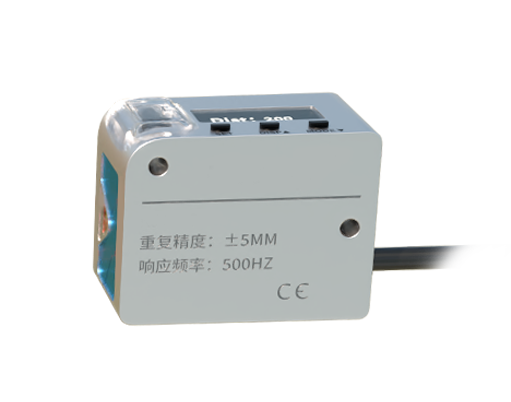
Finally, consider long-term stability. In dynamic environments, periodically check mounting hardware for loosening. For outdoor applications, use brackets and sensors with appropriate IP ratings, and consider protective shrouds to shield from direct sunlight or rain. Cable management is also part of secure mounting; strain relief clamps should be used to prevent cable tension from transferring to the sensor's electrical connector.
By following these systematic steps—selecting the right hardware, preparing surfaces, securing without overtightening, meticulously aligning, and thoroughly testing—you ensure your laser distance sensor delivers its full potential in accuracy and reliability, forming a solid foundation for your measurement or control system.