Understanding the Basics of Boyi Photoelectric Sensors
Boyi photoelectric sensors are widely used in industrial automation for detecting objects, measuring distances, and ensuring precise control in various applications. These sensors operate by emitting a light beam—typically infrared, visible, or laser—and detecting changes in the received light due to object presence or reflection. Before adjusting a Boyi sensor, it is crucial to understand its type: diffuse, retro-reflective, or through-beam. Each type has distinct setup requirements. Diffuse sensors detect objects by reflecting light off their surface, while retro-reflective sensors use a reflector to bounce light back, and through-beam sensors rely on a separate receiver. Familiarize yourself with the sensor's specifications, such as sensing range, response time, and output type (e.g., NPN or PNP), as these factors influence adjustment procedures. Ensure the sensor is properly installed in a stable environment, free from excessive vibration, dust, or ambient light interference, which can affect performance.
Initial Setup and Power Connection
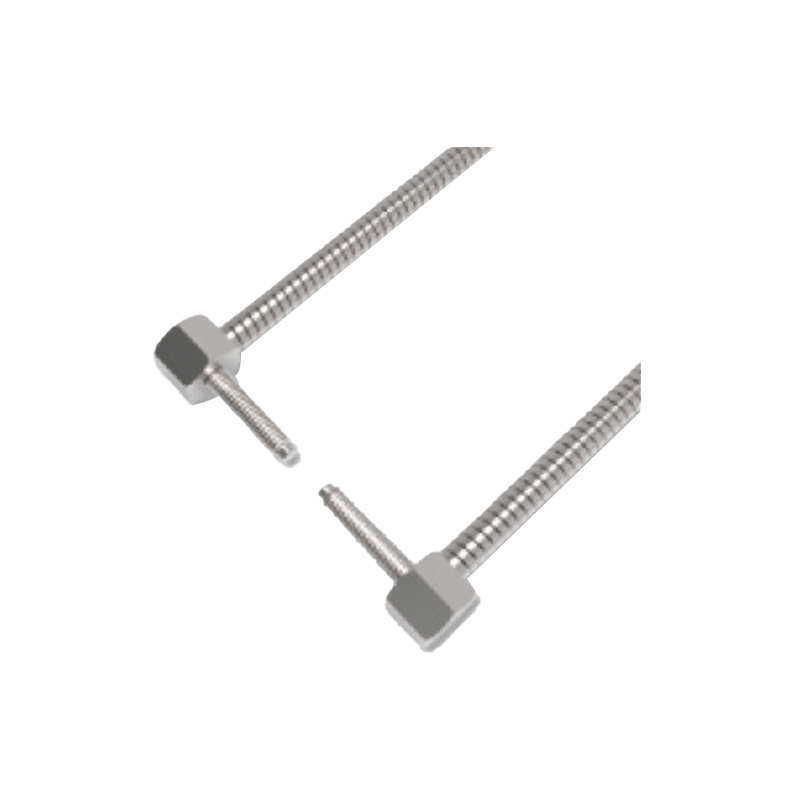
Begin by connecting the Boyi photoelectric sensor to a compatible power supply, typically ranging from 10-30V DC for industrial models. Verify the wiring according to the datasheet: usually, brown wire for positive voltage, blue wire for negative or ground, and black wire for the output signal. Incorrect wiring can damage the sensor or lead to malfunction. Once powered, check the indicator lights—most Boyi sensors have a green LED for power and a yellow or red LED for detection status. A steady green light indicates proper power supply, while a blinking or off state may signal issues. Place the sensor in its intended position, ensuring the lens is clean and unobstructed. For through-beam sensors, align the emitter and receiver precisely; misalignment can cause false triggers. Use mounting brackets if provided to secure alignment and prevent movement during operation.
Adjusting Sensitivity and Sensing Range
Sensitivity adjustment is key to optimizing Boyi photoelectric sensors for specific applications. Many models feature a potentiometer or digital interface for fine-tuning. To adjust sensitivity, introduce a standard test object within the sensing range. Rotate the potentiometer clockwise to increase sensitivity (detecting smaller or more distant objects) or counterclockwise to decrease it (avoiding false triggers from background interference). For sensors with teach-in functions, press the setup button while the object is present to automatically set the threshold. In diffuse sensors, adjust the range to match the object's reflectivity—dark or matte surfaces may require higher sensitivity. For retro-reflective sensors, ensure the reflector is clean and aligned, and adjust sensitivity to compensate for environmental factors like fog or dust. Through-beam sensors generally have fixed ranges but may require alignment checks; use alignment tools if available to maximize signal strength. Avoid setting sensitivity too high, as it can lead to instability from minor disturbances.
Configuring Output Modes and Timing Functions
Boyi photoelectric sensors often offer configurable output modes, such as light-on or dark-on operation. In light-on mode, the output activates when the received light exceeds a threshold (e.g., object detection in retro-reflective sensors). In dark-on mode, output activates when light is blocked (e.g., object interruption in through-beam sensors). Select the mode based on your control logic using a switch or programming interface. Additionally, timing functions like on-delay or off-delay can be adjusted to filter noise or synchronize with machinery. For example, set an on-delay to ignore brief interruptions, preventing false signals. Refer to the user manual for specific steps, as settings may vary by model. Test the output with a multimeter or PLC to ensure it switches correctly under detection conditions. For sensors with analog outputs, calibrate the output range to match your measurement needs, such as distance scaling in positioning applications.
Environmental Compensation and Troubleshooting
Environmental factors significantly impact Boyi photoelectric sensor performance. Compensate for ambient light by using models with modulated light sources or installing shields to block external light. In dusty or humid conditions, choose sensors with higher IP ratings and clean lenses regularly. If the sensor fails to detect objects, check for obstructions, misalignment, or power issues. Use the indicator LEDs: a steady detection light without object presence may indicate excessive sensitivity or reflector problems. For erratic behavior, reduce sensitivity or increase delay settings. Ensure cables are undamaged and connections are tight. In retro-reflective setups, avoid reflective backgrounds that could cause false triggers by adjusting the sensor angle or using polarized filters. For long-range applications, verify the sensing distance meets specifications and consider using laser models for precision. Regular maintenance, including calibration checks, helps sustain accuracy over time.
Advanced Calibration and Integration Tips
For complex applications, Boyi photoelectric sensors may require advanced calibration. Utilize built-in diagnostics or software tools if available, such as IO-Link interfaces for digital parameter adjustment. Integrate sensors into automation systems by configuring PLC inputs to match the sensor output type. Ensure compatibility with existing control logic, such as using NPN sensors for sinking inputs or PNP for sourcing. When multiple sensors are used, prevent crosstalk by staggering operating frequencies or physical spacing. For high-speed detection, optimize response times by minimizing cable lengths and using shielded cables to reduce electrical noise. Document settings after adjustment for future reference or replication. Always test under real operating conditions to validate performance, making incremental changes as needed. By following these steps, you can achieve reliable and efficient sensor operation, enhancing overall system productivity.