Understanding the Cube F1 Proximity Sensor
The proximity sensor is a critical component in modern smartphones, including the Cube F1 model. It is typically an infrared (IR) sensor located near the earpiece. Its primary function is to detect the presence of nearby objects, most commonly the user's face during a phone call. Upon detection, it signals the system to turn off the touchscreen display to prevent accidental touches and conserve battery power. The sensor operates by emitting an infrared light beam and measuring the reflection. Accurate calibration is essential for this process to work reliably. A mis-calibrated or failed sensor can lead to persistent screen blackouts during calls, unresponsive screens, or the screen failing to turn off when brought near the ear, significantly degrading the user experience.
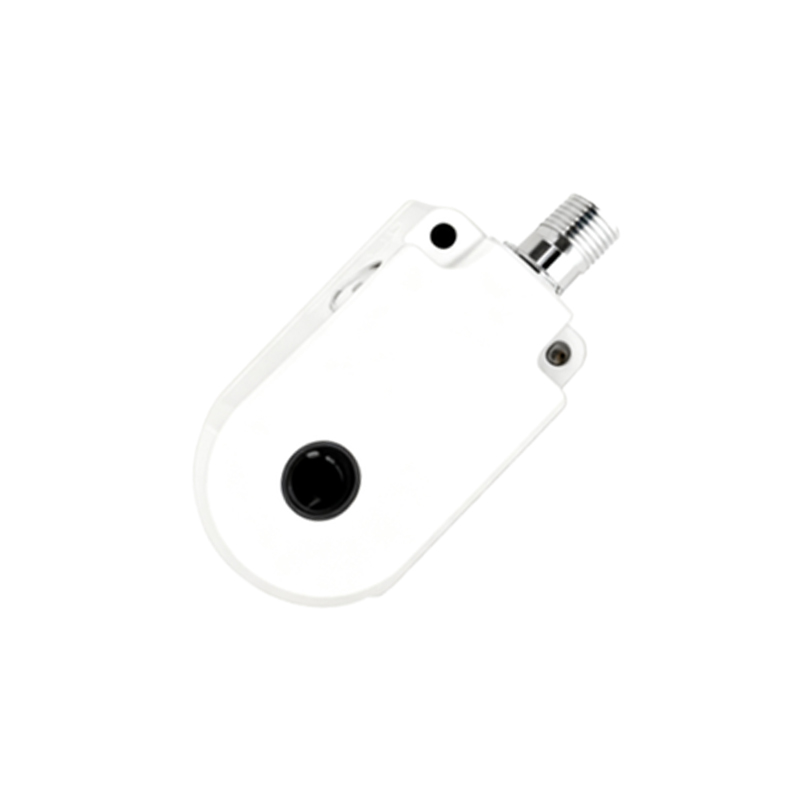
Common Symptoms of Calibration Failure

Users experiencing proximity sensor issues on the Cube F1 will notice specific, recurring problems. The most frequent symptom is the screen going black and becoming unresponsive immediately after initiating or receiving a call, and it does not wake up when moved away from the ear. Conversely, the screen may remain on during a call when pressed against the face, leading to accidental muting, dialing, or app launches with the cheek. Another indicator is erratic behavior in other applications that use the sensor, such as the screen turning off when using the speakerphone. Sometimes, error messages like "Proximity Sensor Calibration Failed" or "Sensor Hardware Unavailable" may appear during diagnostic tests or boot-up. These symptoms point directly towards a software calibration fault or, less commonly, physical hardware damage.
Primary Causes of Calibration Issues
Several factors can lead to the Cube F1 proximity sensor failing its calibration. The most common cause is software-related. Operating system updates, buggy firmware patches, or conflicts with third-party applications can corrupt the sensor's calibration data stored in the device's cache or system partition. Physical obstructions are another major cause. A poorly fitted screen protector, especially a thick or tempered glass one, can interfere with the IR beam. Accumulation of dust, lint, or moisture in the sensor's cutout (the small area near the earpiece) can also block or scatter the signal. In rare cases, hardware failure is the culprit. This could involve a loose connector cable from the sensor to the mainboard, damage to the sensor module itself from impact or liquid exposure, or a fault on the device's logic board.
Step-by-Step Software Troubleshooting
Before considering hardware repairs, exhaust all software solutions. First, perform a simple reboot. This can clear temporary system glitches. Next, boot the device into Safe Mode to determine if a third-party app is causing the conflict. If the sensor works normally in Safe Mode, uninstall recently downloaded apps one by one. Clearing the cache partition is a highly effective step. Power off the device, then boot into Recovery Mode (usually by holding Power + Volume Up). Use the volume keys to navigate to "Wipe Cache Partition" and confirm with the power button. This does not delete personal data. As a last-resort software fix, consider a factory reset. Crucially, ensure you back up all important data first. A factory reset will erase all apps and settings, restoring the phone to its original software state, which often resolves deep-seated calibration errors.
Hardware Inspection and Cleaning Procedures
If software fixes fail, inspect the hardware. Power off the device completely. Examine the area around the earpiece grill under bright light. Look for any visible debris, dust, or residue blocking the small openings. Use a can of compressed air to gently blow into the earpiece area. Avoid using sharp objects like pins or needles, as they can easily damage the delicate sensor or grill. Check the screen protector. If you have one installed, try removing it temporarily to see if the sensor starts working. Even a minor misalignment can cause problems. Inspect the device for any signs of previous water damage (look for liquid contact indicators, usually white strips that turn red). If you are technically proficient, you may open the back cover (if removable) and check the internal connector for the sensor daughterboard, ensuring it is seated firmly. However, for most users, this step is best left to professionals.
Professional Calibration and Repair Options
When basic cleaning and software resets do not resolve the issue, professional intervention is required. Authorized service centers or skilled technicians have access to proprietary calibration tools and software. They can run dedicated diagnostic suites to test the sensor's raw output and rewrite the correct calibration values to the system. This process is far more precise than any user-level fix. If the sensor module is