Understanding Proximity Switch Sensors
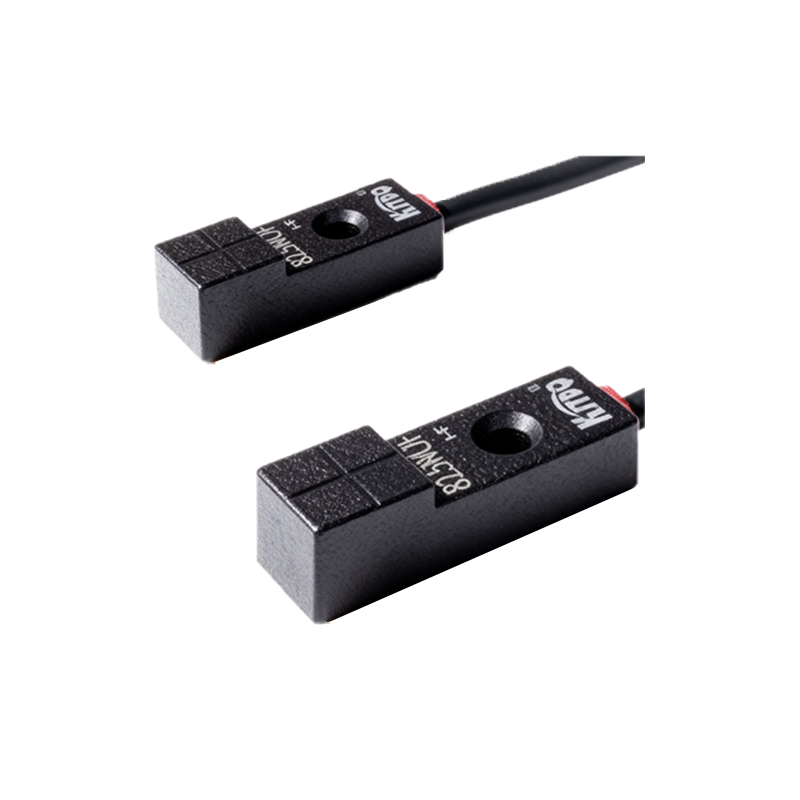
Proximity switch sensors are non-contact electronic devices that detect the presence or absence of an object within their sensing range. Commonly used in industrial automation, these sensors operate on principles such as inductive, capacitive, or photoelectric sensing. Inductive sensors, for instance, detect metallic objects, while capacitive sensors can sense both metallic and non-metallic materials. Understanding the type of sensor you have is crucial before attempting to connect it to a light, as wiring configurations may vary based on the sensor's output type—typically NPN (sinking) or PNP (sourcing). Always refer to the manufacturer's datasheet for specific details regarding voltage ratings, current capacity, and wiring diagrams to ensure safe and correct installation.
Gathering Necessary Components and Tools
To successfully connect a proximity switch sensor to a light, you will need a few essential components and tools. These include the proximity sensor itself, a light fixture (such as an LED indicator or an incandescent bulb), a power supply compatible with both the sensor and light (e.g., 12V DC or 24V DC), electrical wires, a relay or solid-state switch (if the light's current exceeds the sensor's rating), wire strippers, screwdrivers, and possibly a multimeter for testing connections. Ensure all components match in voltage and current specifications to prevent damage. For industrial settings, consider using shielded cables to reduce electrical noise interference, which can affect sensor performance.
Wiring the Sensor to the Power Supply
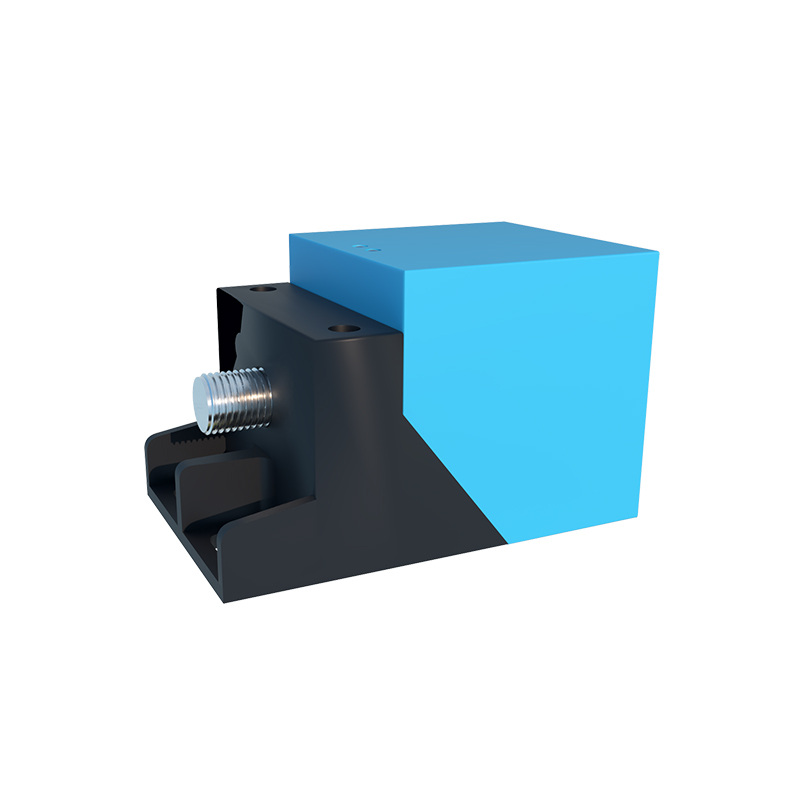
Begin by connecting the proximity sensor to the power supply. Most proximity sensors have three wires: brown (positive), blue (negative), and black (output). For a DC sensor, connect the brown wire to the positive terminal of the power supply and the blue wire to the negative terminal. Double-check the voltage requirements—common ratings are 10-30V DC. Use appropriate wire gauges based on the current draw; typically, 18-22 AWG wires suffice for low-current applications. Secure connections with terminal blocks or connectors to avoid loose wires, which can lead to malfunctions or safety hazards. Once powered, the sensor's indicator LED should light up, confirming it is operational.
Connecting the Sensor Output to the Light
The next step involves linking the sensor's output to the light. If the light operates at a low current (within the sensor's output rating, usually around 100-200mA), you can connect it directly. For an NPN sensor, the black output wire acts as a switch to ground; connect one terminal of the light to the positive supply and the other terminal to the sensor's black wire. For a PNP sensor, the black wire switches the positive supply; connect one light terminal to the sensor's black wire and the other to the negative supply. If the light requires higher current, insert a relay between the sensor and light: connect the sensor output to the relay coil, and wire the light through the relay's contacts. This protects the sensor from overload.
Testing and Troubleshooting the Circuit
After wiring, test the circuit by powering it on and bringing a target object within the sensor's range. The light should illuminate when the object is detected and turn off when it moves away. If the light fails to respond, use a multimeter to check voltage at the sensor output and light terminals. Ensure there are no short circuits or loose connections. Common issues include incorrect wiring polarity, insufficient power supply voltage, or sensor misalignment. Adjust the sensor's sensitivity potentiometer if available, and verify that the target material is compatible with the sensor type. For persistent problems, consult the sensor's manual or consider environmental factors like temperature or electromagnetic interference.
Safety Considerations and Best Practices
Safety is paramount when working with electrical components. Always disconnect power before making or modifying connections to avoid electric shock. Use insulated tools and wear protective gear if necessary. Ensure the circuit is properly fused to prevent overcurrent situations. In industrial applications, follow local electrical codes and standards, such as NEC or IEC regulations. Regularly inspect wiring for wear and tear, especially in high-vibration environments. For longevity, avoid exposing sensors to extreme temperatures, moisture, or corrosive substances. Implementing these best practices not only enhances safety but also ensures reliable operation of your proximity sensor and light setup over time.