Introduction to Photoelectric Sensor Mounting
Proper mounting is fundamental to the reliable operation of photoelectric sensors in industrial environments. These devices, which detect the presence, absence, or distance of objects using a light transmitter and receiver, are critical components in automation, packaging, and material handling systems. The integrity of their installation directly impacts performance, longevity, and safety. While much attention is given to alignment, sensitivity settings, and environmental protection, the mechanical fastening—specifically the bolts used—is often an overlooked yet vital detail. Selecting the correct bolt size, thread type, and material ensures the sensor remains securely positioned against vibrations, thermal cycling, and incidental impacts, maintaining precise optical alignment for accurate detection.
Standard Bolt Dimensions and Thread Specifications
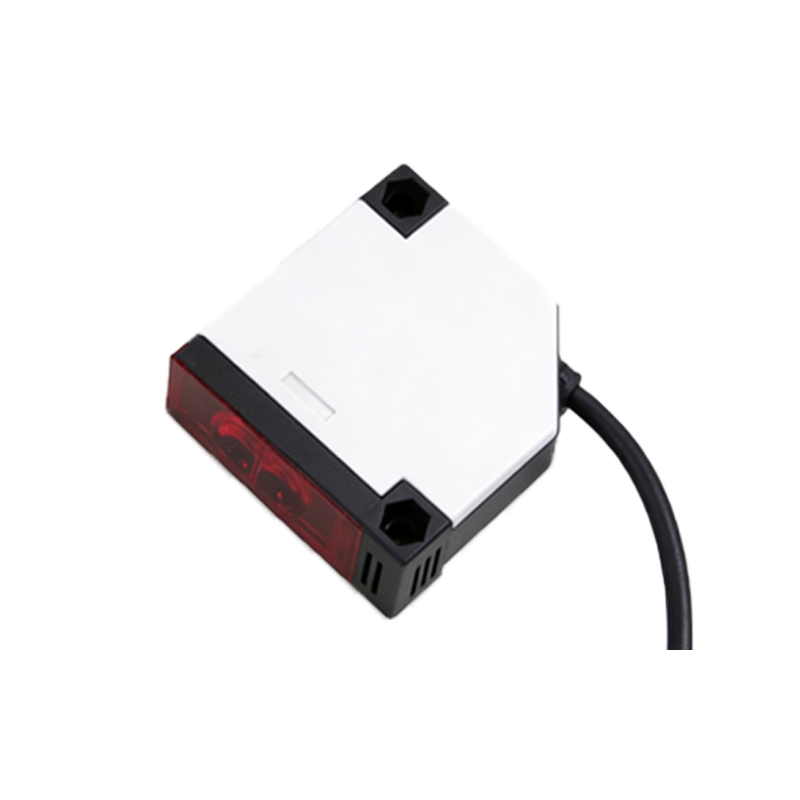
Most industrial photoelectric sensors feature standardized mounting holes. The most prevalent thread sizes are M3, M4, M5, and M6 metric coarse threads. For smaller, compact sensors, M3 bolts with a typical length of 6mm to 10mm are common. Mid-sized sensors frequently utilize M4 or M5 bolts, with lengths ranging from 8mm to 16mm, depending on whether a bracket or spacer is used. Larger, heavy-duty sensor housings may require M6 or even M8 bolts. It is imperative to consult the sensor's datasheet for the exact specification, as using an oversized bolt can damage the housing threads, while an undersized one will not provide sufficient clamping force. The thread pitch (e.g., M4x0.7, M5x0.8) must also match precisely to avoid cross-threading and ensure a tight fit.
Material Selection for Bolts and Corrosion Considerations
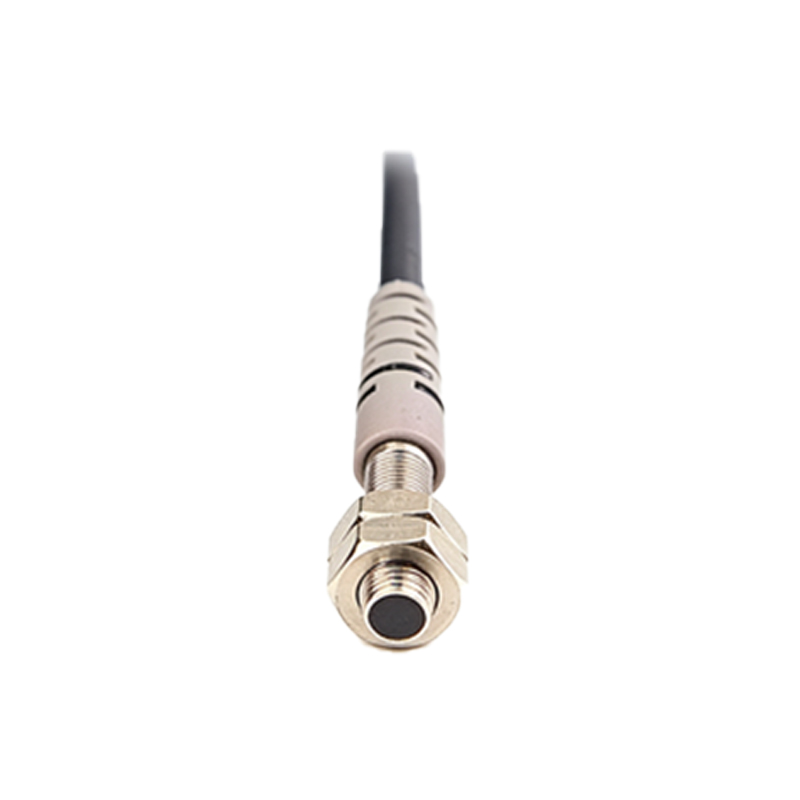
The operating environment dictates the appropriate bolt material. For general indoor applications, zinc-plated steel bolts offer a good balance of strength and cost-effectiveness. In environments with high humidity, washdown areas, or exposure to chemicals, stainless steel (such as A2/AISI 304 or A4/AISI 316) is the mandatory choice to prevent rust and corrosion, which could seize the bolt or contaminate the process. In food and pharmaceutical industries, stainless steel is often required for compliance with hygiene standards. For applications involving extreme temperatures or where non-magnetic properties are needed, alloys like brass or specific high-temperature steels may be specified. The bolt material should be compatible with the sensor housing material to prevent galvanic corrosion.
Clamping Force, Torque, and Vibration Resistance
Applying the correct installation torque is crucial. Under-tightening can lead to loosening due to machine vibration, causing the sensor to shift and lose alignment. Over-tightening can strip the threads in the sensor's plastic or metal housing, leading to permanent damage. Recommended torque values are typically provided in the sensor manual. For example, an M4 bolt in an aluminum housing might have a torque specification of 1.2 N·m, while an M5 bolt may be 2.0 N·m. Using a calibrated torque wrench during installation is a best practice. For high-vibration environments, additional securing methods such as lock washers, thread-locking adhesives, or double-nut arrangements should be considered alongside the primary bolt.
Integration with Mounting Brackets and Accessories
Photoelectric sensors are rarely mounted directly onto a machine frame. They are typically installed using adjustable mounting brackets, articulated arms, or stanchions. These accessories have their own bolt size requirements. A common setup involves an M-sized bolt to secure the sensor to the bracket and a separate, often larger, bolt (e.g., M8) to secure the bracket to the machine. It is essential to ensure all bolts in this chain are correctly specified. Brackets allow for fine adjustment of the sensor's position after the main mounting bolt is loosely fastened, enabling precise alignment before final tightening. The bolt length must account for the combined thickness of the sensor's mounting ear and the bracket.
Consequences of Incorrect Bolt Sizing
Using incorrect bolt sizes leads to multiple failure modes. A bolt that is too long can protrude into the sensor housing and damage internal circuitry or the optical components. A bolt that is too short cannot engage enough threads, resulting in a weak joint that will fail under minimal stress. Mismatched thread pitch causes poor engagement, reducing holding power and accelerating wear. In all cases, the result is an unreliable sensor installation. This can cause false triggering, loss of detection, and unplanned machine downtime, leading to significant production losses and potential safety hazards. Consistent use of the manufacturer-specified hardware is the simplest way to avoid these issues.
Best Practices for Procurement and Installation
Maintaining an inventory of the correct bolts is key for efficient maintenance and installation. When procuring replacements, source bolts from reputable industrial suppliers to ensure they meet ISO metric standards for dimensions and material grades. During installation, first clean the threaded holes in the sensor and bracket to remove debris. Hand-start the bolt to ensure smooth, cross-thread-free engagement. Use a torque wrench to apply force evenly and to the specified value. For critical applications, establish a preventive maintenance schedule to periodically check the tightness of sensor mounting bolts. Documenting the specific bolt size and torque for each sensor type in your facility's maintenance database promotes consistency and reliability across all installations.