Introduction to Potting for Proximity Sensors
Potting is a critical encapsulation process used to protect sensitive electronic components within proximity switch sensors from environmental hazards. This method involves filling the sensor housing with a liquid compound that subsequently cures into a solid, resilient material. The primary objectives of potting include providing robust protection against moisture, dust, chemicals, and mechanical shock. For proximity sensors operating in harsh industrial environments—such as manufacturing floors, food processing plants, or outdoor applications—effective potting is not merely an enhancement but a necessity for ensuring long-term reliability and signal stability. The choice of potting method and material directly impacts the sensor's performance, durability, and resistance to factors like vibration and thermal cycling.
Selecting the Appropriate Potting Compound
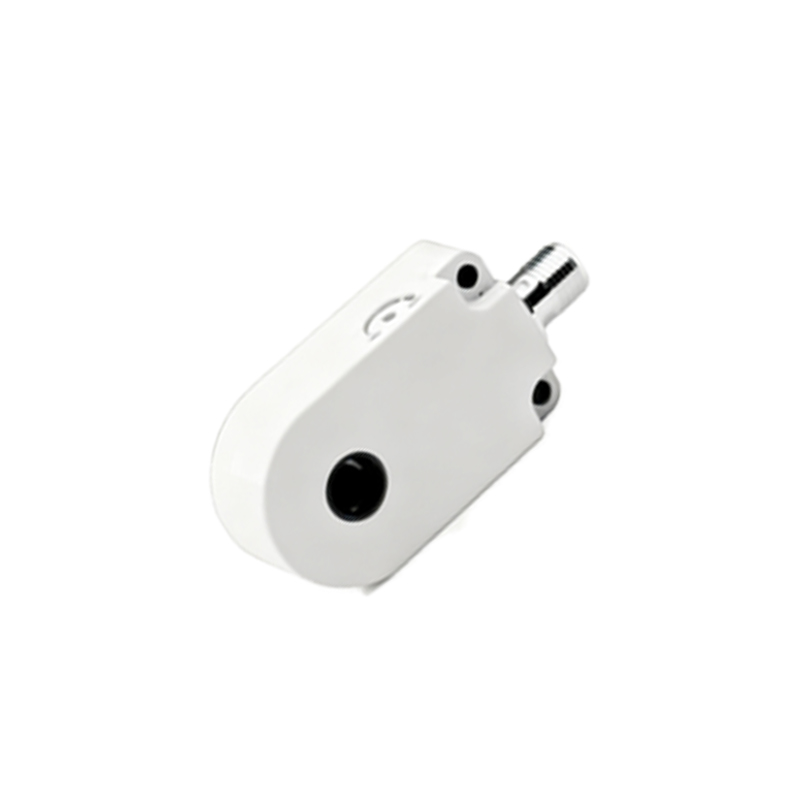
The selection of the potting compound is the foundational step in the process. Engineers must consider several key properties to match the compound with the sensor's operational requirements. Epoxy resins are widely favored for their excellent adhesion, high mechanical strength, and superior chemical resistance. They form a hard, rigid shell ideal for sensors exposed to abrasive conditions or corrosive substances. Silicone-based compounds, on the other hand, offer exceptional flexibility and a wide operating temperature range. Their elastic nature makes them perfect for applications subject to significant thermal expansion or constant vibration, as they absorb stress without cracking. Polyurethane compounds provide a balanced profile with good moisture resistance and moderate flexibility. For specialized environments, compounds with specific attributes—such as high thermal conductivity for heat dissipation, or optical clarity for sensors with LED indicators—are also available. Always consult the material data sheets for parameters like viscosity, cure time, pot life, and dielectric strength.
Essential Pre-Potting Preparation Steps
Thorough preparation is paramount to a successful potting application. Begin by meticulously cleaning the sensor housing and internal components. Use appropriate solvents or cleaning agents to remove any traces of dust, oil, flux residues, or moisture. Even minor contaminants can severely compromise the adhesion of the potting compound, leading to delamination and eventual failure. Next, ensure all electrical connections, wires, and sensitive elements are properly positioned and secured. It is often necessary to use temporary fixtures or masking tapes to protect areas like the sensing face, electrical terminals, or ventilation holes that must remain free of compound. Verify the integrity of seals and gaskets on the housing. For components that generate heat, consider installing thermal management features like heat sinks before potting. A final inspection under good lighting confirms the assembly is ready for the compound.
Detailed Step-by-Step Potting Procedure
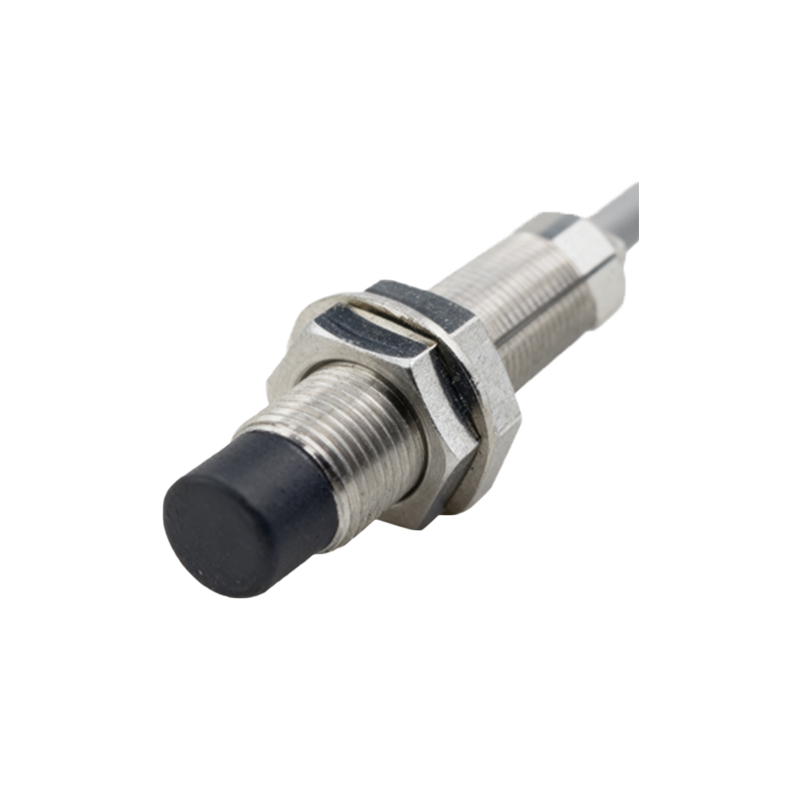
The potting procedure requires precision and attention to detail. First, prepare the potting compound according to the manufacturer's instructions. For two-part compounds, measure the resin and hardener ratios accurately using calibrated tools. Mix the components thoroughly but gently to minimize air entrapment, which can create voids. Degassing the mixed compound in a vacuum chamber is a recommended best practice to eliminate these air bubbles. Preheat the sensor assembly slightly if specified by the compound guidelines, as this can improve flow and wetting. Pour or dispense the compound into the housing slowly and steadily. For complex geometries, pour from one corner to allow the compound to flow naturally and displace air. In some cases, injecting the compound with a syringe may offer better control. Fill the cavity completely but avoid overfilling, which can cause spillage onto critical areas. Gently tap or vibrate the assembly to encourage trapped air bubbles to rise to the surface.
Curing Process and Post-Curing Handling
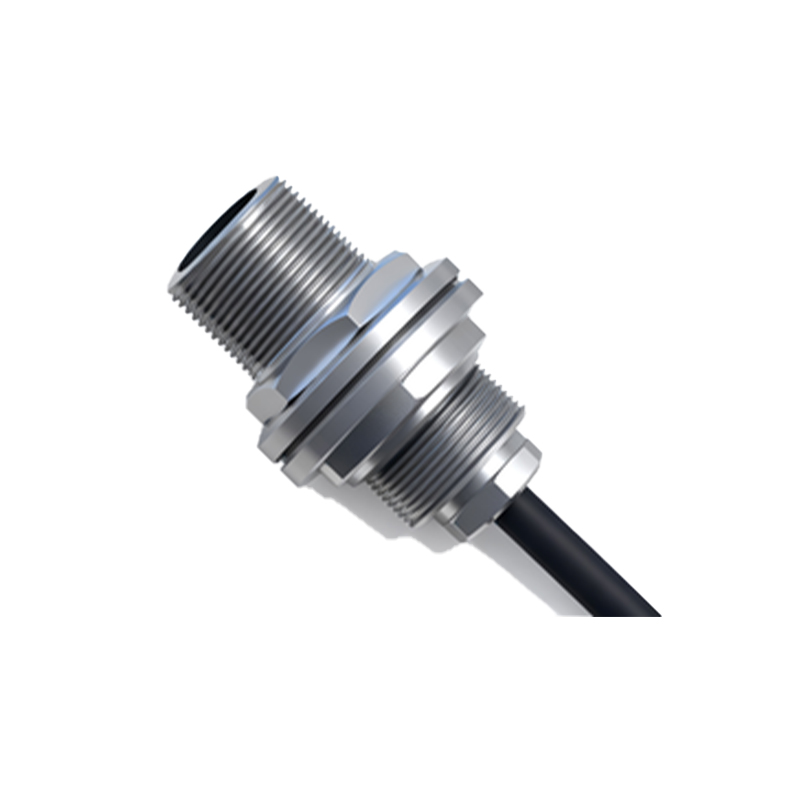
Curing transforms the liquid potting material into its final solid state. Carefully place the potted sensor in a controlled environment as per the compound's cure schedule. Temperature and humidity are critical factors; deviations can lead to incomplete curing, surface tackiness, or reduced mechanical properties. Some compounds cure at room temperature, while others require elevated temperatures in an oven for optimal performance. Avoid moving or disturbing the sensor during the initial gel stage. The full cure time can range from several hours to a few days. After the initial cure, a post-cure cycle at a specific temperature is often recommended to enhance the compound's ultimate properties, such as glass transition temperature and chemical resistance. Once fully cured, inspect the potted unit. Check for any visible defects like cracks, voids, or incomplete coverage. Perform basic electrical tests to verify the sensor's functionality has not been impaired.
Common Challenges and Troubleshooting Tips
Several challenges can arise during the potting process. Air bubbles or voids are among the most frequent issues, potentially leading to weak spots and reduced protection. Ensuring proper degassing and a slow, controlled pour can mitigate this. Exothermic reaction is another concern, particularly with large potting volumes using epoxy. The heat generated during curing can damage sensitive components