Introduction to Photoelectric Sensors
Photoelectric sensors are fundamental components in modern industrial automation, utilizing light beams to detect the presence, absence, or distance of objects. Their operation is based on the principle of light emission, reception, and interpretation. A typical sensor consists of an emitter, which projects a light beam, and a receiver, which detects the light. When an object interrupts or reflects this beam, the sensor's output state changes, triggering a control action. These sensors are prized for their non-contact detection, high speed, and long sensing ranges, making them indispensable in packaging, material handling, assembly, and safety applications. Understanding their core functionality through practical demonstration is crucial for effective implementation and troubleshooting.
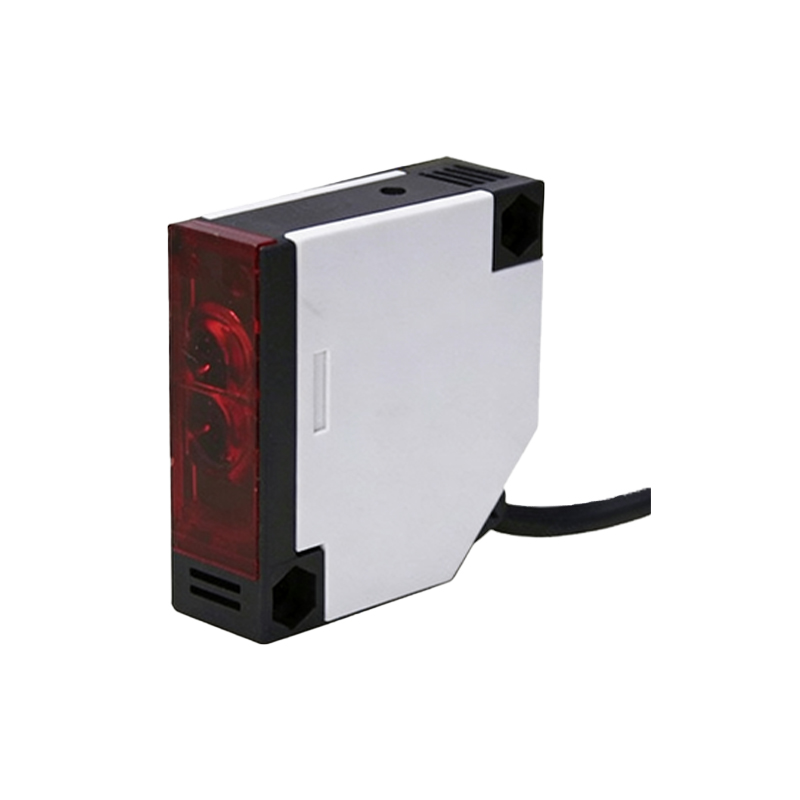
Purpose of the Experiment Video
This experiment video serves as a practical visual guide, bridging the gap between theoretical datasheets and real-world application. Its primary objective is to demonstrate the setup, configuration, and operational characteristics of different photoelectric sensor modes: through-beam, retro-reflective, and diffuse reflective. The video aims to show engineers and technicians how to correctly align sensors, interpret indicator LEDs, adjust sensitivity settings, and observe the response to various target materials and colors. By visualizing these processes, the video enhances comprehension of key parameters such as sensing distance, response time, and environmental factors like ambient light interference.
Experimental Setup and Equipment
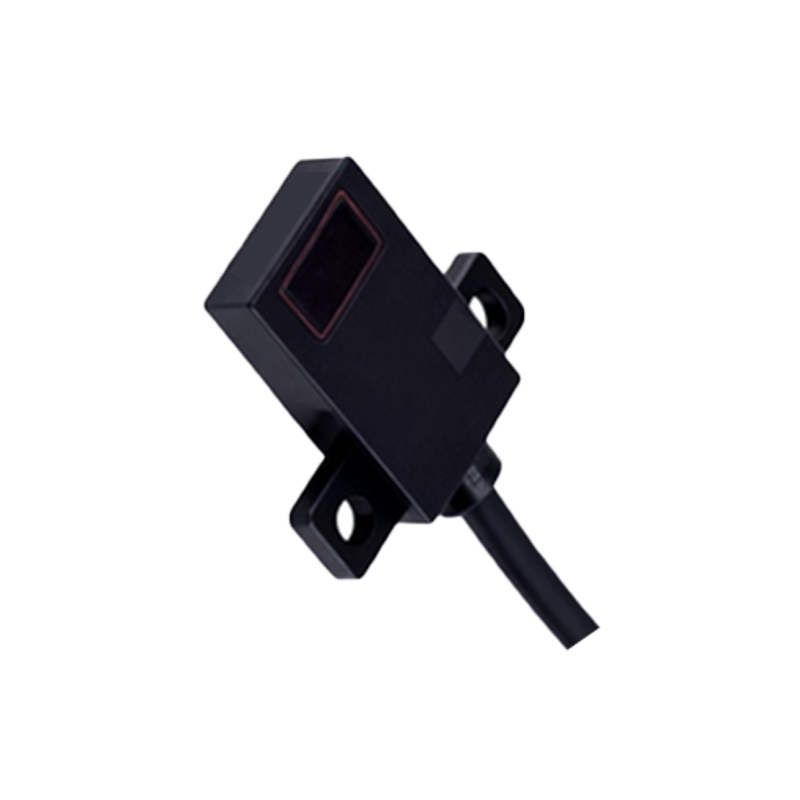
The video begins by showcasing the necessary equipment. A clean, well-lit benchtop serves as the workspace. Key items include three types of photoelectric sensors (through-beam, retro-reflective, diffuse), a programmable logic controller (PLC) or a simple relay module for output demonstration, a 24V DC power supply, connecting cables, and a variety of test objects. These objects differ in material (metal, plastic, wood), color (black, white, transparent), and surface finish (matte, glossy). A measuring tape and alignment tools are also present to ensure precise setup. The video clearly labels each component, emphasizing proper power connections and safety precautions before energizing the circuit.
Through-Beam Sensor Demonstration
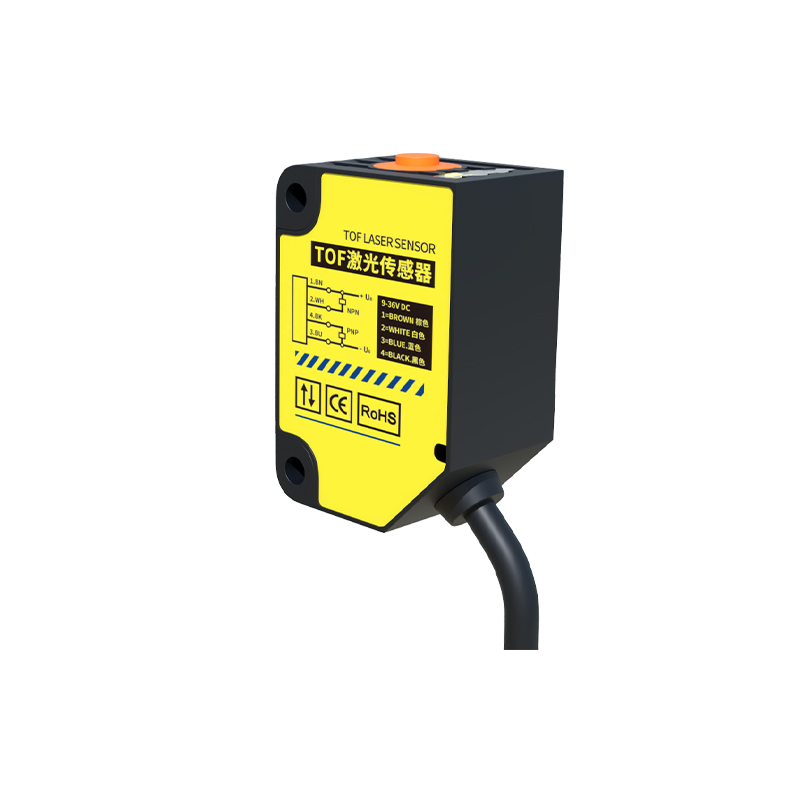
In this segment, the emitter and receiver are positioned opposite each other. The video details the alignment process, highlighting the importance of a clear, unobstructed path. The sensor's operation is shown as a test object breaks the beam between the two units. The robust nature of through-beam sensing is emphasized, noting its long range and high reliability, as it is less affected by the object's surface properties. The video captures the instant change in the receiver's output LED and the corresponding signal on the PLC input indicator. Potential issues, such as misalignment causing intermittent operation, are demonstrated and corrected.
Retro-Reflective Sensor Demonstration
Here, the video features a single sensor unit housing both emitter and receiver, along with a retro-reflector. The setup process shows the sensor facing the reflector. The principle is explained: the sensor detects an object when it blocks the reflected light beam. The video tests different objects, including a highly reflective material that might cause false triggers, explaining how to use polarization filters to mitigate this. Adjusting the sensor's sensitivity to account for the reflector's distance is shown, illustrating the importance of the "teach" or "set" button commonly found on modern sensors.
Diffuse Reflective Sensor Demonstration
This section focuses on the most common type, where the sensor detects light reflected directly from the target object. The video demonstrates the significantly shorter sensing range compared to other modes. It tests objects of varying colors and materials, visually showing how a black, non-reflective object requires higher sensitivity settings or a specialized background suppression model. The concept of the "light spot" and optimal sensing distance is explained through close-up shots. The video also shows how environmental factors, like a shiny background, can cause false detection and how to adjust the sensor to avoid it.
Key Observations and Data Analysis
The video consolidates findings with on-screen data tables and graphical comparisons. Key metrics like maximum sensing distance for each mode, response time measured with an oscilloscope, and minimum detectable object size are displayed. The performance variation with different target colors (white vs. black) is quantified. The narrator analyzes the results, explaining why a through-beam sensor is chosen for long-range, reliable detection, while a diffuse sensor with background suppression is ideal for detecting objects on a conveyor belt. The importance of hysteresis in preventing output chatter is also briefly demonstrated and explained.
Troubleshooting Common Issues
A dedicated segment simulates common field problems. Scenarios include no output signal due to incorrect wiring, unstable operation from poor alignment, and failure to detect a specific material. The video shows systematic troubleshooting steps: checking power and indicators, verifying alignment using the sensor's built-in alignment aid (if available), cleaning the lens, and adjusting sensitivity. It emphasizes consulting the sensor's manual for specific error flashes. This practical guide helps technicians diagnose and resolve issues efficiently, reducing machine downtime.
Applications and Best Practices
Finally, the video connects the laboratory experiments to real industrial applications. Quick clips show photoelectric sensors counting bottles on a filling line, detecting labels on packaging, ensuring proper part placement in an assembly jig, and acting as safety curtains. Best practices are summarized: always consider the target's properties and the environment during selection, ensure secure mounting to prevent vibration-induced misalignment, implement protective housings in dirty or wet conditions, and perform regular maintenance checks. The conclusion reinforces that hands-on experimentation, as shown in the video, is key to mastering sensor deployment.