Understanding Proximity Sensor Mounting and Integration
Proximity sensors, encompassing inductive, capacitive, ultrasonic, and photoelectric types, are fundamental components in industrial automation. Their primary function is to detect the presence or absence of an object without physical contact. A common question that arises during system design, maintenance, or retrofit projects is whether these sensors are removable. The direct answer is yes, proximity sensors are designed to be removable and replaceable. This characteristic is not merely a convenience but a critical feature for operational flexibility, maintenance, and lifecycle management. Their installation typically involves mechanical mounting—via threaded barrels, brackets, or flanges—and electrical connection to a control system. This standardized approach inherently allows for their detachment and replacement, provided the correct procedures and compatible replacements are used.
Key Factors Enabling Sensor Removal
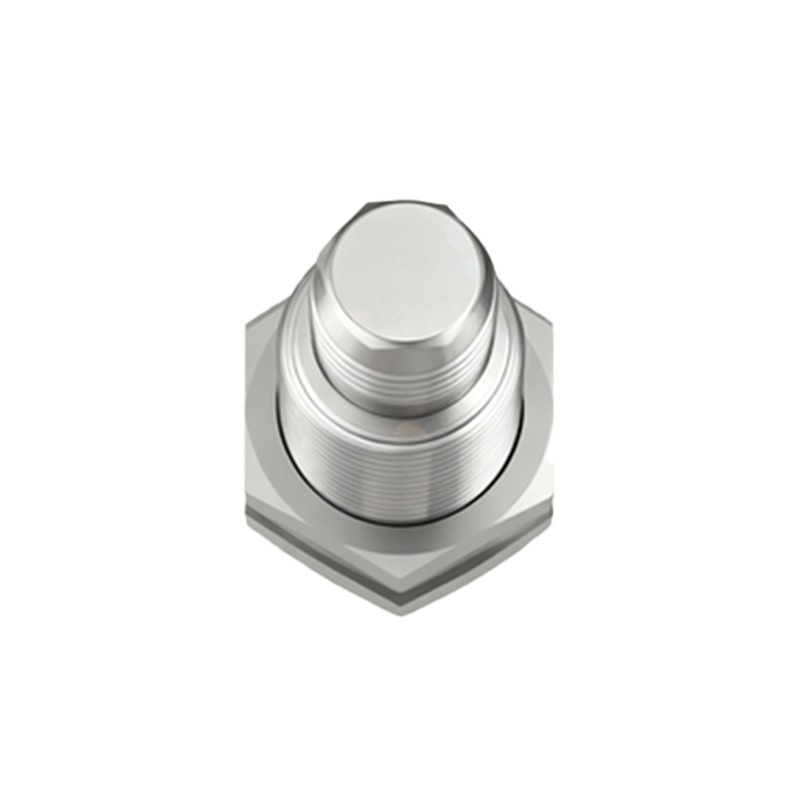
Several design and installation factors make the removal of proximity sensors a standard practice. First, the mechanical mounting is almost universally non-permanent. Cylindrical sensors feature standardized threads (e.g., M8, M12, M18, M30) that screw into a matching mounting nut or directly into a tapped hole. Rectangular sensors often use separate brackets or slots for mounting. Electrically, sensors connect via quick-disconnect connectors (e.g., M12, M8 coded connectors) or terminal blocks. These connector systems are explicitly designed for repeated mating and unmating cycles. Furthermore, sensors are typically installed with some degree of adjustability or within an accessible enclosure, acknowledging that they may need service or replacement. The entire ecosystem—from the sensor housing to the mounting hardware and cabling—is engineered for serviceability.
Step-by-Step Procedure for Safe Removal
Removing a proximity sensor requires a methodical approach to ensure safety and prevent damage. Always begin by locking out and tagging out (LOTO) the associated machinery and electrical circuits to achieve a zero-energy state. Once safety is confirmed, disconnect the electrical connector or carefully loosen the wiring at the terminal block, noting the wire configuration for reinstallation. Next, unscrew or unbolt the sensor from its mounting point. For threaded sensors, use an appropriate wrench on the flats provided, avoiding force on the sensing face or plastic housing. It may be necessary to first loosen a locking nut on the threaded barrel. Carefully extract the sensor from its location. Inspect the mounting area and the connector for any signs of damage, corrosion, or wear that should be addressed before installing a new unit.
Considerations for Replacement and Reinstallation
Simply removing a sensor is often the first step toward replacing it. Critical considerations must be addressed to ensure the new installation functions correctly. The replacement sensor must match the key specifications of the original: sensing type (inductive, capacitive, etc.), sensing distance, output type (PNP/NPN, NO/NC), supply voltage, and thread size or housing style. Even with matching specs, slight variations in the sensing field or response time can occur between manufacturers. After installation, recalibration or adjustment of the sensor's position is frequently required. The sensing distance can be affected by the target material, mounting surroundings, and alignment. Fine-tuning the sensor's position while monitoring its output signal is a standard commissioning step to achieve reliable operation.
Challenges and Special Cases in Sensor Removal
While generally straightforward, certain scenarios present challenges for sensor removal. Sensors installed in harsh environments may be corroded or seized in their mounting threads. Applying penetrating oil and using proper tools can help, but care must be taken not to shear the housing. In applications where sensors are potted or encapsulated with epoxy for environmental protection, removal becomes destructive and requires cutting or drilling, followed by extensive cleanup. Another special case involves "non-removable" or integral sensors that are built directly into a machine component (e.g., a motor housing or a valve body). These are designed as permanent assemblies, and their "removal" equates to replacing the entire sub-assembly. Always consult the original equipment manufacturer's (OEM) documentation in such cases.
Maintenance and Lifecycle Implications
The removable nature of proximity sensors is a cornerstone of predictive and preventive maintenance strategies. Engineers can schedule regular inspections, clean sensing faces, and perform functional tests. When a sensor fails or drifts out of specification, it can be swapped out quickly to minimize machine downtime. This also allows for technology upgrades; an older sensor can be removed and replaced with a newer model offering better performance, IO-Link communication, or enhanced durability. Keeping a stock of critical spares and documenting sensor locations and part numbers are best practices that leverage the removability of these components to optimize overall equipment effectiveness (OEE) and reduce mean time to repair (MTTR).
SEO关键词