Laser sensors have become an integral component in the world of Raspberry Pi projects, offering precision and versatility for hobbyists, educators, and professionals alike. By integrating a laser module with a Raspberry Pi single-board computer, users can embark on a wide range of applications from simple demonstrations to complex automated systems. This guide explores the practical aspects of using laser sensors with Raspberry Pi, focusing on setup, common projects, and real-world applications without delving into overly technical jargon.
The first step in any Raspberry Pi laser project is selecting the appropriate laser module. Common choices include low-power laser diodes, often used in presentation pointers or as alignment tools. These modules typically operate at 5V or 3.3V, making them compatible with the Raspberry Pi's GPIO (General Purpose Input/Output) pins. It is crucial to note that safety is paramount; even low-power lasers can be harmful to eyes. Always handle laser modules with care, avoid pointing them at people or reflective surfaces, and consider using protective eyewear when necessary.
Connecting a basic laser module to a Raspberry Pi is straightforward. The laser's positive lead (anode) is connected to a GPIO pin configured as an output, while the negative lead (cathode) is connected to a ground pin on the Raspberry Pi. A current-limiting resistor is often placed in series to protect both the laser diode and the Raspberry Pi from excessive current. Once physically connected, controlling the laser is a matter of writing a simple Python script. Using the popularRPi.GPIO orgpiozero libraries, one can turn the laser on and off with just a few lines of code. This basic control forms the foundation for more interactive projects.
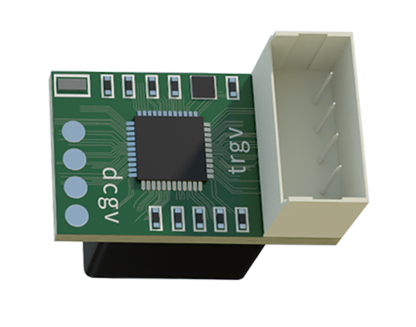
One of the most popular beginner projects is creating a laser tripwire security system. In this setup, a laser module is positioned to beam continuously at a photoresistor or a photodiode sensor. The sensor is connected to another GPIO pin configured as an input. When the laser beam is interrupted—by a person walking through it, for example—the sensor detects a drop in light intensity. The Raspberry Pi monitors this change and can trigger an action such as sounding a buzzer, sending an email alert, or activating a camera module to capture an image. This project effectively demonstrates the principles of intrusion detection and event-driven programming.
Beyond security, laser sensors paired with Raspberry Pi find use in precision measurement and alignment. For instance, in DIY 3D printers or CNC machines built with Raspberry Pi, a laser can serve as a calibration tool to ensure the print bed or cutting head is perfectly level. By mounting a laser module on the moving toolhead and pointing it at a target, users can write software to detect minute deviations. Another interesting application is in agriculture technology, where laser sensors can help monitor plant growth by measuring the distance to plant canopies, providing data for automated watering or lighting systems.
For those interested in data transmission, laser communication projects offer a fascinating avenue. By modulating the laser beam on and off rapidly (a technique called on-off keying), the Raspberry Pi can encode digital data into light pulses. A receiver, consisting of a phototransistor connected to another Raspberry Pi, decodes these pulses back into data. While this method is limited to line-of-sight and short distances in practical hobbyist setups, it provides a hands-on understanding of optical communication principles, free from radio frequency interference.
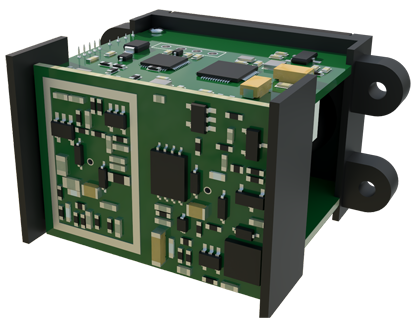
Integrating laser sensors with other Raspberry Pi accessories opens even more possibilities. Combining a laser with the Raspberry Pi Camera Module can enable laser scanning for 3D reconstruction of small objects. The laser creates a reference line on the object, and as the object is moved or the camera angle changes, software can calculate depth information from the deformation of the line. Similarly, in robotics, a forward-facing laser can be used for basic obstacle detection, complementing ultrasonic or infrared sensors to help a Raspberry Pi-powered robot navigate its environment.
When developing these projects, power management is a key consideration. The Raspberry Pi itself and connected peripherals must be powered adequately. For portable applications, a reliable USB power bank is essential. Furthermore, software stability is critical for autonomous systems. Implementing error handling in code, using try-except blocks in Python, and ensuring the Raspberry Pi's operating system is up-to-date can prevent common issues like GPIO pin conflicts or unexpected shutdowns.
The community surrounding Raspberry Pi and laser sensors is vast and supportive. Online forums, tutorial websites, and GitHub repositories are filled with shared code, schematic diagrams, and troubleshooting advice. Whether one is building a laser harp for musical expression, a automated leveling system for a workshop, or an educational demo for a science fair, the combination of Raspberry Pi and laser sensors provides a low-cost, high-impact platform for innovation. The process encourages learning about electronics, programming, and system design in a tangible, project-based manner.
In conclusion, the synergy between Raspberry Pi and laser sensor modules unlocks a domain of creative and practical projects. From enhancing home security to enabling precise measurements and exploring data communication, the applications are bound only by the user's imagination. By starting with simple connections and control scripts, then progressively adding complexity with sensors and integrated systems, anyone can harness the power of light to interact with the physical world through their Raspberry Pi.