Proximity sensors are essential components in modern automation systems, widely used for object detection, positioning, and safety applications. Proper setup ensures reliable performance and extends the sensor's lifespan. This guide outlines practical methods for configuring proximity sensors effectively.
First, understand the sensor type. Inductive sensors detect metallic objects, while capacitive sensors respond to both metallic and non-metallic materials. Photoelectric sensors use light beams for detection. Selecting the appropriate sensor type based on the target material and environment is crucial.
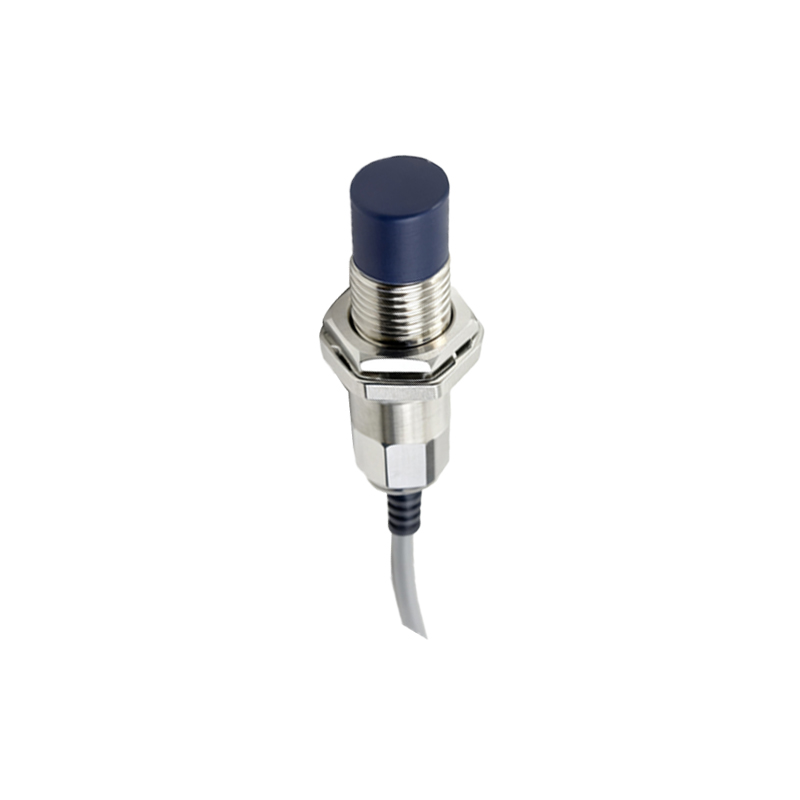
Installation positioning significantly impacts performance. Mount the sensor stably, ensuring the sensing face is parallel to the target object. Maintain the recommended sensing distance, typically specified in the datasheet. Avoid mounting near metal surfaces or other sensors to prevent interference. For cylindrical sensors, ensure proper alignment to prevent false triggers.
Wiring connections must follow manufacturer guidelines. Most proximity sensors have three wires: brown for power, blue for ground, and black for output. Use shielded cables in electrically noisy environments to reduce signal interference. Confirm voltage ratings match the power supply to prevent damage. For DC sensors, observe polarity; incorrect connections can cause malfunction.
Adjust sensitivity settings if available. Some sensors feature potentiometers or teach-in functions for fine-tuning. Gradually adjust sensitivity while testing with the target object. Avoid setting sensitivity too high, as it may detect unintended objects or environmental noise. In dusty or humid conditions, reduce sensitivity to minimize false readings.
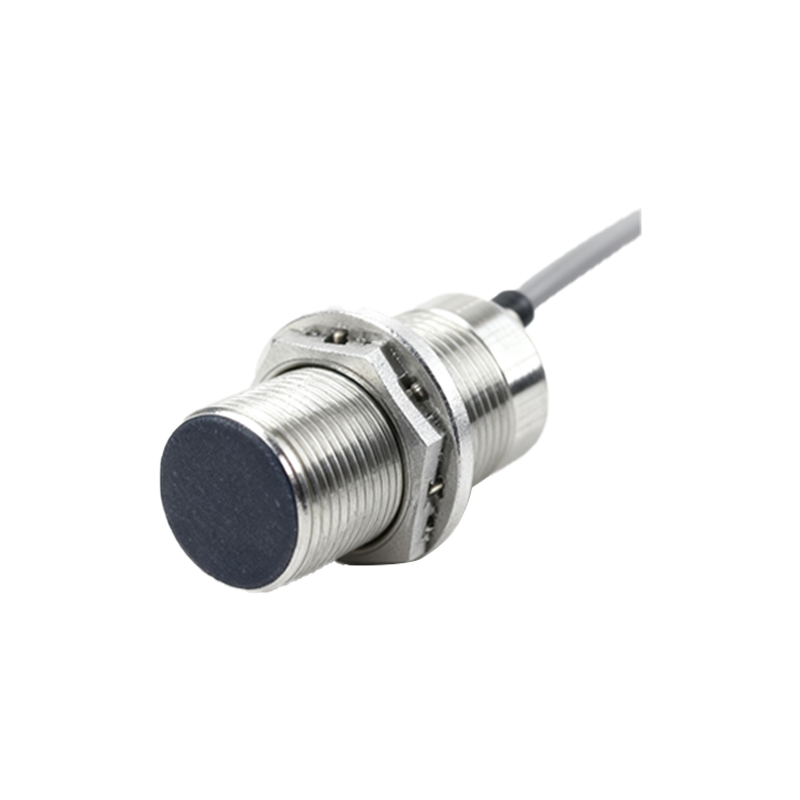
Environmental factors require consideration. Temperature extremes, vibration, and chemical exposure can affect sensor performance. Choose sensors with appropriate IP ratings for harsh conditions. Regularly clean the sensing face from dust, oil, or debris that could obstruct detection.
Testing and validation are critical steps. Use the actual target object during testing, not just a substitute material. Verify the sensor triggers consistently at the desired distance. Check response time to ensure it meets application requirements. For critical applications, implement redundancy with multiple sensors.
Maintenance involves periodic checks. Monitor output signals using multimeters or oscilloscopes if issues arise. Keep records of calibration settings for future reference. Replace sensors showing signs of wear or inconsistent performance.
Advanced setups may involve integrating sensors with PLCs or controllers. Configure output types (NPN/PNP) to match control system requirements. Use sensor diagnostics features, if available, for troubleshooting. For networked systems, ensure communication protocols are correctly configured.
Common pitfalls include ignoring environmental interferences, incorrect mounting angles, and using damaged cables. Always refer to the manufacturer’s manual for model-specific instructions. Training personnel on proper handling reduces setup errors.
In summary, successful proximity sensor setup combines correct selection, precise installation, careful wiring, and thorough testing. Adhering to these methods enhances system reliability and operational efficiency.