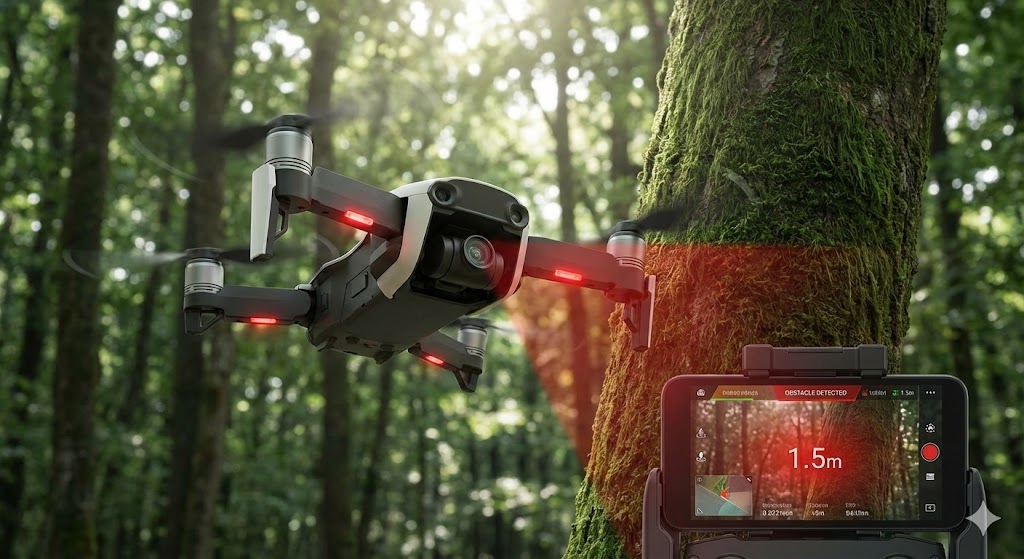
In the realm of industrial automation and robotics, precise positioning is paramount. Arduino-based laser positioning sensors have emerged as a powerful, cost-effective solution for engineers and developers. This guide delves into the technical principles, implementation strategies, and practical applications of these systems.
A laser positioning sensor typically consists of a laser emitter, a photodetector (like a linear CCD or PSD), and a microcontroller. The core principle is triangulation. The laser projects a spot onto a target surface. The reflected light is captured by the detector at a known angle. By calculating the displacement of the light spot on the detector, the Arduino, using pre-programmed algorithms, can compute the exact distance or position of the target with high accuracy. This method offers significant advantages over ultrasonic or simple infrared sensors in terms of resolution and response speed.
Integrating a laser sensor with an Arduino board involves both hardware and software considerations. On the hardware side, common modules like the VL53L0X (Time-of-Flight) or analog-output triangulation sensors are popular choices. Connection is straightforward, typically utilizing I2C or analog input pins. Engineers must pay close attention to power requirements, signal noise, and environmental factors such as ambient light interference, which may necessitate housing or optical filters.
The software implementation is where the Arduino platform shines. Using libraries provided by manufacturers or developing custom code, engineers can calibrate the sensor, filter noise (e.g., using moving average filters), and translate raw sensor data into meaningful engineering units (millimeters or inches). For instance, a basic code snippet for an analog sensor might involve reading the analog pin, mapping the value to a distance range based on a calibration curve, and outputting the result via serial communication for monitoring or further control logic.
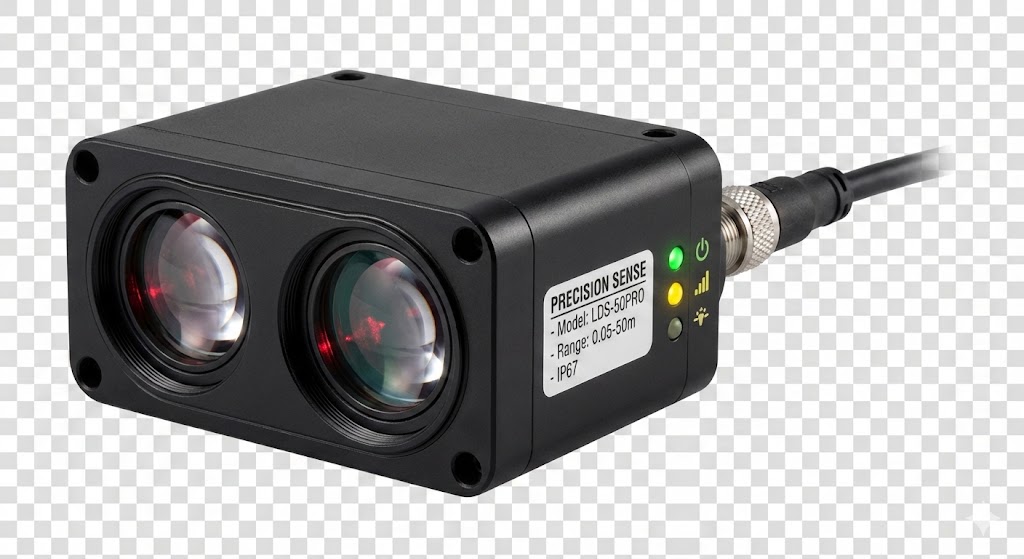
Practical applications are vast. In automated assembly lines, these sensors perform precise part presence detection or height measurement. In mobile robotics, they are crucial for obstacle avoidance, cliff detection, or even simple 2D mapping. DIY CNC machines and 3D printers use them for bed leveling and homing sequences. The flexibility of Arduino allows for rapid prototyping and integration into larger control systems, communicating with PLCs or other industrial networks via additional shield modules.
However, challenges exist. The accuracy of low-cost laser sensors can be affected by surface color and reflectivity. Dark, absorbent surfaces may return weak signals, while shiny surfaces can cause saturation. Engineers must conduct thorough testing under real-world conditions. Furthermore, for long-range or ultra-high-precision requirements, more sophisticated (and expensive) industrial-grade sensors might be necessary.
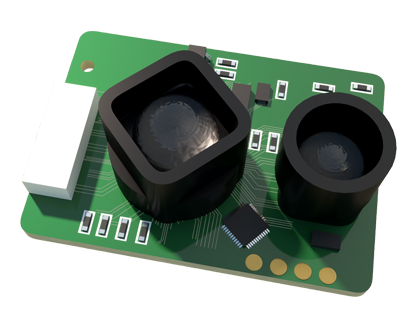
In conclusion, Arduino laser positioning sensors represent a critical tool for modern electrical and control engineers. They bridge the gap between high-end industrial systems and accessible prototyping. By understanding their operating principles, carefully designing the interface, and writing robust firmware, engineers can deploy highly reliable and accurate positioning solutions for a multitude of automation tasks, driving innovation and efficiency in countless projects.