As a seasoned engineer in the electrical and automation industry, I frequently encounter scenarios where fine-tuning drive parameters is essential for optimal system performance. One common adjustment involves the proximity sensor functionality on drives like the Siemens SINAMICS V20. While this sensor is crucial for many safety and operational sequences, there are specific applications—such as certain material handling setups, fixed-speed conveyor systems, or environments with persistent false triggers—where disabling it becomes necessary. This guide provides a clear, step-by-step procedure to deactivate the proximity sensor on the V20, ensuring you can adapt the drive to your precise operational requirements.
First and foremost, ensure all safety protocols are strictly followed. Disconnect the V20 drive from the main power supply and verify that no voltage is present using appropriate measuring equipment. This is non-negotiable. Once safety is confirmed, power on the drive using its control supply to access the parameter settings. The V20 is typically configured via its integrated keypad, known as the Basic Operator Panel (BOP-2).
The core of this adjustment lies in modifying specific parameters. The proximity sensor function on the V20 is often linked to its digital inputs and the associated logic. Navigate to the parameter list. You will primarily focus on parameters within theP group related to digital inputs and sensor functions. A key parameter isP0720. This parameter defines the functionality of the digital inputs. You need to identify which digital input (e.g., DI 0, DI 1, DI 2) is currently assigned to the proximity sensor signal. This assignment is typically set by parameters likeP0701,P0702, etc., corresponding to each digital input.
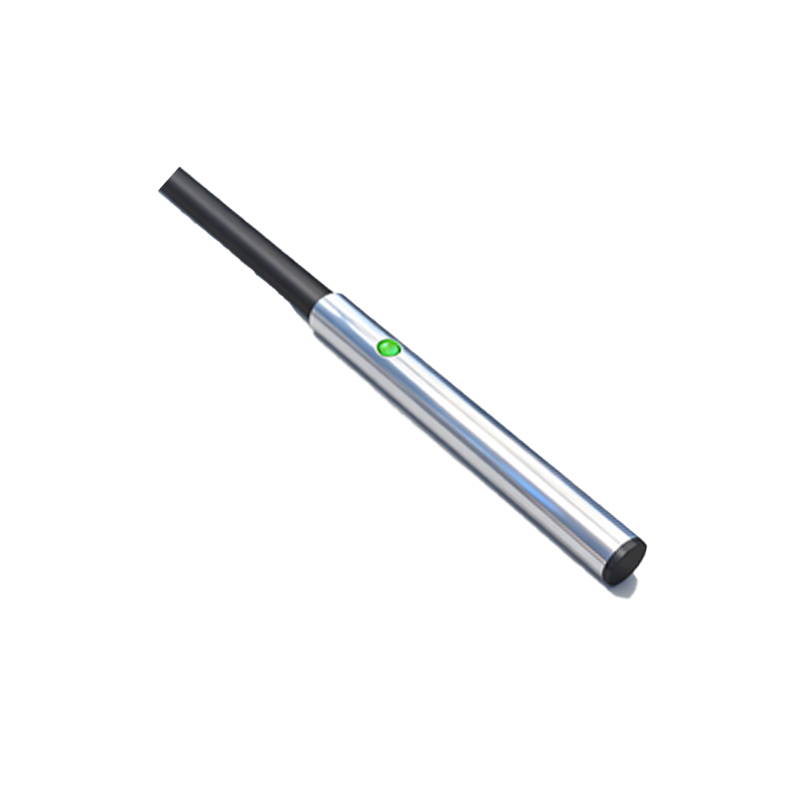
To disable the sensor, you must reconfigure the relevant digital input's function. Locate the parameter for the specific digital input wired to your proximity sensor. For instance, if the sensor is connected to Digital Input 1 (terminal number 5), you would adjust parameterP0701. The factory default setting might be a value like1 (ON/OFF1 command) or a specific value for sensor input. Change this value to0 (digital input disabled) or to a function that is not utilized in your application, such as9 (fault acknowledgment). This effectively decouples the physical sensor signal from the drive's control logic.
Furthermore, inspect parameters related to sensor monitoring and fault reactions. Parameters likeP2040 (sensor monitoring time) or fault codes associated with sensor loss (e.g., faults F...) should be reviewed. To prevent the drive from generating a fault when the sensor is disconnected or disabled, you may need to adjust the monitoring thresholds or disable the specific monitoring function. For example, setting a monitoring time to its maximum value or to zero (to disable monitoring) can be necessary, but this must be done with a full understanding of the system's safety implications. Never compromise safety interlocks without a thorough risk assessment.
After making these parameter changes, store the new configuration by pressing the appropriate key (usually labeled "P" or "OK") for a few seconds until the display confirms the save. It is highly recommended to perform a quick functional test. Re-apply main power (following safe procedures) and run the drive at a very low speed in a controlled manner. Verify that the drive operates without expecting the proximity sensor signal and that no related fault messages appear on the BOP-2 display.
Remember, disabling a safety-related sensor like a proximity sensor alters the original safety design of the equipment. This action should only be taken after a detailed engineering review confirms that the sensor is redundant for the specific mode of operation or that equivalent protective measures are in place. Always document the changes made to the parameter set and update the system's technical documentation accordingly. The Siemens SINAMICS V20 manual remains the ultimate reference; consult its detailed parameter list and safety instructions for the most authoritative guidance tailored to your specific drive firmware version.