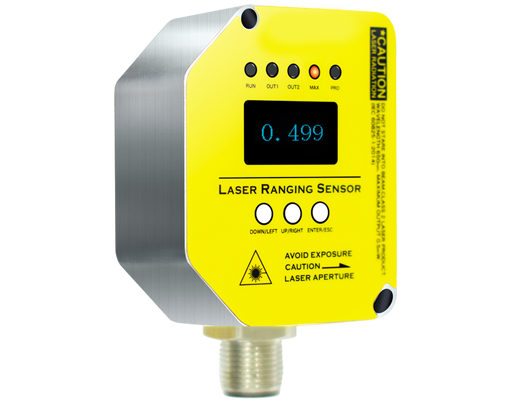
Laser sensors have become indispensable in modern industrial automation, offering unparalleled precision in distance measurement, object detection, and alignment tasks. For electrical engineers and automation specialists, integrating these sensors with Arduino microcontrollers provides a flexible and cost-effective solution for prototyping and deployment. This guide delves into the core principles of programming laser sensors with Arduino, covering hardware interfacing, code structure, and practical applications.
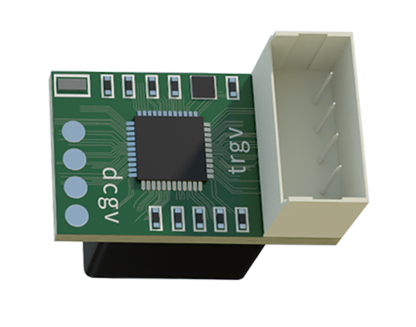
The foundation of any laser sensor project lies in understanding the sensor's communication protocol. Most laser distance sensors, such as those based on time-of-flight (ToF) or triangulation principles, utilize serial communication (UART), I2C, or analog output. For instance, a common ToF sensor like the VL53L0X communicates via I2C. The initial step involves connecting the sensor's VCC, GND, SDA, and SCL pins to the corresponding Arduino pins. Engineers must ensure proper voltage level matching, often 3.3V or 5V, to prevent hardware damage.
Once hardware connections are verified, the programming phase begins. The Arduino Integrated Development Environment (IDE) serves as the primary tool. Essential libraries, such as "Adafruit_VL53L0X" for ToF sensors, must be installed via the Library Manager. A basic program structure includes library inclusion, object initialization in the global scope, sensor setup in thevoid setup() function, and continuous data reading in thevoid loop() function.
Consider this code skeleton for a ToF sensor:
``cpp
#include
#include
Adafruit_VL53L0X lox = Adafruit_VL53L0X();
void setup() {
Serial.begin(9600);
while (!Serial);
if (!lox.begin()) {
Serial.println("Failed to boot VL53L0X");
while(1);
}
}
void loop() {
VL53L0X_RangingMeasurementData_t measure;
lox.rangingTest(&measure, false);
if (measure.RangeStatus != 4) {
Serial.print("Distance (mm): ");
Serial.println(measure.RangeMilliMeter);
} else {
Serial.println("Out of range");
}
delay(100);
}
`
This code initializes the sensor and prints distance measurements to the serial monitor. Error handling is crucial; theif (!lox.begin()) statement checks for initialization failures, a common practice to ensure system robustness.
For analog-output laser sensors, the process involves reading voltage values from an analog pin. The Arduino'sanalogRead() function returns a value between 0 and 1023, corresponding to 0V to 5V. Engineers must calibrate these readings by mapping them to actual distance units based on the sensor's datasheet, often using linear interpolation.
Advanced applications require more sophisticated programming. In industrial automation, laser sensors often trigger actions. For example, a sensor detecting an object within a threshold distance can activate a relay or send a signal via a digital pin. Implementing debouncing algorithms or median filtering in code enhances reliability by reducing noise from environmental interference.
Another critical aspect is power management. Laser sensors, especially high-power types, can draw significant current. Engineers should consider using external power supplies or MOSFET switches controlled by Arduino to toggle sensor power, thereby extending the lifespan of both the sensor and microcontroller.
Networking multiple laser sensors is a common requirement in complex systems. With I2C, each sensor must have a unique address. Many sensors allow address reconfiguration via a dedicated pin, which can be controlled programmatically. This enables scalable systems where a single Arduino manages an array of sensors for tasks like 3D profiling or conveyor belt monitoring.
Debugging and optimization are integral to the development cycle. Utilizing Arduino's serial plotter provides real-time visualization of sensor data, aiding in identifying signal drift or instability. For time-sensitive applications, engineers should minimizedelay() calls and leverage non-blocking code structures usingmillis()` to maintain responsive system performance.
In summary, programming laser sensors with Arduino demands a methodical approach: selecting the appropriate hardware interface, writing structured code with error handling, and implementing signal processing for real-world conditions. This synergy empowers engineers to develop precise, reliable automation solutions, from simple proximity switches to advanced robotic vision systems.