Replacing a laser sensor in an industrial setting is a critical maintenance task that requires precision, safety awareness, and adherence to technical protocols. Laser sensors are widely used for positioning, measurement, and detection in automation, manufacturing, and robotics. Over time, these sensors may degrade due to environmental factors, mechanical wear, or electrical issues, necessitating replacement. This guide provides a step-by-step procedure for safely and effectively replacing a laser sensor, ensuring minimal downtime and optimal performance.
Before starting the replacement process, gather all necessary tools and equipment. You will typically need a set of screwdrivers, wrenches, a multimeter for electrical testing, safety gloves, protective eyewear, and the replacement laser sensor compatible with your system. Always consult the sensor’s datasheet and the machinery manual for specific specifications, such as voltage ratings, output signals, and mounting dimensions. Ensure the work area is clean, well-lit, and free from obstructions.
The first step is to power down the equipment completely. Disconnect the main power supply and lock out/tag out (LOTO) the system to prevent accidental energization. Verify that no residual electrical charge is present using a multimeter. This safety measure is non-negotiable, as working on live circuits can cause severe injury or damage to components.

Next, identify the mounting arrangement of the existing laser sensor. Most industrial laser sensors are mounted using brackets, bolts, or adhesive bases. Carefully remove any fasteners while supporting the sensor to avoid dropping it. Note the orientation and alignment of the sensor, as incorrect installation can affect accuracy. If the sensor is connected via a cable, detach the connector by pressing the release tab—avoid pulling on the cable directly. Inspect the cable for signs of wear or damage; if needed, replace it along with the sensor.
Once the old sensor is removed, prepare the new laser sensor. Check its model number and specifications against the old unit to ensure compatibility. Some sensors may require pre-configuration, such as setting sensitivity, output type (e.g., NPN/PNP), or teaching-in positions. Refer to the manufacturer’s instructions for any calibration steps. If the sensor has adjustable parameters, configure them before mounting to simplify the process.
Mount the new sensor in the same position and orientation as the old one. Use the original brackets or hardware if they are in good condition; otherwise, replace them with new parts. Tighten fasteners securely but avoid over-torquing, which could distort the housing or affect alignment. Reconnect the electrical connector, ensuring it clicks into place. For sensors with separate power and signal cables, verify the wiring matches the previous setup—typically, brown wire to positive (+), blue wire to negative (-), and black/white wire for the output signal.
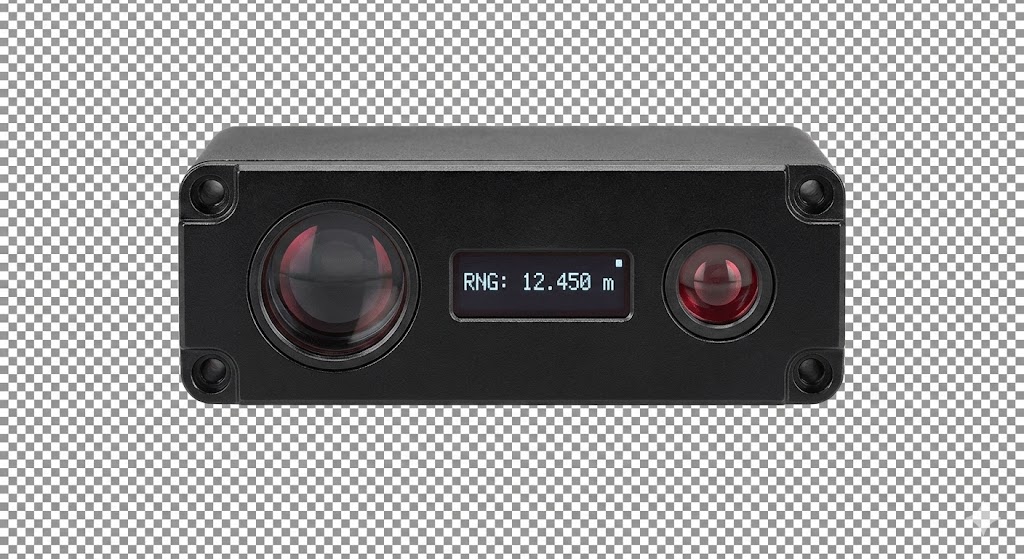
After installation, perform a functional test before restoring full power. Temporarily energize the system and observe the sensor’s indicator lights. Many laser sensors have LEDs that show power status, target detection, or fault conditions. Use a test target (e.g., a reflective surface) to check if the sensor responds correctly. Measure the output signal with a multimeter or oscilloscope to confirm it meets expected values. If the sensor includes programmable features, validate settings through the control interface.
Finally, conduct a full system integration test. Run the machinery through its normal operations to ensure the sensor interacts properly with controllers, PLCs, or other devices. Monitor for any errors or inconsistencies in performance. Document the replacement in maintenance logs, noting the date, sensor model, and any adjustments made. Regular preventive maintenance, such as cleaning lenses and checking connections, can extend the life of the new sensor.
In summary, replacing a laser sensor involves careful planning, safety precautions, and methodical execution. By following these guidelines, engineers and technicians can maintain system reliability and accuracy in industrial applications. Always prioritize manufacturer recommendations and industry standards to achieve the best results.