Photoelectric proximity sensors are indispensable components in modern industrial automation, offering non-contact detection of objects through the use of light beams. Proper wiring is crucial to ensure reliable operation, safety, and longevity of these sensors. This guide provides a comprehensive, step-by-step approach to wiring photoelectric proximity sensors, tailored for engineers and technicians in the electrical and automation fields.
Understanding the basic components is the first step. A typical photoelectric proximity sensor consists of a light emitter (usually an LED), a receiver, and a control circuit. The sensor may operate in different modes such as through-beam, retro-reflective, or diffuse reflective, but the wiring principles remain largely similar. Most industrial photoelectric sensors have three or four wires: brown (live/power), blue (neutral/common), black (output), and sometimes white (complementary output or control line). It is essential to refer to the specific datasheet provided by the manufacturer, as wire colors and functions can vary.
Before starting any wiring work, ensure that all power sources are disconnected and locked out to prevent electrical hazards. Verify the sensor’s voltage rating (commonly 12-24V DC or 110-240V AC) matches your power supply. Using an incorrect voltage can damage the sensor or cause malfunction.
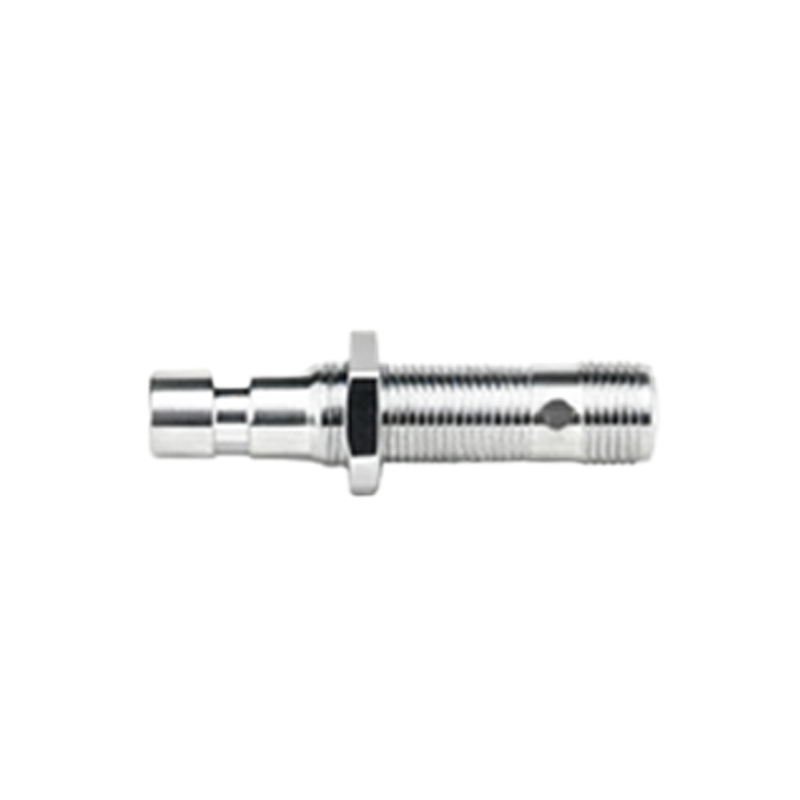
For a standard three-wire DC sensor, follow these steps:
1. Connect the brown wire to the positive terminal of the DC power supply.
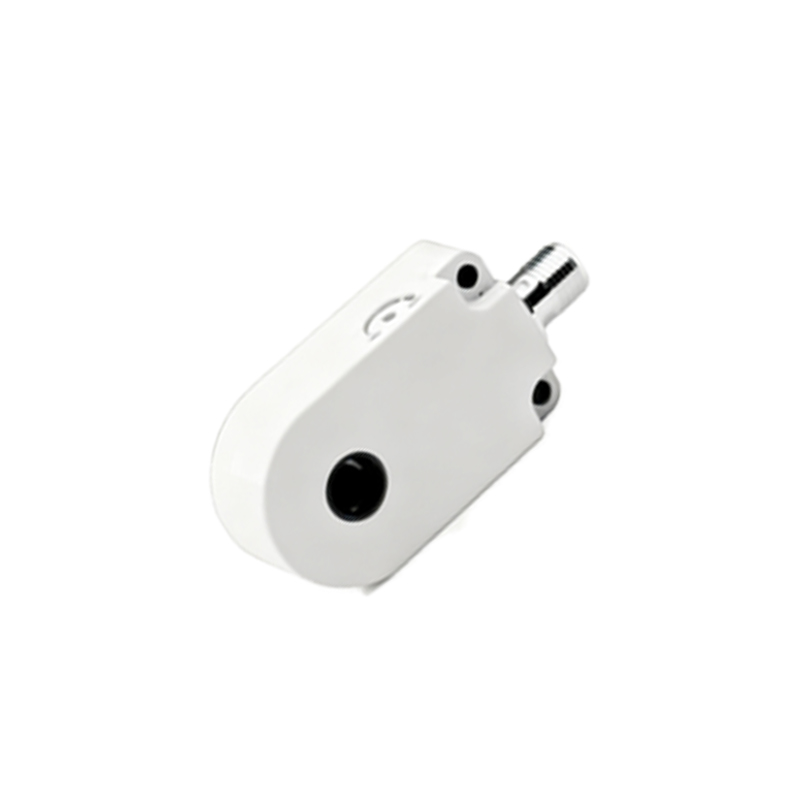
2. Connect the blue wire to the negative terminal (0V) of the power supply.
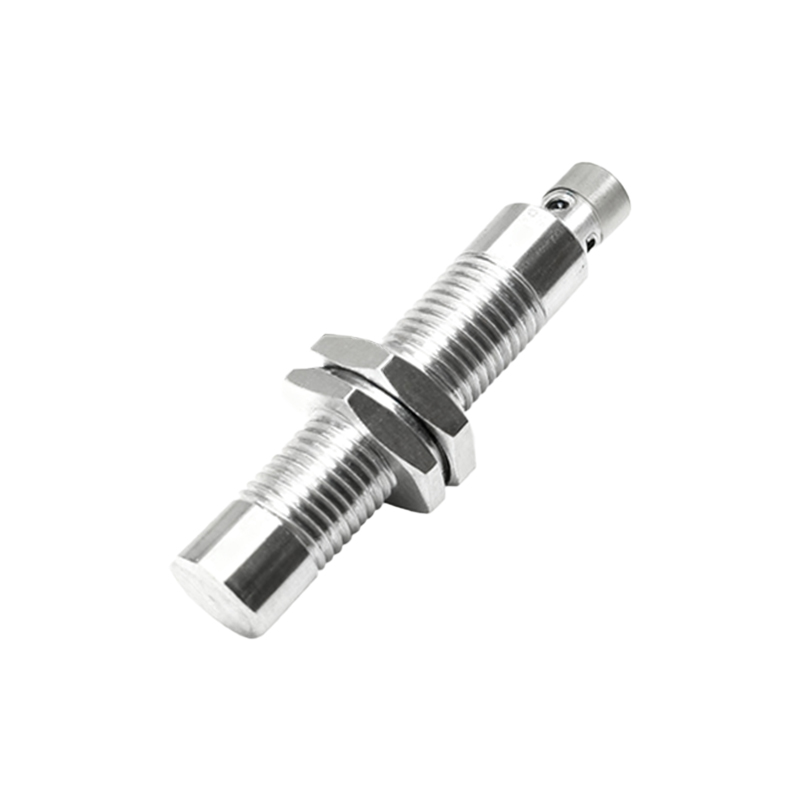
3. Connect the black wire (output) to the load, such as a programmable logic controller (PLC) input, relay, or indicator. The load should be connected between the black wire and the positive supply if the sensor has a PNP (sourcing) output, or between the black wire and the negative supply if it is an NPN (sinking) output.
4. Ensure all connections are tight and secure using appropriate tools, such as screwdrivers or crimping tools, to avoid loose contacts that could lead to intermittent failures.
For four-wire sensors, an additional wire (often white) may provide a second output or a control input for functions like teach-in or timer settings. Consult the manual to determine its specific purpose. In AC sensor wiring, the brown wire typically connects to the phase (hot) line, and the blue wire to the neutral. The black wire again serves as the output, switching the load. Always incorporate a fuse or circuit breaker in the power line for protection against overcurrent.
Shielding and grounding are critical in electrically noisy industrial environments. Use shielded cables and connect the shield to earth ground at one end only, usually at the control panel, to minimize electromagnetic interference (EMI). Avoid running sensor cables parallel to high-voltage power lines; cross them at right angles if necessary.
After wiring, perform a thorough inspection. Check for any exposed conductors, correct polarity, and proper insulation. Once verified, apply power and test the sensor’s functionality. Use an object to interrupt the light beam and observe the output response via an LED indicator on the sensor or a connected device. If the sensor fails to operate, double-check the wiring against the diagram, ensure the power supply is within tolerance, and confirm that the sensing range and environment (e.g., dust, ambient light) are suitable.
Regular maintenance, including cleaning the lens and checking connections, will help sustain optimal performance. By adhering to these wiring practices, engineers can ensure that photoelectric proximity sensors integrate seamlessly into control systems, enhancing efficiency and reliability in automated processes.