Disassembling a laser distance sensor is a task that requires precision, patience, and a clear understanding of its internal components. Whether for maintenance, repair, or detailed inspection, following a systematic approach is crucial to avoid damage to sensitive optical and electronic parts. This guide provides a professional, step-by-step procedure tailored for engineers and technicians in the electrical and instrumentation fields.
Before beginning any disassembly, ensure you have the necessary tools and a safe workspace. Essential tools typically include precision screwdrivers (Phillips and flathead), anti-static wrist straps, tweezers, a clean, lint-free cloth, and a set of organized containers for small screws and components. Always refer to the manufacturer’s specific service manual for your sensor model, as internal designs can vary significantly. The first and most critical step is to completely disconnect the sensor from any power source and signal cables. Allow the device to sit for a few minutes to discharge any residual electrical energy stored in capacitors.
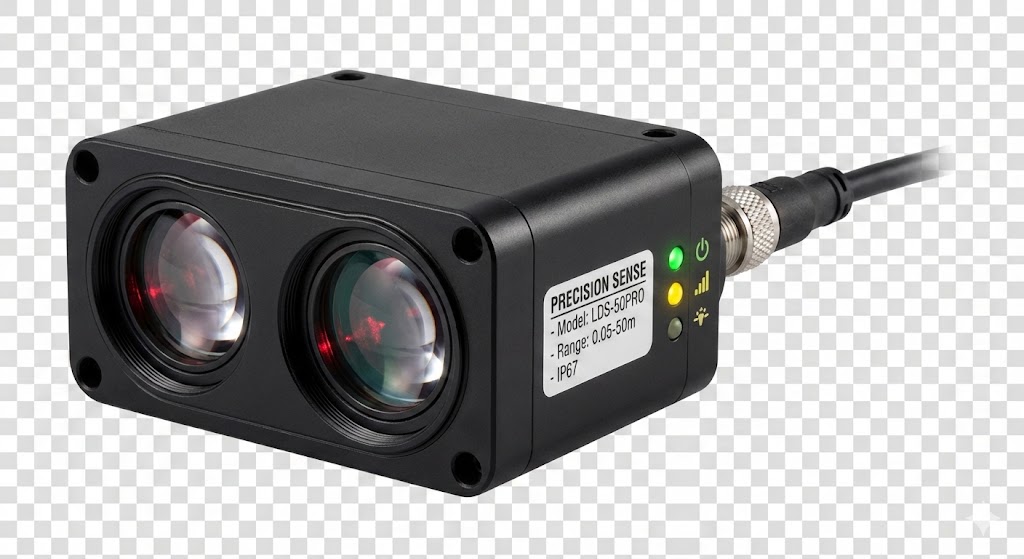
Start by removing the external housing. Most laser distance sensors feature a main outer casing secured by several small screws. Carefully unscrew and place them in a labeled container. Some casings may have snap-fit designs; use a plastic spudger to gently pry open the seams, avoiding metal tools that could scratch or deform the plastic. Once the outer shell is removed, you will typically see the internal assembly mounted on a chassis or frame. Take note of the orientation and positioning of any ribbon cables or wire harnesses connecting the main board to the laser diode module and the photodetector receiver.
The core optical assembly is delicate. The laser diode and the receiving lens or sensor are precisely aligned during manufacturing. Mark their positions relative to the housing with a non-permanent marker if possible. Before disconnecting any cables, use an anti-static wrist strap connected to a grounded point to prevent electrostatic discharge (ESD) from damaging the integrated circuits. Gently unplug any ribbon connectors by lifting the locking tabs, not by pulling on the cables themselves.

Next, locate and remove the screws or brackets securing the main printed circuit board (PCB). Lift the board carefully, checking for any hidden connectors or adhesive. Beneath, you will often find the laser emitter and receiver modules. These are usually housed in separate, shielded compartments to prevent internal light interference. Remove any screws holding these modules in place. The laser diode module itself is often a sealed unit; opening it is generally not recommended unless absolutely necessary, as it can compromise the laser's calibration and safety. The photodetector, often an avalanche photodiode (APD) or a position-sensitive device (PSD), is equally sensitive to dust and physical contact.
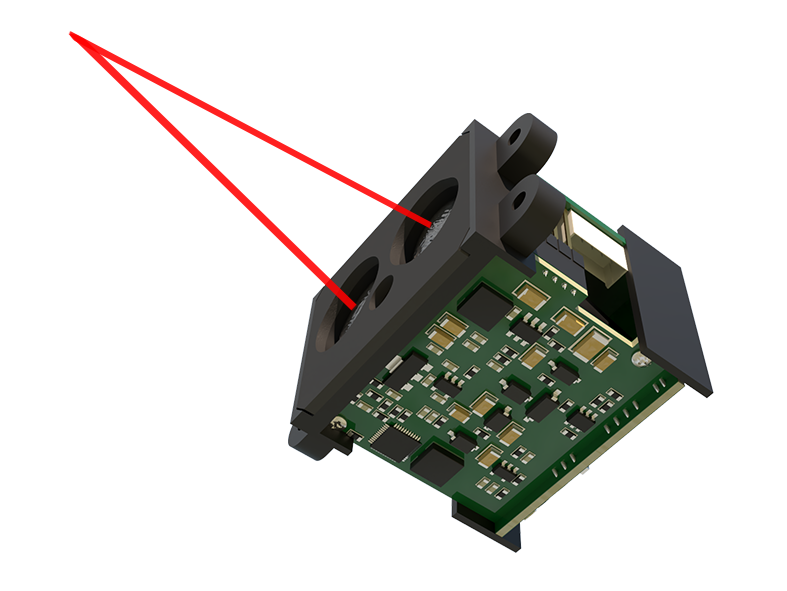
Throughout the process, keep the work area impeccably clean. Avoid touching optical surfaces with bare fingers. If cleaning is required, use compressed air designed for electronics and optical-grade cleaning wipes with the appropriate solvent. Document each step with photos or notes, especially wire routing and component orientation. This documentation is invaluable for reassembly.
Reassembly is essentially the reverse process, but with added caution. Ensure all connectors are firmly seated and all screws are tightened to the manufacturer's specified torque, if available. Pay meticulous attention to the alignment of the optical components. Even a slight misalignment can drastically affect the sensor's accuracy. After reassembly, perform basic functional tests in a controlled environment before reintegrating the sensor into a live system. Check for proper power-up, indicator lights, and if possible, a basic distance measurement against a known target.
Remember, disassembly may void the manufacturer’s warranty. This procedure should only be undertaken by qualified personnel with a solid understanding of electro-optical systems. Improper handling can lead to permanent damage, inaccurate readings, or even laser safety hazards. When in doubt, consulting the manufacturer or sending the unit to an authorized service center is always the safest course of action.