Replacing the screen on a 360 N6 smartphone is a common repair procedure. However, a critical and often overlooked component during this process is the proximity sensor. This guide provides a detailed, step-by-step procedure for successfully replacing the proximity sensor when performing a screen replacement on the 360 N6, ensuring full restoration of call functionality and auto-brightness features.
The proximity sensor in the 360 N6 is typically located near the earpiece speaker, behind the front glass or display assembly. Its primary function is to detect when the phone is held close to the user's face during a call, turning off the display to prevent accidental touch inputs and conserve battery. A damaged or improperly seated sensor after a screen swap will cause persistent issues such as the screen staying on during calls or erratic auto-brightness behavior.
Essential Tools and Precautions
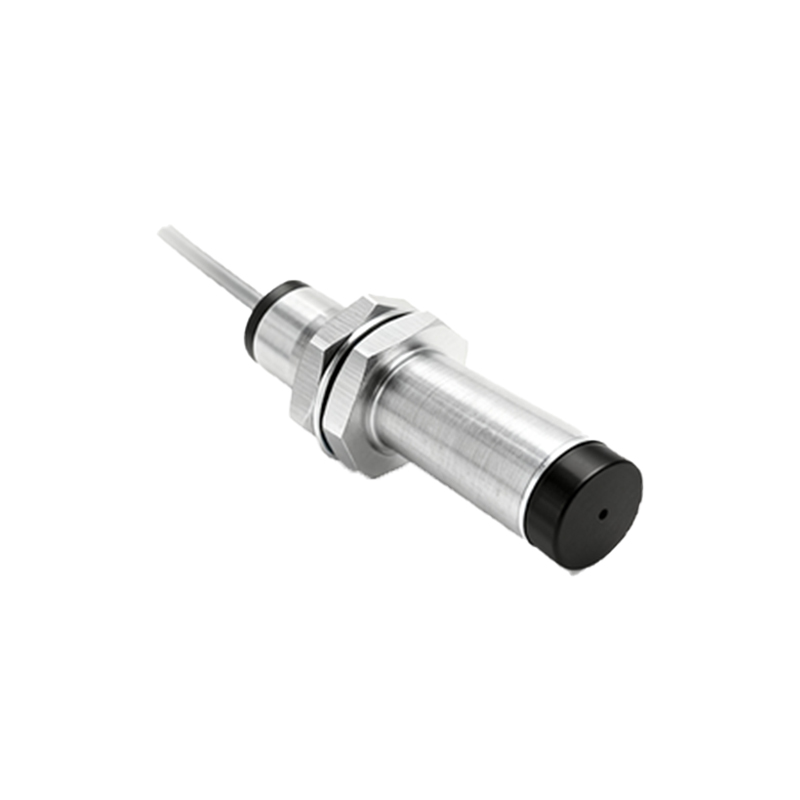
Before beginning, gather the necessary tools: a precision screwdriver set, plastic spudgers and opening picks, a suction handle, tweezers, and a heat gun or hairdryer. Crucially, you must source a compatible replacement proximity sensor module for the 360 N6. Always power off the device and disconnect the battery at the earliest safe opportunity during disassembly. Work on a clean, well-lit, static-free surface. Patience is key to avoiding damage to fragile flex cables and connectors.
Step-by-Step Disassembly and Sensor Replacement
1. Rear Case Removal: Use the heat gun to gently warm the edges of the rear plastic case to soften the adhesive. Insert a plastic pick into the seam and carefully work your way around the perimeter to separate the case from the mid-frame.
2. Battery Disconnection: Once inside, locate the battery connector on the motherboard. Use a spudger to pry this connector up and disconnect it. This is a vital safety step before proceeding.
3. Mainboard Access: Remove the screws securing the mid-frame/ motherboard bracket. Note the screw lengths and positions for reassembly. Gently lift the bracket. You will now see several flex cable connectors.
4. Display Assembly Separation: The display assembly is connected via a flex cable secured by a bracket. Remove the small screws for this bracket and disconnect the display flex cable. Carefully apply heat around the edges of the display to soften the adhesive bonding it to the mid-frame. Use the suction handle on the screen and gently insert plastic picks to separate the display assembly from the phone's body. Proceed slowly to avoid cracking the new or old screen.
5. Locating and Replacing the Proximity Sensor: With the display assembly separated, turn it over. The proximity sensor is a small, rectangular component, usually housed in a rubber grommet or fixed with adhesive near the top edge aligned with the earpiece. It is connected by a very delicate flex cable. Gently peel off any adhesive or remove the grommet. Using tweezers, carefully disconnect the old sensor's flex cable from its socket (if it's a separate part) or desolder it if it's directly attached to a sub-board, though this is less common. Clean the area of any residual adhesive.
6. Installing the New Sensor: Place the new proximity sensor module precisely in its original position. Ensure any protective film is removed from the adhesive. Reconnect its flex cable or resolder the connections. It must sit perfectly flush; any misalignment can affect its performance. Re-attach any rubber grommet for environmental sealing.
7. Reassembly: Before re-adhering the new display assembly, perform a preliminary test. Reconnect the battery and the display flex cable. Power on the device. Make a test call and cover the sensor area with your finger. The screen should turn off immediately. Also, check auto-brightness in settings. If it functions, power off and disconnect the battery again.
8. Final Assembly: Apply a new, pre-cut adhesive tape around the mid-frame where the display will sit. Carefully align and lower the display assembly onto the phone body, applying even pressure. Reconnect all flex cables (display, battery, etc.) and replace the motherboard bracket and screws. Snap the rear case back into place, applying pressure around the edges to secure the adhesive.
Post-Replacement Calibration and Testing
After full reassembly, conduct comprehensive testing. The primary test is the phone call test: dial a number, and the screen should blank when the sensor is covered, waking up when uncovered. Test the earpiece speaker for clear audio. Additionally, verify that the auto-brightness setting in the display menu responds to changes in ambient light. There is no specific software calibration menu for the proximity sensor in standard Android settings for the 360 N6; correct physical installation