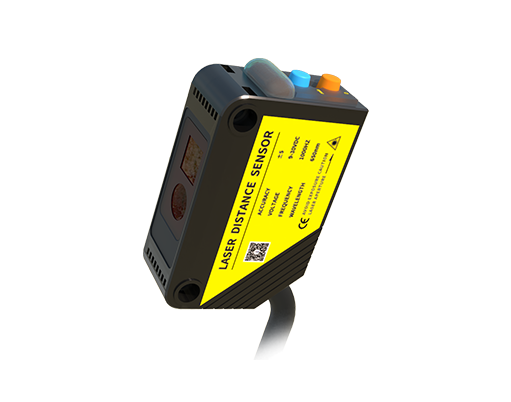
In the realm of modern laser printing, the precise installation and calibration of sensors are fundamental to achieving optimal performance, reliability, and print quality. These components serve as the printer's nervous system, monitoring everything from paper presence and toner levels to fuser temperature and drum positioning. For engineers and technicians, a meticulous approach to sensor installation is not merely a procedural task but a critical determinant of the machine's operational integrity. This guide outlines the essential principles and best practices for installing key sensors in laser printers, adhering to industry standards and technical rigor.
The initial phase involves comprehensive preparation. Before handling any components, ensure electrostatic discharge (ESD) precautions are in place by using an anti-static wrist strap and working on an ESD-safe mat. Power down the printer completely and disconnect it from the electrical outlet. Gather the necessary tools: precision screwdrivers, tweezers, a multimeter for continuity testing, and the specific sensor modules as per the printer's service manual. Always consult the manufacturer's technical documentation for the exact part numbers, schematics, and installation diagrams relevant to your printer model. Attempting installation without referencing these documents risks component damage or misalignment.
One of the most common sensors is the paper path sensor, typically an optical interrupter or actuator-type sensor. Its role is to detect the presence and movement of paper through the feed and registration assemblies. Installation begins by accessing the sensor mounting point, often located near the paper pickup rollers or registration rollers. Carefully remove any retaining clips or screws securing the old sensor. Clean the mounting area with compressed air to remove paper dust and toner particles, which can cause false readings. Align the new sensor precisely, ensuring the actuator arm or optical flag moves freely without obstruction. Secure it with the provided fasteners, but avoid overtightening, which can distort the housing. Verify the sensor's mechanical action by manually moving the actuator; it should produce a distinct click.
Next, consider the toner level sensor, usually a piezoelectric or optical sensor integrated into the toner cartridge or developer unit. When replacing this sensor, handle the toner assembly with extreme care to prevent spills. After seating the new sensor, perform a manual reset of the toner counter via the printer's service menu or engine utility software. This step is crucial; a new sensor without a counter reset will still report low toner. For fuser temperature sensors, such as thermistors, installation requires attention to thermal contact. These sensors must be firmly seated against the fuser roller or heater plate with the correct thermal paste (if specified) to ensure accurate temperature feedback. Improper contact leads to overheating or insufficient fuser temperature, causing print defects like smearing or poor toner adhesion.

Drum unit sensors, including home position sensors and drum rotation sensors, demand high precision. These are often optical encoders or Hall-effect sensors that synchronize the imaging drum's rotation with the laser scanning assembly. During installation, align the sensor with the timing marks or slots on the drum shaft as indicated in the manual. Even a minor angular deviation can cause banding, ghosting, or misregistration in prints. Use a multimeter to check the sensor's output signal while slowly rotating the drum by hand; a fluctuating voltage or pulse signal confirms proper operation.
Post-installation calibration and testing are non-negotiable. Reassemble the printer, reconnect the power, and initiate a diagnostic mode or engine test cycle. Monitor the printer's event log or service interface for any sensor error codes. Execute several print jobs, including full-page coverage and complex graphics, to evaluate performance. Pay close attention to paper handling, image alignment, and any unusual noises. For networked printers, verify that status monitoring pages accurately reflect sensor data, such as toner levels and paper tray status.
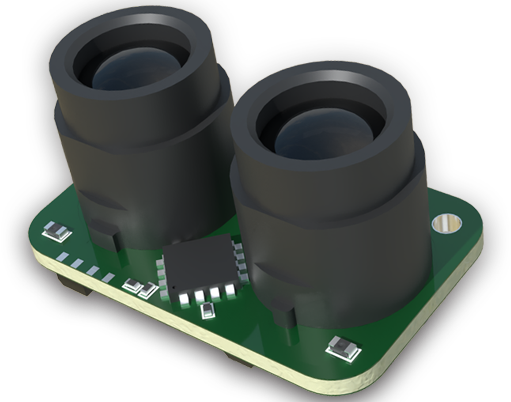
In summary, successful sensor installation in laser printers hinges on meticulous preparation, adherence to manufacturer specifications, and rigorous post-installation validation. Engineers must prioritize cleanliness, precise alignment, and electrical verification to prevent operational failures. As printer technology evolves with higher speeds and greater connectivity, the role of sensors becomes even more pivotal. Mastering these installation techniques ensures not only immediate functionality but also long-term durability and consistent output quality, reinforcing the engineer's role in maintaining the backbone of document imaging systems.